How to Set the Desired Picture
DIGITAL SIGNAGE
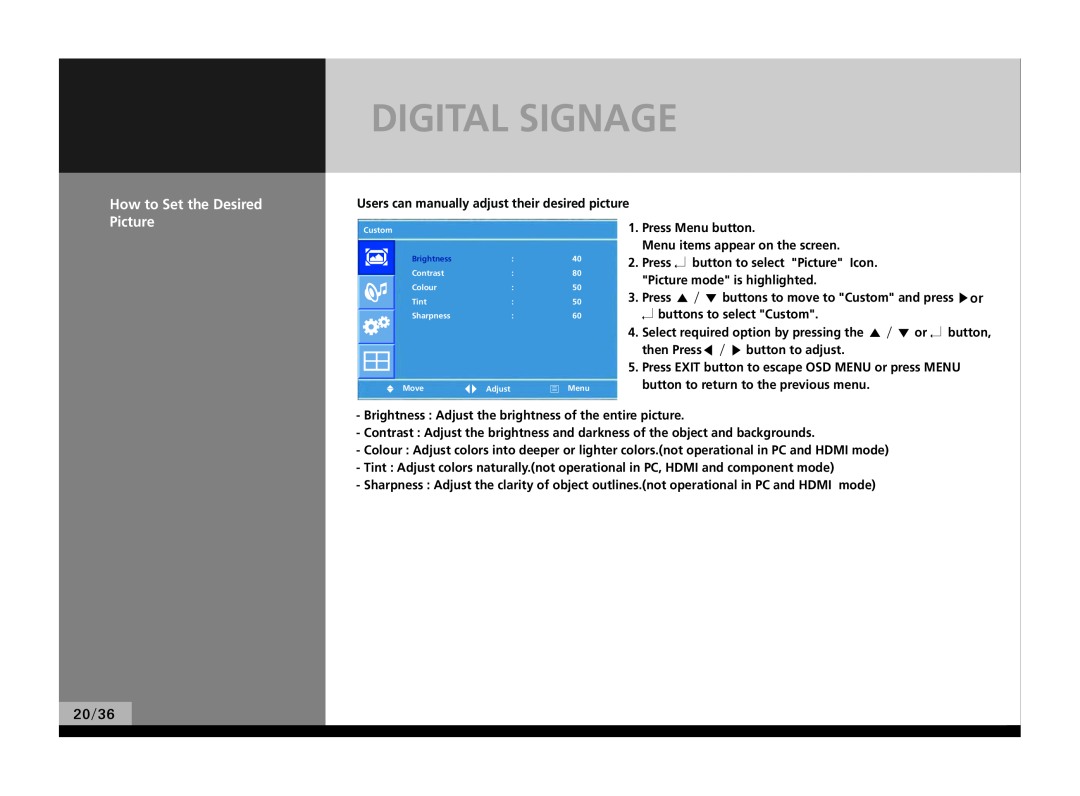
Users can manually adjust their desired picture
Custom |
|
| |
| Brightness | : | 40 |
| |||
| Contrast | : | 80 |
| Colour | : | 50 |
| Tint | : | 50 |
| Sharpness | : | 60 |
|
| Adjust | Menu |
|
| ||
U Move | |||
1.Press Menu button.
Menu items appear on the screen.
2.Press ↲ button to select "Picture" Icon. "Picture mode" is highlighted.
3.Press ▲ / ▼ buttons to move to "Custom" and press ▶or ↲ buttons to select "Custom".
4.Select required option by pressing the ▲ / ▼ or ↲ button, then Press◀ / ▶ button to adjust.
5.Press EXIT button to escape OSD MENU or press MENU button to return to the previous menu.
20/36
-Brightness : Adjust the brightness of the entire picture.
-Contrast : Adjust the brightness and darkness of the object and backgrounds.
-Colour : Adjust colors into deeper or lighter colors.(not operational in PC and HDMI mode)
-Tint : Adjust colors naturally.(not operational in PC, HDMI and component mode)
-Sharpness : Adjust the clarity of object outlines.(not operational in PC and HDMI mode)
