CD-ROM Hardware Installation
Prepare Your Computer for Installation
Step 1. Before working on your computer, make sure the power to the computer and any related equipment is turned off.
Step 2. While the cables are still attached to your computer, you may want to label them so you are sure to reconnect them properly when the installation process is complete.
Step 3. Disconnect all cables and connectors from the back of your computer. Some cables may be attached to their connectors by small screws. Make sure to unscrew any secured cables before attempting to disconnect the cable from the back of the computer.
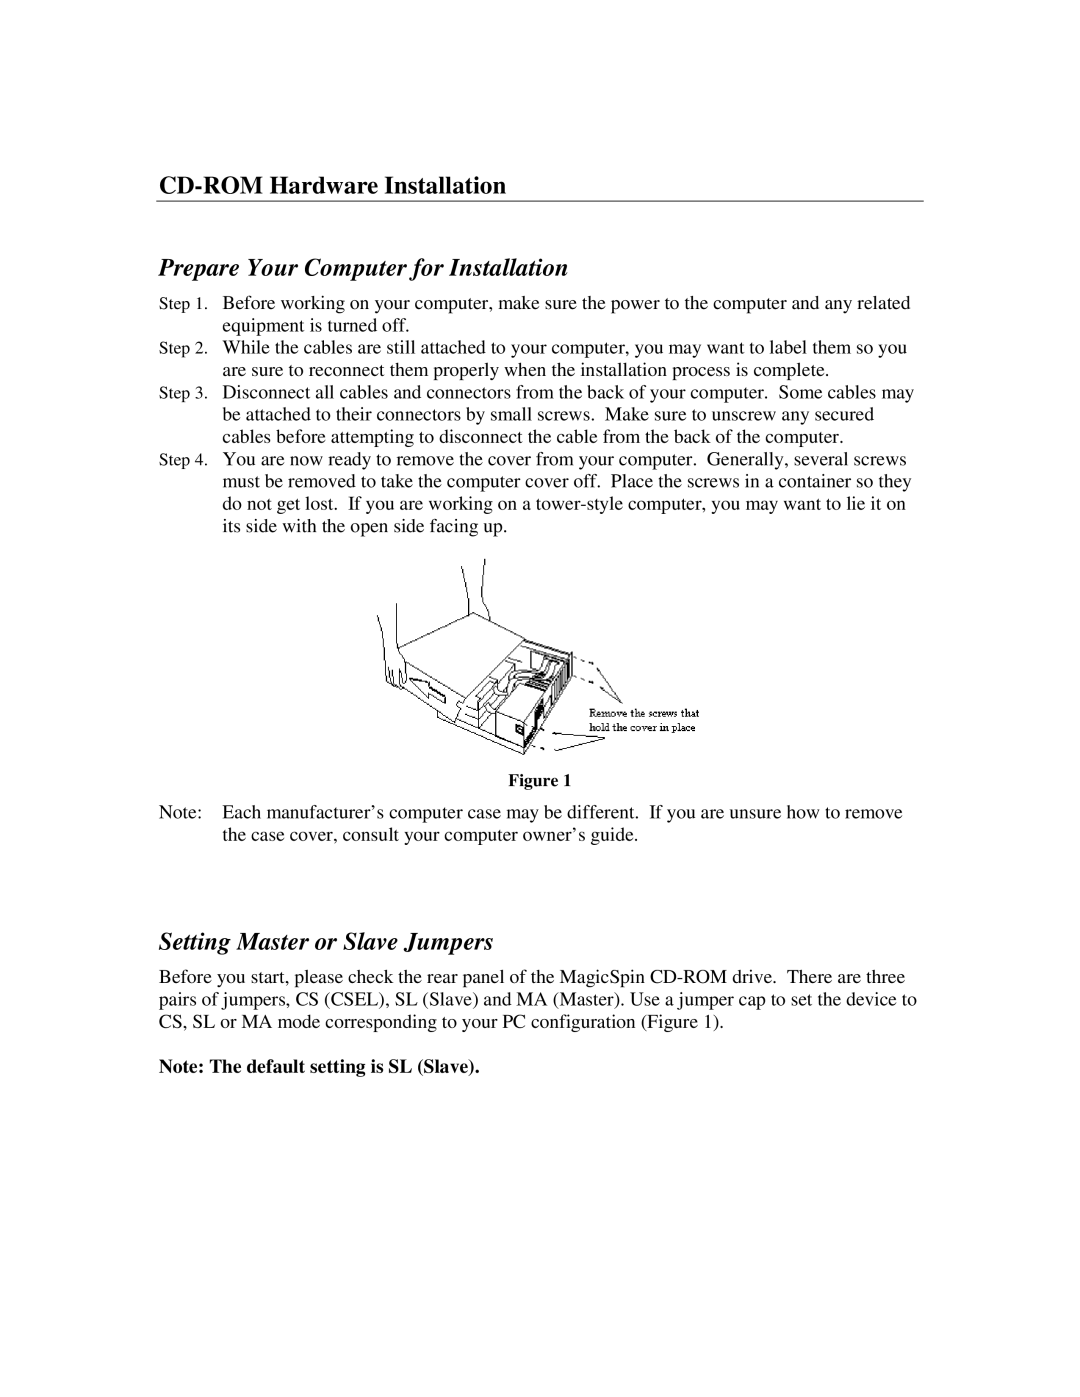
Step 4. You are now ready to remove the cover from your computer. Generally, several screws must be removed to take the computer cover off. Place the screws in a container so they do not get lost. If you are working on a
Figure 1
Note: Each manufacturer’s computer case may be different. If you are unsure how to remove the case cover, consult your computer owner’s guide.
Setting Master or Slave Jumpers
Before you start, please check the rear panel of the MagicSpin
Note: The default setting is SL (Slave).
