DB2 Deployment Guide
Page
DB2 Deployment Guide
SG24-7653-00
First Edition October
Contents
Ruby
Iv DB2 Deployment Guide
Contents
NET
C/C++ PHP Ruby Python Perl
Vi DB2 Deployment Guide
Vii
Copyright License
Trademarks
Informix Redbooks logo Cloudscape InfoSphere
OS/400 WebSphere EServer
General Parallel File System PSeries
Preface
Team that wrote this book
Acknowledgements
IBM Toronto Laboratory, Canada
Jian, John, and Carsten
DB2 Deployment Guide
Become a published author
Comments welcome
IBM Austria
Preface
Xii DB2 Deployment Guide
Introduction to DB2 deployment
DB2 deployment overview
DB2 9.5 for UNIX, Linux, and Windows products
1 DB2 Server products
DB2 Express-C and DB2 Express-C FTL Edition
DB2 Express Edition
2 DB2 clients and drivers
DB2 Workgroup Server Edition
DB2 Enterprise Server Edition
IBM Data Server Runtime Client
IBM Data Server Driver for ODBC, CLI, and .NET
IBM Data Server Driver for Jdbc and Sqlj
Downloadable DB2 products and components
DB2 Products and components Download
3 DB2 standalone and connect products
Other DB2 products
IBM Database Enterprise Developer Edition Dede
InfoSphere Warehouse as
DB2 product availability
Deployment considerations
10 DB2 Deployment Guide
Introduction to DB2 deployment
Supported client /server matrix
Nature of the client and application
12 DB2 Deployment Guide
Hardware and software considerations
Client/server relationship
Hardware requirements for Version
Software requirement for DB2
14 DB2 Deployment Guide
Introduction to DB2 deployment
2 DB2 version considerations
16 DB2 Deployment Guide
DB2 for LUW Server product listing Features and functions
3 DB2 product considerations
18 DB2 Deployment Guide
DB2 9.5 server product overview
Authorized User license
License considerations
20 DB2 Deployment Guide
Processor Value Unit license
Processor Value Units per core
Authorization considerations
22 DB2 Deployment Guide
Requirements
Requirements and limitations on Linux and Unix platforms
Limitations
Requirements and limitations in Windows platforms
24 DB2 Deployment Guide
Hkeycurrentuser
Key differences
Other considerations
Configuration considerations
26 DB2 Deployment Guide
Installation methods
Installation method Windows Linux or Unix
28 DB2 Deployment Guide
DB2 server deployment
Server deployment planning
System requirement
User and group required in deployment
30 DB2 Deployment Guide
DB2 Users and groups on Linux and Unix
Instance owner user
Fenced user
DB2 server deployment
Non-root/non-Administrator installation
Non-root installation on UNIX/Linux
Administration server user
Windows security
Elevated privileges installation on Windows
4 DB2 configuration profile and database profile
34 DB2 Deployment Guide
DB2 Configuration Assistant
Example 2-1 File generated by DB2 configuration Assistant
36 DB2 Deployment Guide
Db2cfexp and db2cfimp
Options for db2cfexp
Information
This local instance
Database configuration
Db2look command options
Specify database name
Standard output
Considerations for a partitioned database
Example 2-2 db2look output
Licensing for a partitioned database
40 DB2 Deployment Guide
Remote shell
Users and groups in a partitioned database environment
Communication settings
DB2 server deployment methods
Example 2-3 TCP/IP ports
42 DB2 Deployment Guide
1 DB2 Setup wizard
DB2setup launchpad
44 DB2 Deployment Guide
Set user information
2 db2install
46 DB2 Deployment Guide
Example 2-4 The output of command db2install
Response file
48 DB2 Deployment Guide
Example 2-5 Format of a response file
Creating a response file using the DB2 Setup wizard
50 DB2 Deployment Guide
Example 2-6 Using db2rspgn
Instance
Creating a response file from the sample response file
52 DB2 Deployment Guide
Example 2-7 The response file generated from sample
54 DB2 Deployment Guide
Instance
Deploying DB2 server with application
Example 2-8 The value of keyword Interactive is changed
56 DB2 Deployment Guide
Payload file deployment for Linux and Unix
Will be transformed to this format
Mass deployment of DB2 server using a script
58 DB2 Deployment Guide
Installing SSH on managed machines
Setup of SSH and NFS
Example 2-9 NFS file sets on AIX
Enabling SSH automatic login for root user
60 DB2 Deployment Guide
Example 2-14 Files generated by above commands
Example 2-16 Public key is kept in authorizedkeys on Baltic
62 DB2 Deployment Guide
Example 2-17 Verify NFS configuration from command line
NFS configuration
2 DB2 license
Creating the deployment script
64 DB2 Deployment Guide
Example 2-18 Source code of db2srvinstall
Logic of the mass deployment script
66 DB2 Deployment Guide
DB2 server deployment
68 DB2 Deployment Guide
Command line options
Following command line syntax is used for db2srvinstall
Example 2-20 Copy response file to NFS path
Example 2-19 NFS path where db2 image has been extracted
70 DB2 Deployment Guide
Example 2-21 Mass deployment using db2install
Running a mass deployment
Example 2-22 Mass deployment using response file
72 DB2 Deployment Guide
Windows deployment scripts
Example 2-24 Install path conflicts with existing DB2 copy
Example 2-23 DB2 copies existing on baltic
74 DB2 Deployment Guide
Fix pack deployment
Example 2-26 Sample Windows deployment script output
Fix pack overview
76 DB2 Deployment Guide
Stopping all DB2 processes before deployment
Mass deployment of DB2 fix pack with a script
Deployment method
Tasks after fix pack deployment
Environment
Script logic and command line options
Network topology of mass fix pack deployment
Logics of DB2 fix pack mass deployment script
80 DB2 Deployment Guide
Sample deployment script
Example 2-27 Source code of fix pack mass deployment script
82 DB2 Deployment Guide
DB2 server deployment
84 DB2 Deployment Guide
Starting fixpack deployment on machine %s using %s...\n
Example 2-28 Performing the mass deployment of DB2 fix pack
86 DB2 Deployment Guide
Example 2-29 List the installed DB2 copies
88 DB2 Deployment Guide
DB2 client deployment
Client deployment planning
Select the right client type
Option a IBM Data Server Driver
Option B IBM DB2 clients
Footprint
Reducing the size of the install image
DB2 client deployment
Configuration and customization
Configuration profile
Db2cli.ini initialization file
92 DB2 Deployment Guide
Multiple instance compatibility
Compatibility
Client /Server compatibility
Licensing
How to deploy the DB2 client
94 DB2 Deployment Guide
IBM data server client installation methods
DB2 Setup wizard
Db2install script
Response file install
96 DB2 Deployment Guide
Db2iprune command line utility
Reducing the installation image
Client instance on the DB2 server
Example 3-1 Entries in the .prn file
98 DB2 Deployment Guide
Considerations for a pruned DB2 installation
IBM data server client deployment on Windows
Mass deployment of IBM data server client product
100 DB2 Deployment Guide
Administrator Console
SMS Administration Console
Welcome screen
Package Definition window
Selecting DB2 package definition
Source Files window
Specify source directory for selected package
Completing the Create Package from Definition Wizard
11 Start software distribution
106 DB2 Deployment Guide
12 Welcome to the Distribute Software Wizard
14 Selecting distribution points
15 Advertise a Program window
16 Select a Program to Advertise window
18 Advertisement Name window
19 Advertise to Subcollections window
20 Advertisement Schedule window
22 Completing the Distribute Software Wizard window
112 DB2 Deployment Guide
23 Configuration Manager Console
25 Create Package from Definition Wizard window
114 DB2 Deployment Guide
27 Create Package from Definition Wizard window
28 Source Files window
116 DB2 Deployment Guide
29Source Directory window
30 Completing the Create Package from Definition Wizard
118 DB2 Deployment Guide
Distributing DB2 install packages using the Microsoft Sccm
31 Create Package from Definition Wizard window
32 Starting software distribution
33 Welcome to the Distribute Software Wizard window
34 Packages window
36 Advertise a Program window
122 DB2 Deployment Guide
37 Select a Program to Advertise window
38 Advertisement Target window
124 DB2 Deployment Guide
39 Advertisement Name window
40 Advertise to Subcollections window
126 DB2 Deployment Guide
41 Advertisement Schedule window
42 Assign Program window
128 DB2 Deployment Guide
43 Distribute Package Wizard window
Example 3-2 Push deployment script
IBM data server client deployment on Linux and Unix
130 DB2 Deployment Guide
Thin Client deployment
45 Select the features to install
132 DB2 Deployment Guide
Creating a thin client response file
46 Sharing the code server directory
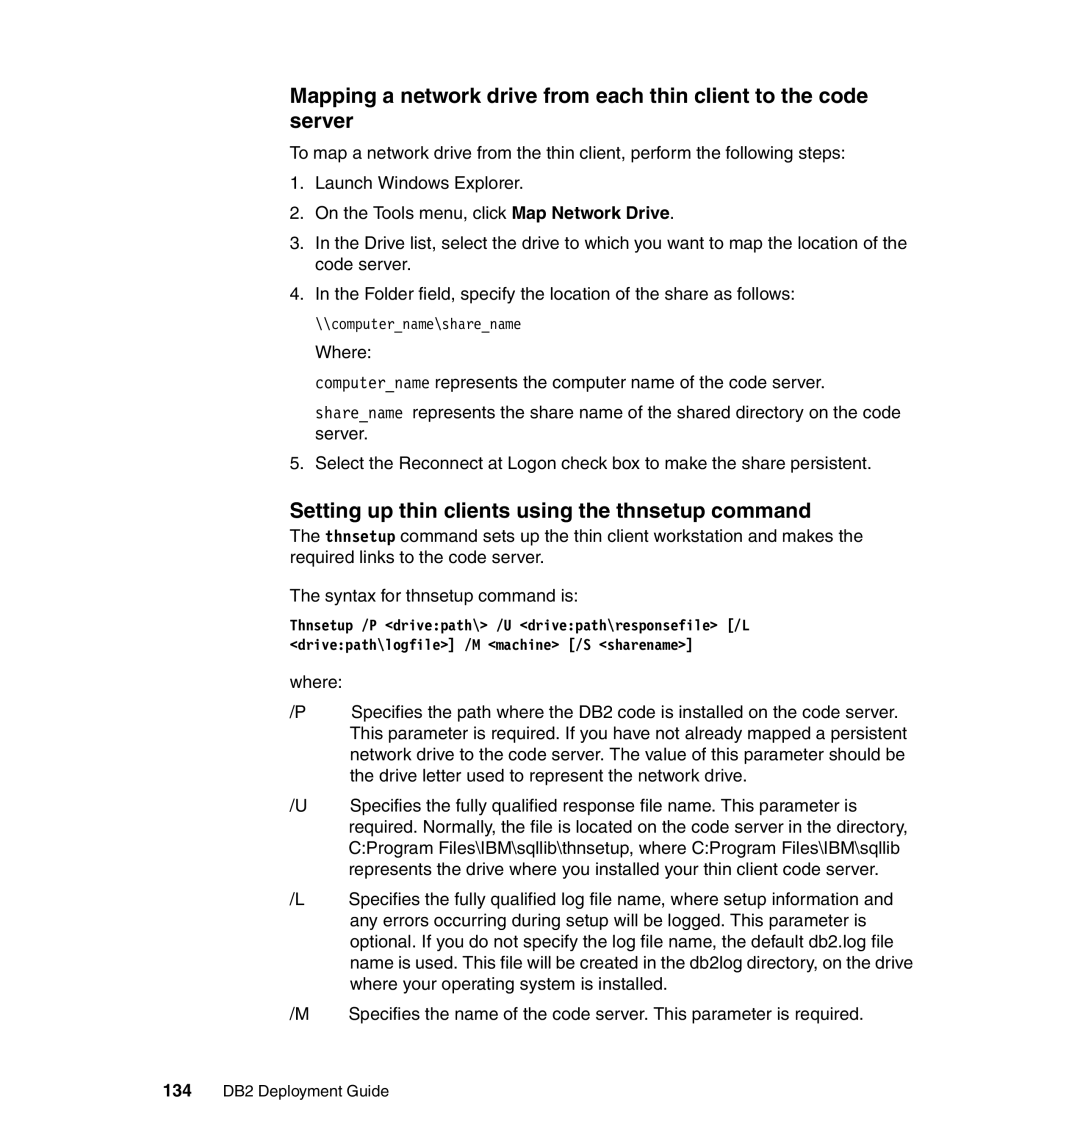
Setting up thin clients using the thnsetup command
134 DB2 Deployment Guide
Network drive. This parameter is mandatory on Windows XP
136 DB2 Deployment Guide
Deploying applications with DB2
137
Introduction to application deployment package
IBM Data Server Driver for Jdbc and Sqlj
Prerequisites
138 DB2 Deployment Guide
LOS/400 PTFs for Unicode UTF-8 support
Deploying applications with DB2
IBM Data Server Driver for Jdbc and Sqlj files
Installation procedure
140 DB2 Deployment Guide
Database server configuration setup
Library file names for different platforms
142 DB2 Deployment Guide
Bm.db2.luw.apdv.java.doc/doc/t0024156.html
144 DB2 Deployment Guide
Deploying applications with DB2
Installing IBM Data Server Driver for ODBC, CLI, and .NET
Installing IBM Data Server Driver for Odbc and CLI
146 DB2 Deployment Guide
Configuring IBM Data Server Driver for Odbc and CLI
DB2 registry variables supported as environment variables
Diagnostic variables
Miscellaneous variables
Connection variables
148 DB2 Deployment Guide
Set PATH=clidriverpath\binclidriverpath\lib%PATH%
License requirements
Java
150 DB2 Deployment Guide
Prerequisites
Example 4-2 Deployment structure for our Java application
Deployment procedure for a Java application
152 DB2 Deployment Guide
Example 4-4 Successful test of our deployed application
CLI and Odbc
Deploying C/C++ applications
154 DB2 Deployment Guide
Comparison of CLI and Odbc
Odbc vs. CLI
Sample application
Isolation level mapping between Odbc and DB2
Logic of sample application
Connecting to database
Considerations for deployment of CLI and Odbc applications
Redistributable driver files
158 DB2 Deployment Guide
Deploying a CLI application along with Odbc CLI driver
Example 4-5 Content of redist.txt
Preparing the redistributable driver files
Example 4-6 Script file bldpkg
160 DB2 Deployment Guide
Deploying applications with DB2
Preparing the application executable file
Example 4-8 Verify package content
162 DB2 Deployment Guide
Example 4-9 a successful connection using itsocliapp
Compile and link the application in one step
Example 4-11 The complete contents of installimage
Example 4-10 a failed connect test using itsocliapp
Preparing the deployment package
Example 4-12 Source codes of script appinstall
166 DB2 Deployment Guide
Deploying the application package to the target system
Example 4-14 Deploy application using scrip appinstallt
168 DB2 Deployment Guide
PHP
Embedded SQL and Administrative API
Example 4-15 Verify the connection after deployment
Installation of IBM PHP drivers
Pdoibm
IBMDB2
170 DB2 Deployment Guide
Installation procedure on Linux and Unix
4 PHP
Prerequisites
IBM Data Server Driver for CLI support
Example 4-17 Output of php -m
Example 4-16 Lines to added to php.ini file
172 DB2 Deployment Guide
Installation procedure on Windows
174 DB2 Deployment Guide
Example 4-19 Failed connection using itsophpapp.php
Example 4-18 a successful connection using itsophpapp.php
Deploying a PHP application with the DB2 drivers
Preparing the PHP application package
Example 4-20 Deployment script phpappinstall
176 DB2 Deployment Guide
Deploying applications with DB2
178 DB2 Deployment Guide
Example 4-21 Contents of phpdeploy directory
Example 4-22 Package generation for phpdeploy
Example 4-23 Deploying using script phpappinstall
Deploying the DB2 PHP application
Example 4-24 Verifying deployed PHP application
180 DB2 Deployment Guide
Ruby
Installation of Ibmdb gem
IBM Ibmdb gem
Installation procedure for Linux, UNIX, and Windows
182 DB2 Deployment Guide
Example 4-25 Successful connection using itsorubyapp.rb
Example 4-26 Failed connection using itsorubyapp.rb
Creating a sample Ruby application
Deploying a Ruby application with the DB2 drivers
Preparing the Ruby application package
Example 4-27 Code of script rubyappinstall
184 DB2 Deployment Guide
Deploying applications with DB2
186 DB2 Deployment Guide
Deploying the DB2 Ruby application
Example 4-28 Contents of rubydeployment directory
Example 4-29 Package generation for rubydeploy
Example 4-30 Deploying using script rubyappinstall
Example 4-31 Testing deployed Ruby application
Help and support
188 DB2 Deployment Guide
Ibmdb driver
Python
Ibmdbdbi wrapper
Ibmdbsa adaptor
Installation of IBM Python drivers
190 DB2 Deployment Guide
Installation procedure
Creating a sample Python application
Example 4-32 Successful connection using itsopyapp.py
192 DB2 Deployment Guide
Example 4-33 Failed connection using itsopyapp.py
Deploying a Python application with the DB2 drivers
Preparing the Python application package
Example 4-34 Code of script pyappinstall
194 DB2 Deployment Guide
Deploying applications with DB2
196 DB2 Deployment Guide
Deploying the sample Python application
Example 4-35 Contents of pythondeploy directory
Example 4-36 Package generation for pythondeploy
Example 4-37 Deploying using script pyappinstall
198 DB2 Deployment Guide
DBDDB2
Perl
Example 4-38 Verifying deployed Python application
Installation of IBM Perl driver
Prerequisites to installing DBDDB2
Example 4-39 Installing DBI on Linux and Unix
200 DB2 Deployment Guide
Installation procedure for Linux and Unix
Example 4-41 Installation commands for installing DBDDB2
Installation procedure for Windows
Example 4-42 a successful connection using itsoperlapp.pl
Creating a sample Perl application
202 DB2 Deployment Guide
Deploying a Perl application with the DB2 drivers
Example 4-43 Failed connection using itsoperlapp.pl
Preparing Perl driver and redistributable DB2 driver files
Preparing the Perl application package
Example 4-44 Code of script perlappinstall
204 DB2 Deployment Guide
Deploying applications with DB2
Example 4-45 Contents of perldeploy directory
Example 4-46 Package generation for perldeploy
Example 4-47 Deployment using script perlappinstall
Deploying the DB2 Perl application
Example 4-48 Verifying deployed Perl application
NET
208 DB2 Deployment Guide
Deployment procedure for a .NET application
Example 4-50 Silent install of the IBM Data Server Driver
Example 4-49 Response file content
210 DB2 Deployment Guide
Example 4-51 Call to testconn20 and the resulting output
212 DB2 Deployment Guide
Deploying pre-configured databases
213
Introduction
Using a backup image
214 DB2 Deployment Guide
Using scripts
Deploying pre-configured databases
Sample database
215
Deploying a database using scripts
216 DB2 Deployment Guide
Collecting information about the database
Database creation
Database layout
217
Example 5-2 Itsodb layout buffer pool and table spaces
218 DB2 Deployment Guide
219
Database objects
Example 5-4 DDL statement for creating the Department table
Example 5-5 Using db2look to get DDL statements
Db2look
Dependencies between database objects
Creating a database with the output from db2look
221
Example 5-6 Check and set integrity on our sample database
Command line processor options
Using a shell script
222 DB2 Deployment Guide
223
CLP return codes
CLP return codes and the impact of the -s option
Unix script
224 DB2 Deployment Guide
Windows script
Example a
Example B
Example C
226 DB2 Deployment Guide
Complete Windows example
227
Step
Using an application
228 DB2 Deployment Guide
229
Creating the database from Java
Example 5-10 Executing a script from within Java
Creating database layout and database objects from Java
230 DB2 Deployment Guide
Java sample applications
Deploying a database using a backup image
231
Populating the database
Using SQL statements
232 DB2 Deployment Guide
Using a shell script
233
Example 5-13 Run the Java sample applications
Using an application
234 DB2 Deployment Guide
Using DB2 utilities
Exporting data
Import utility
Importing data
Different import modes
Load utility
237
Db2move utility
238 DB2 Deployment Guide
Exporting data with db2move
Importing data with db2move
Loading data with db2move
239
Updating an existing installation
240 DB2 Deployment Guide
Updating non-table objects
241
Updating table objects
Preparing data
Altering the table
242 DB2 Deployment Guide
Example 5-20 Using altobj to change the table itso.staff
Using the stored procedure altobj
243
Using a custom script
244 DB2 Deployment Guide
245
Example 5-21 Custom script to change itso.staff
DB2 metadata for database layout
246 DB2 Deployment Guide
Java sample application Automating update
Where to find the dependent objects for a table
247
DB2 metadata for some of the database objects
Building the dependency map
Comparing two database configurations
248 DB2 Deployment Guide
Big picture of the application
249
Overview of the Java application
250 DB2 Deployment Guide
Alternatives DB2 tools
Samples overview
251
Shell scripts
Scripts
Scripts containing DDL and SQL statements
253
Supportive shell scripts
Argument. Example cexe createdb.cmd
Shell scripts
Log file export.log
Log file importdb.log
Log file loaddb.log
Log filepopulatedb.log
255
Java applications
Java applications
Print out both database configurations to stdout
Compare two database configurations and list new tables
Database given as argument to meet the configuration
Configuration of the ITSO2 database
257
10 Shell scripts to start Java applications
Target environment. Example
Modified to reflect the target environment. Example
258 DB2 Deployment Guide
259
C/C++
Example A-1 Sample CLI application
260 DB2 Deployment Guide
Appendix A. Sample applications
Example A-2 Sample PHP application
262 DB2 Deployment Guide
Example A-3 Sample Ruby application
Example A-4 Sample Python application
264 DB2 Deployment Guide
Example A-5 Sample Perl application
266 DB2 Deployment Guide
Locating the Web material
267
How to use the Web material
Using the Web material
System requirements for downloading the Web material
IBM Redbooks
Other publications
IBM DB2
269
270 DB2 Deployment Guide
Related publications
Linux Other
Online resources
272 DB2 Deployment Guide
How to get Redbooks
Help from IBM
274 DB2 Deployment Guide
Symbols
Numerics
275
Prn extension
Db2setup Db2sorcvbuf 147
147 Db2cfexp
Db2cfimp Db2chgpath Db2cli.ini 167 103
148
Page
Msdtc
Page
Page
DB2 Deployment Guide
Page
Page
DB2 Deployment Guide