XM60 User Manual
Install the battery
IMPORTANT Battery Warning!
CAUTION: Use only
There is the risk of explosion if battery is replaced by an incorrect type.
Always dispose of used batteries according to the instructions.
1.To access the battery compartment, turn the locking screw counterclockwise to open the latch and remove battery cover.
2.Position the battery lift strap against the back of battery well, ensuring tab extension is on left side.
3.Place a Janam
4.Replace the battery cover by positioning the top prongs first and sliding into place. Tighten locking screw by turning clockwise.
To charge the battery:
Important Note: The main battery charges the backup battery in the XM60. Once the main battery is fully charged, do not remove it from the unit for 24 hours. If the battery is removed during this period, the device cannot maintain any user data.
To charge the battery using the USB syncing/charging cable or serial charging cable:
1.Connect the power supply to the USB syncing/charging cable or serial/syncing charging cable.
2.Connect
3.Insert
4.The LED will illuminate to confirm connection (orange indicates charging, green indicates fully charged and red indicates fault).
5.The battery is fully charged in approximately two hours.
To charge the battery using the
1.Connect the power supply to the cradle.
2.Connect the line cord to the appropriate power supply.
3.Plug in the power supply.
4.Insert the XM60 into the cradle. Important: Proper insertion is required to ensure connection. Be sure to insert the device as follows:
•Place the XM60 in cradle well (seating the device without trying to join connectors).
•
5.The LED will illuminate to confirm connection (orange indicates charging, green indicates fully charged and red indicates fault).
6.The battery is fully charged in approximately two hours.
Remove the battery from spare battery charging well
Do not
1.While gently holding down with thumb, slip index finger down against the battery so that you feel the edge where the battery meets the cradle.
2.Press down and forward with index finger to lift battery edge.
Turn on the XM60
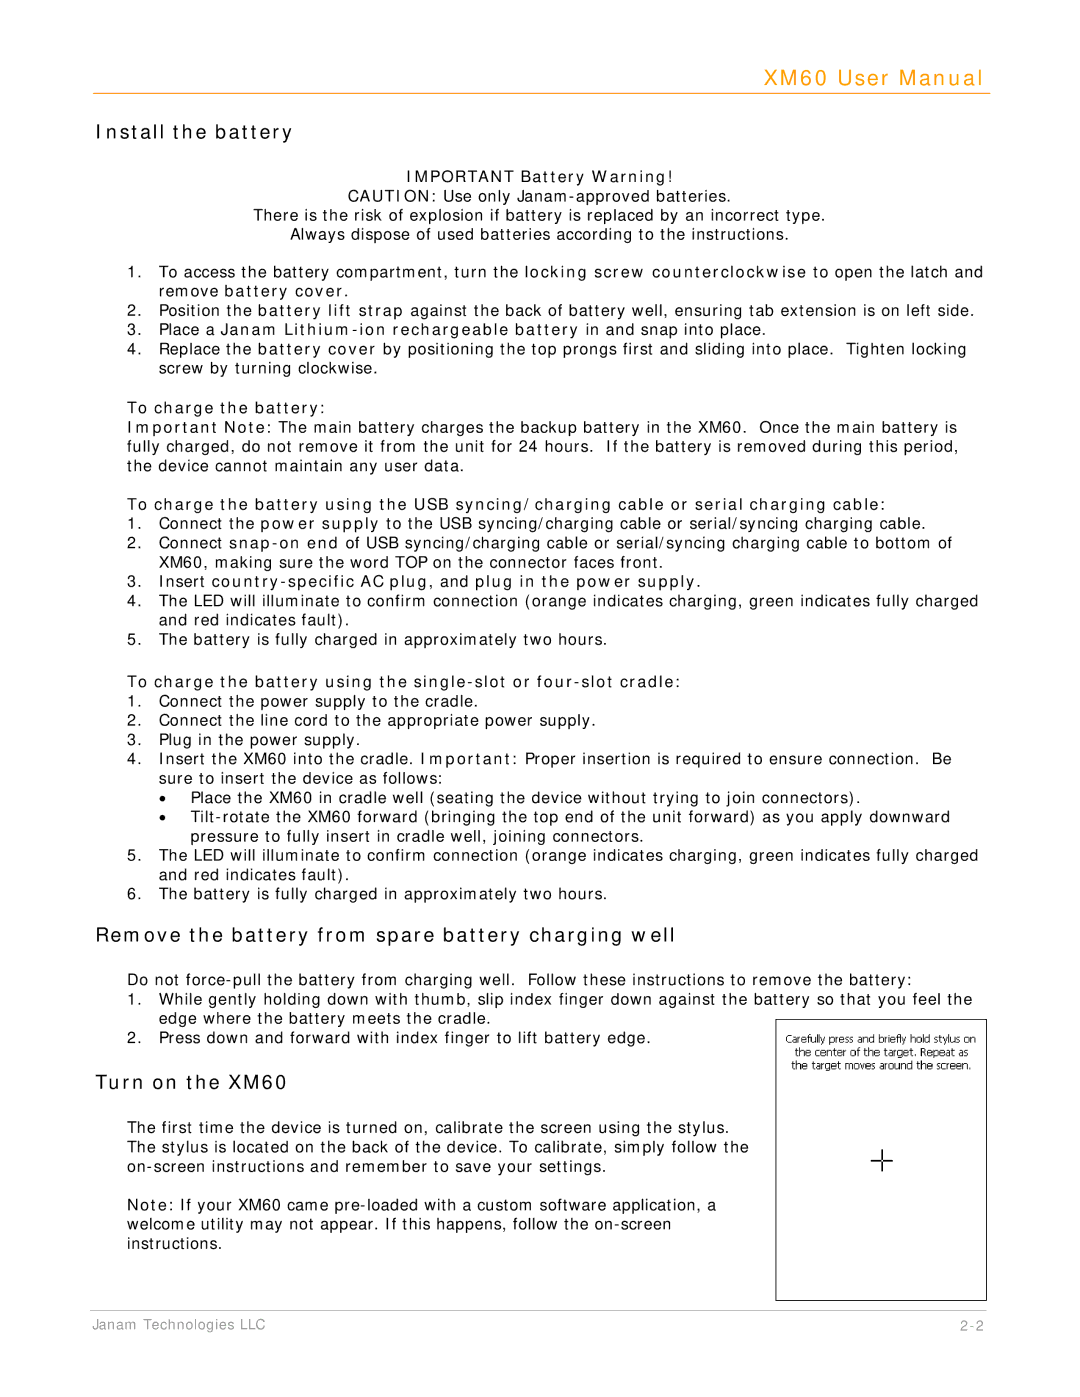
The first time the device is turned on, calibrate the screen using the stylus. The stylus is located on the back of the device. To calibrate, simply follow the
Note: If your XM60 came
Janam Technologies LLC |