To configure a Windows 95/98 system
1.
2.Click Properties on the
3.Click the Configuration tab and select the TCP/IP networking component and click Properties.
4.Make sure “Obtain an IP Address Automatically” is selected.
5.Select the DNS Configuration tab, and select Disable DNS.
6.Select the Gateway tab and remove any addresses. Click OK.
7.Click OK to close the Network Control window.
8.Click OK to close and restart your computer.
To configure other systems
See the documentation for your operating system and set the system up for TCP/IP. Configure the system to be a DHCP client. If the system doesn’t support DHCP, set an IP address that is not conflicted to that system and in the range from 192.168.0.1 to 192.168.0.252.
Configuring the Internet Sharing Station
After you finish setting up and restart your computer, you can open web browser, type the following in the Location (or Address) window, and press Enter.
http://192.168.0.254
You should then see the first screen, which will prompt you for a password. Default password is “admin”, just type admin, then click OK to continue to the configure screen.
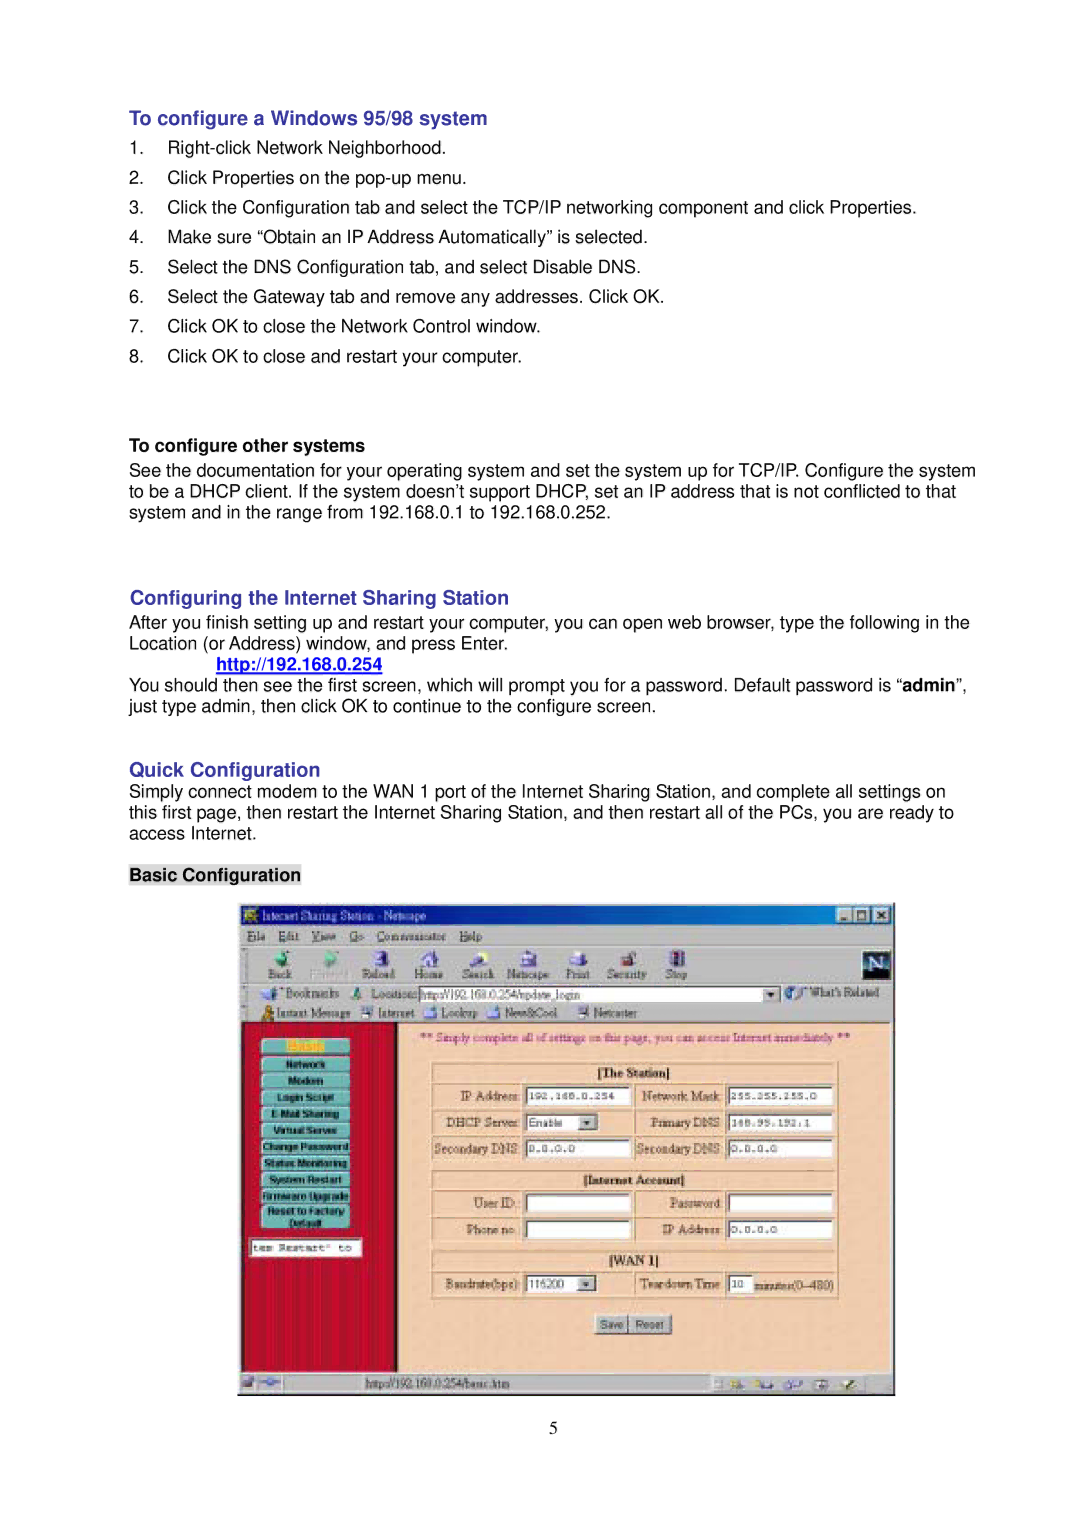
Quick Configuration
Simply connect modem to the WAN 1 port of the Internet Sharing Station, and complete all settings on this first page, then restart the Internet Sharing Station, and then restart all of the PCs, you are ready to access Internet.
Basic Configuration
5
