NAS Management
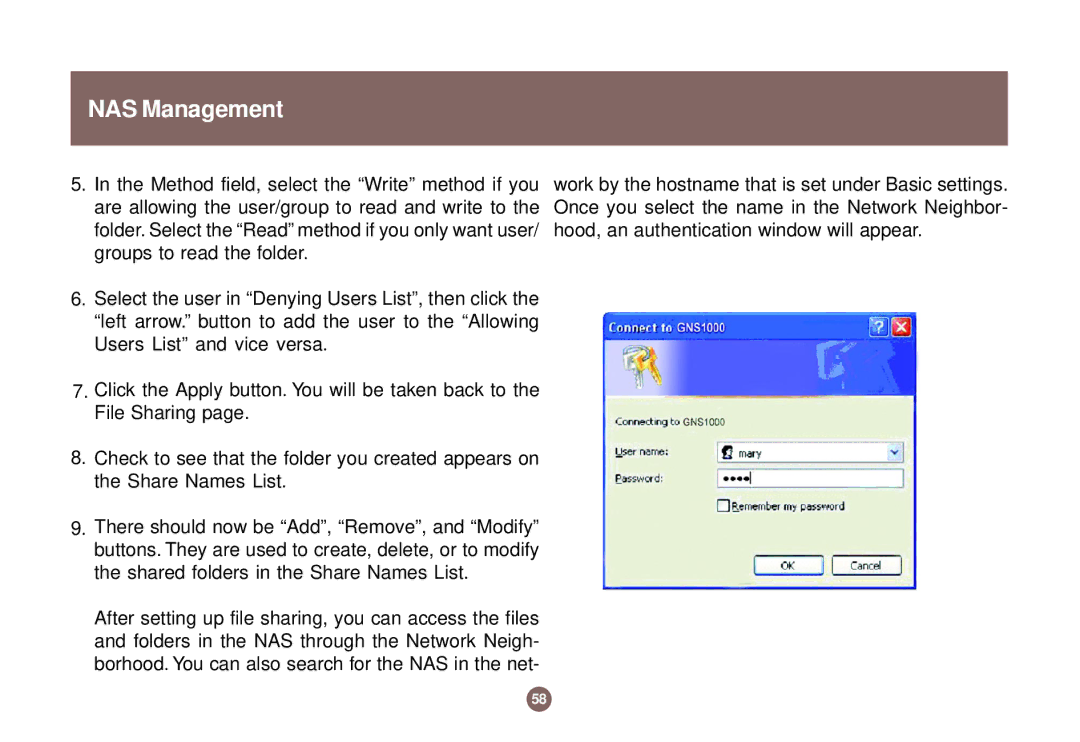
5.In the Method field, select the “Write” method if you work by the hostname that is set under Basic settings. are allowing the user/group to read and write to the Once you select the name in the Network Neighbor- folder. Select the “Read” method if you only want user/ hood, an authentication window will appear.
groups to read the folder.
6.Select the user in “Denying Users List”, then click the “left arrow.” button to add the user to the “Allowing Users List” and vice versa.
7.Click the Apply button. You will be taken back to the File Sharing page.
8.Check to see that the folder you created appears on the Share Names List.
9.There should now be “Add”, “Remove”, and “Modify” buttons. They are used to create, delete, or to modify the shared folders in the Share Names List.
After setting up file sharing, you can access the files and folders in the NAS through the Network Neigh- borhood. You can also search for the NAS in the net-
58