1.Remove the saw blade and the blade guard for dado cuts ONLY. Reinstall and realign blade guard for all through- sawing operations. Install a dado not exceeding 6 in. diameter and 13/16 in. width.
2.Install a dado table insert making sure that the rear of the insert is flush with the table.
Note: A dado table insert is not included but can be ordered (SN 707001) by calling the number on the cover of this manual.
3.Instructions for operating the dado is packed with the separately purchased dado set.
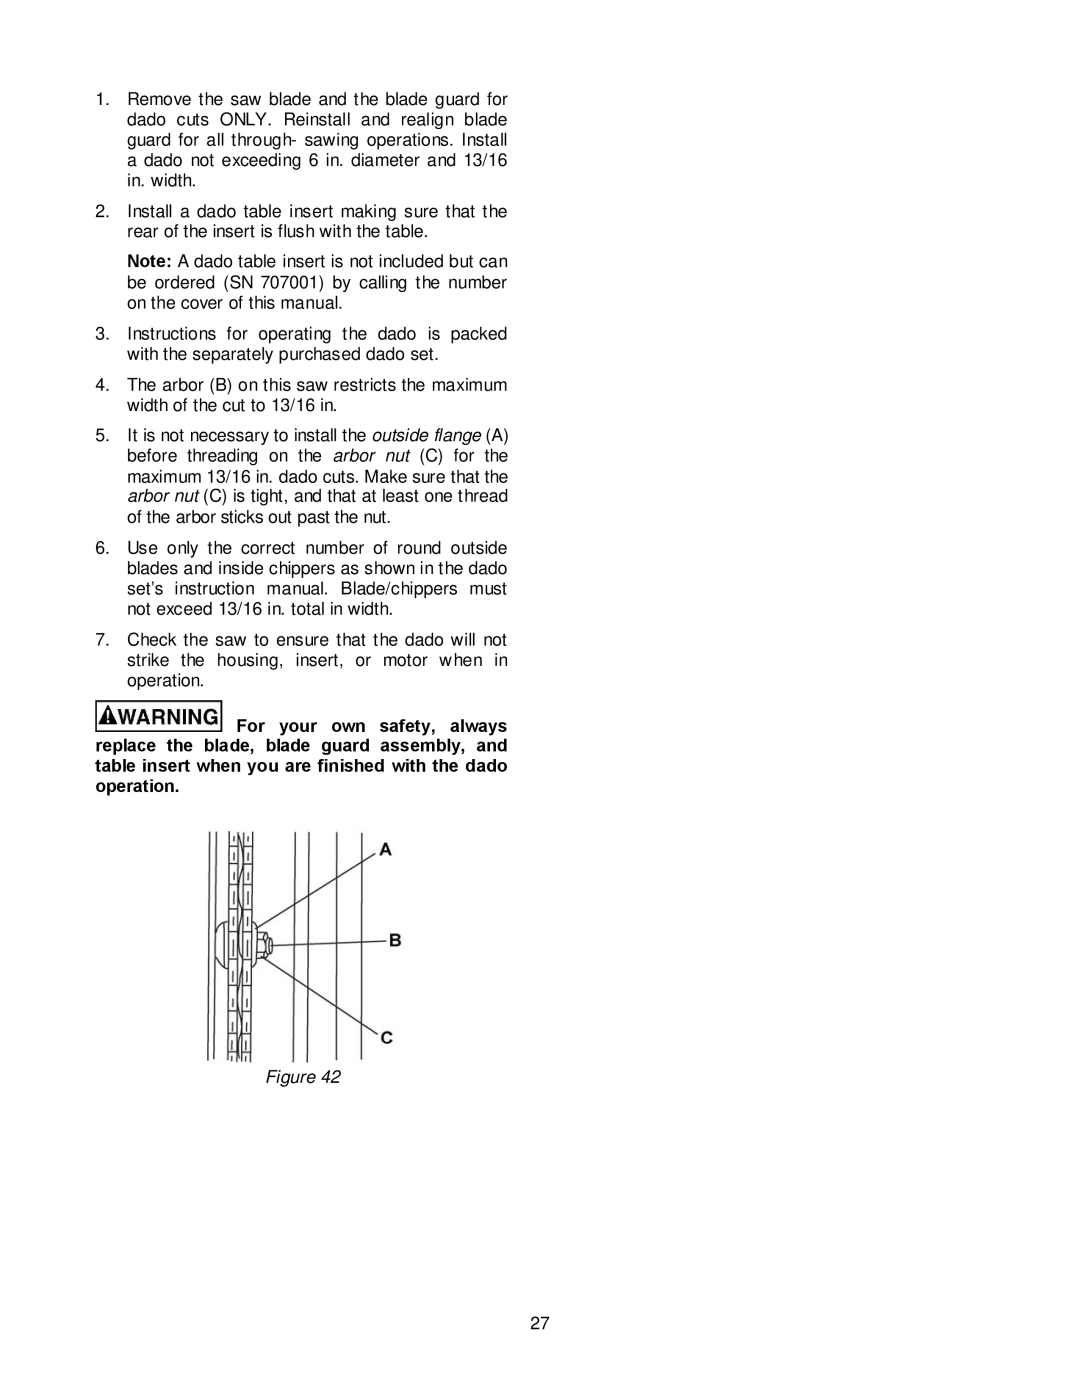
4.The arbor (B) on this saw restricts the maximum width of the cut to 13/16 in.
5.It is not necessary to install the outside flange (A) before threading on the arbor nut (C) for the maximum 13/16 in. dado cuts. Make sure that the arbor nut (C) is tight, and that at least one thread of the arbor sticks out past the nut.
6.Use only the correct number of round outside blades and inside chippers as shown in the dado set’s instruction manual. Blade/chippers must not exceed 13/16 in. total in width.
7.Check the saw to ensure that the dado will not strike the housing, insert, or motor when in operation.
![]() For your own safety, always replace the blade, blade guard assembly, and table insert when you are finished with the dado operation.
For your own safety, always replace the blade, blade guard assembly, and table insert when you are finished with the dado operation.
Figure 42
27