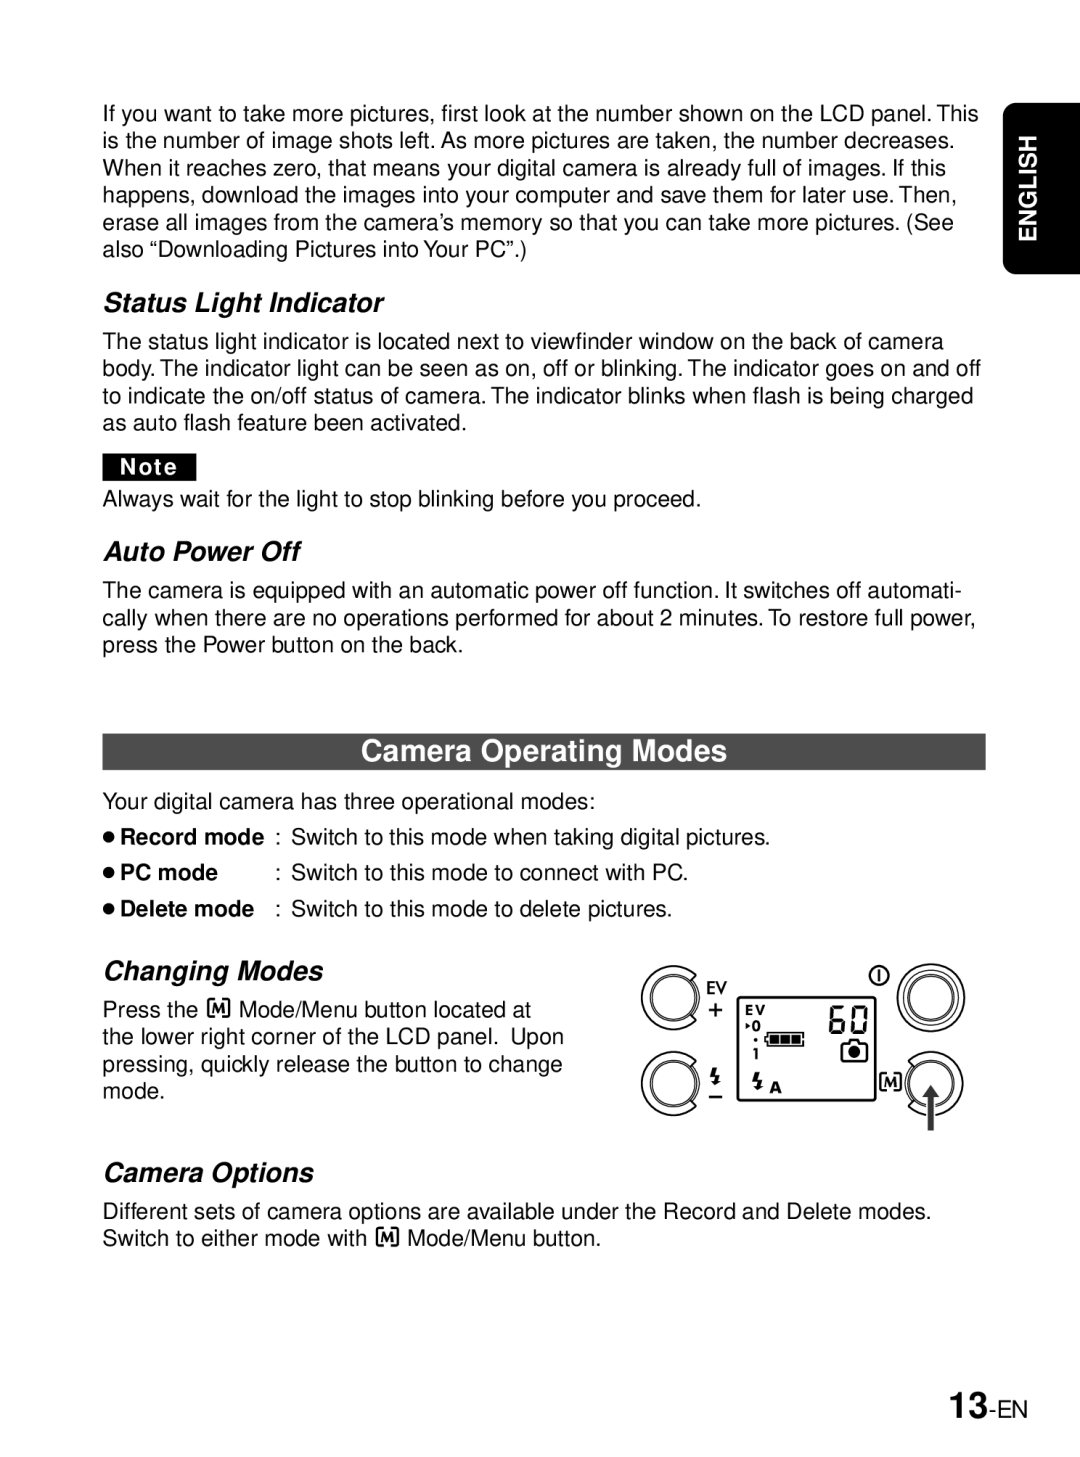
If you want to take more pictures, first look at the number shown on the LCD panel. This is the number of image shots left. As more pictures are taken, the number decreases. When it reaches zero, that means your digital camera is already full of images. If this happens, download the images into your computer and save them for later use. Then, erase all images from the camera’s memory so that you can take more pictures. (See also “Downloading Pictures into Your PC”.)
Status Light Indicator
The status light indicator is located next to viewfinder window on the back of camera body. The indicator light can be seen as on, off or blinking. The indicator goes on and off to indicate the on/off status of camera. The indicator blinks when flash is being charged as auto flash feature been activated.
Note
Always wait for the light to stop blinking before you proceed.
Auto Power Off
The camera is equipped with an automatic power off function. It switches off automati- cally when there are no operations performed for about 2 minutes. To restore full power, press the Power button on the back.
Camera Operating Modes
Your digital camera has three operational modes:
●Record mode : Switch to this mode when taking digital pictures.
●PC mode : Switch to this mode to connect with PC.
●Delete mode : Switch to this mode to delete pictures.
Changing Modes
Press the Mode/Menu button located at the lower right corner of the LCD panel. Upon pressing, quickly release the button to change mode.
Camera Options
Different sets of camera options are available under the Record and Delete modes. Switch to either mode with Mode/Menu button.
ENGLISH
