RECORDING Advanced Features


 21
21
Date/Time Insert
This feature allows you to display the date and time in your viewfinder or the LCD monitor and on a connected TV.
NOTE:
You should already have performed the Date/Time Setting procedure (☞ pg. 11). If you haven’t, do so before continuing.
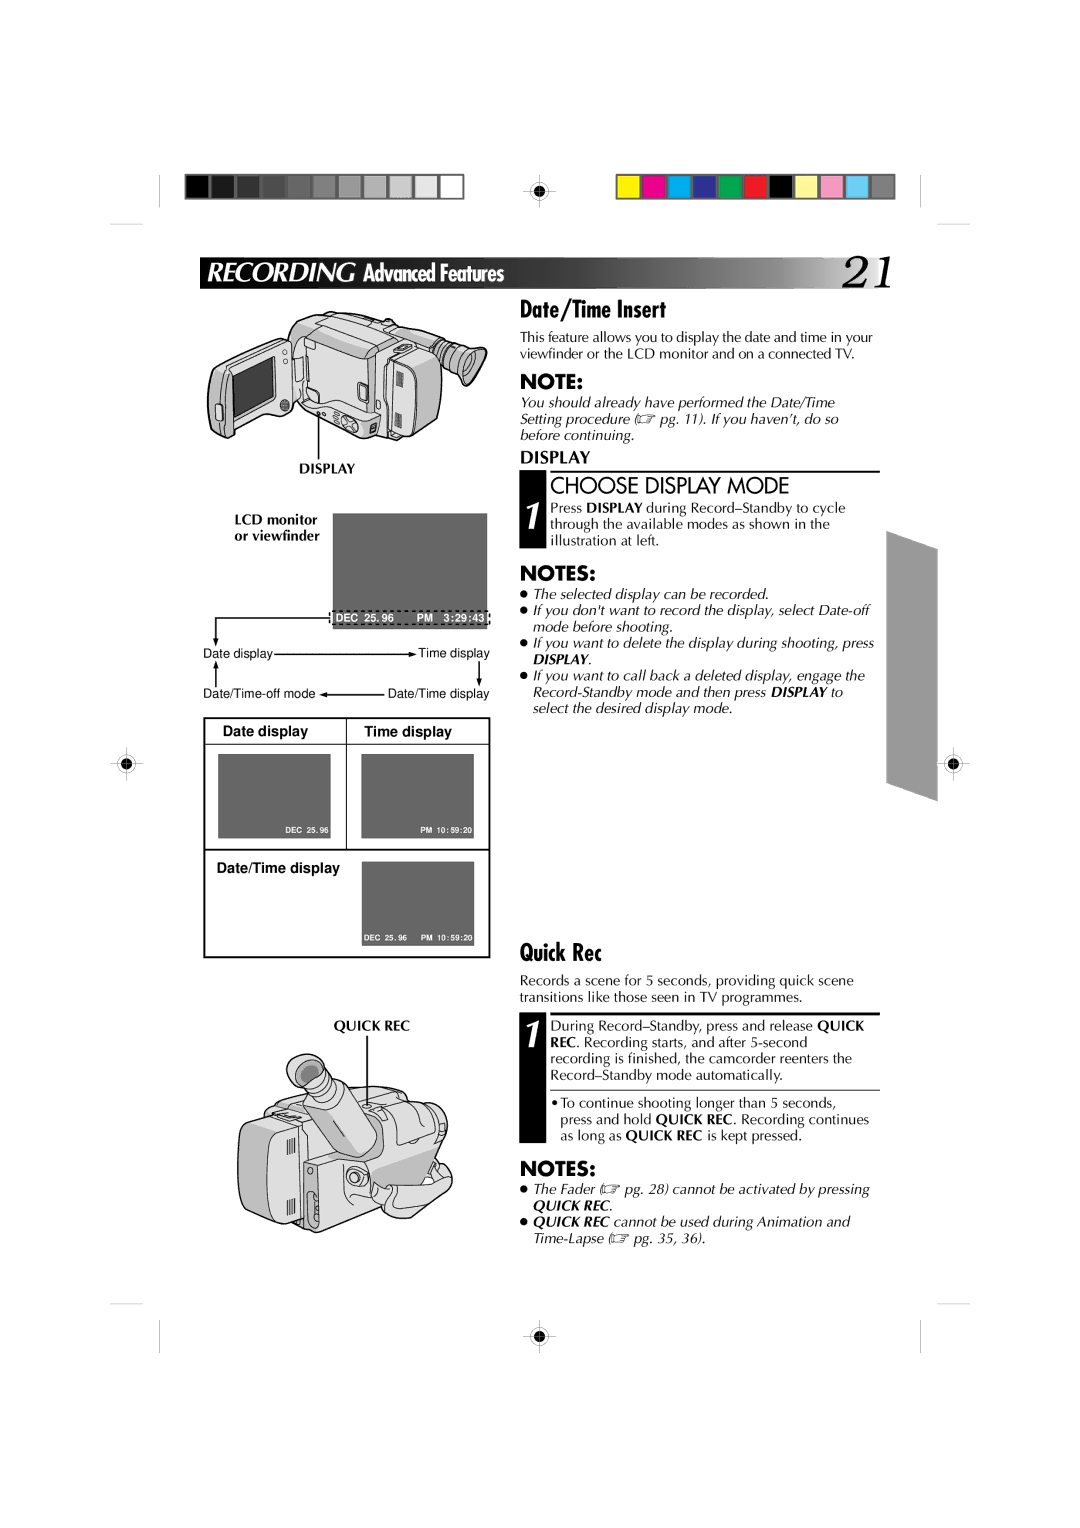
DISPLAY
LCD monitor or viewfinder
DEC 25. 96 PM 3:29:43
Date display ![]() Time display
Time display
![]() Date/Time display
Date/Time display
Date display | Time display |
DISPLAY
CHOOSE DISPLAY MODE
1 Press DISPLAY during
NOTES:
●The selected display can be recorded.
●If you don't want to record the display, select
●If you want to delete the display during shooting, press
DISPLAY.
●If you want to call back a deleted display, engage the
DEC 25. 96
PM 10: 59:20
Date/Time display
DEC 25. 96 | PM 10: 59:20 |
| Quick Rec |
| Records a scene for 5 seconds, providing quick scene |
| transitions like those seen in TV programmes. |
QUICK REC | During |
| 1 REC. Recording starts, and after |
| recording is finished, the camcorder reenters the |
| |
| •To continue shooting longer than 5 seconds, |
| press and hold QUICK REC. Recording continues |
| as long as QUICK REC is kept pressed. |
| NOTES: |
| ● The Fader (☞ pg. 28) cannot be activated by pressing |
| QUICK REC. |
| ● QUICK REC cannot be used during Animation and |
|