EN 13

 Tripod Mounting
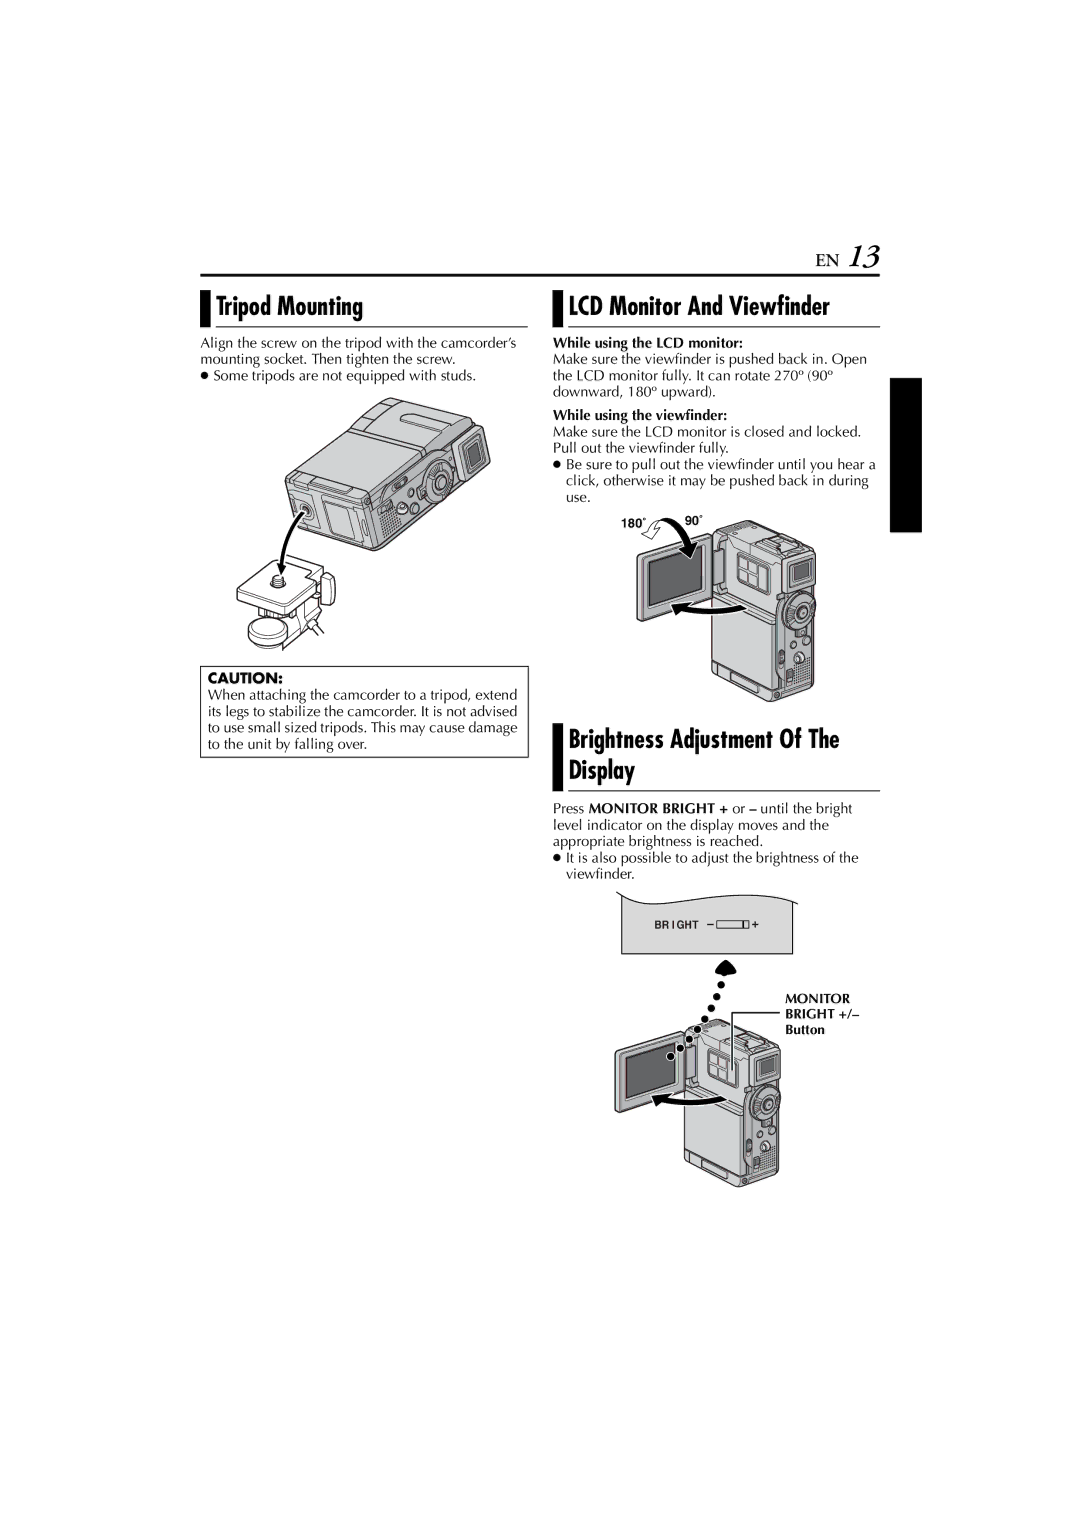
Align the screw on the tripod with the camcorder’s mounting socket. Then tighten the screw.
●Some tripods are not equipped with studs.
CAUTION:
When attaching the camcorder to a tripod, extend its legs to stabilize the camcorder. It is not advised to use small sized tripods. This may cause damage to the unit by falling over.

 LCD Monitor And Viewfinder
While using the LCD monitor:
Make sure the viewfinder is pushed back in. Open the LCD monitor fully. It can rotate 270º (90º downward, 180º upward).
While using the viewfinder:
Make sure the LCD monitor is closed and locked. Pull out the viewfinder fully.
●Be sure to pull out the viewfinder until you hear a click, otherwise it may be pushed back in during use.
180˚ 90˚
Brightness Adjustment Of The Display
Press MONITOR BRIGHT + or – until the bright level indicator on the display moves and the appropriate brightness is reached.
●It is also possible to adjust the brightness of the viewfinder.
BR I GHT
MONITOR
![]() BRIGHT +/–
BRIGHT +/–
Button