22![]()
![]()
![]() EN
EN![]()
![]()
![]()
![]()
![]()
![]()
![]()
![]()
![]()
![]()
![]()
![]()
![]()
![]()
![]()
![]()
![]()
![]()
![]()
![]()
![]()
![]()
![]()
![]()
![]()
![]()
![]()
![]()
![]()
![]()
![]()
![]()
![]()
![]()
![]()
![]()
![]()
![]()
![]()
![]()
RECORDING
 Advanced
 Features
 (cont.)


Date/Time Insert
The feature allows you to display the date and time on the LCD monitor, in the viewfinder, or on a connected colour monitor, as well as to record them manually or automati- cally.
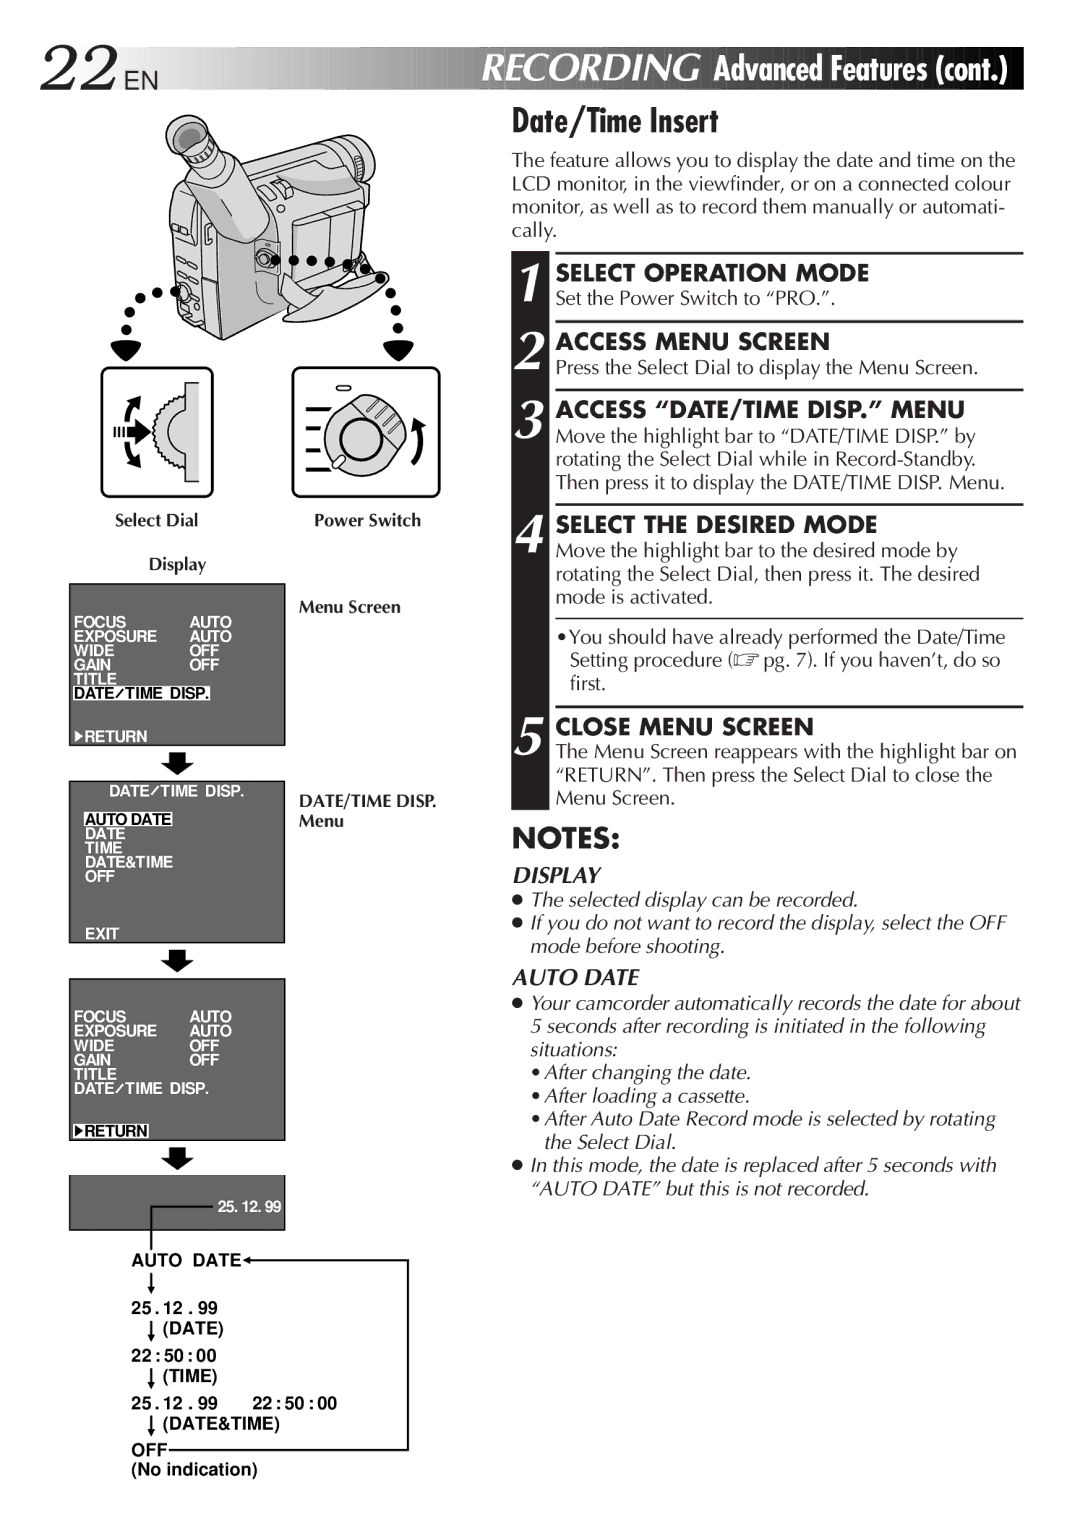
Select Dial
Display
FOCUS AUTO
EXPOSURE AUTO
WIDEOFF
GAINOFF TITLE
DATE![]() TIME DISP.
TIME DISP.
4RETURN
DATE![]() TIME DISP.
TIME DISP.
AUTO DATE
DATE
TIME
DATE&TIME
OFF
EXIT
FOCUS AUTO
EXPOSURE AUTO
WIDEOFF
GAINOFF TITLE
DATE![]() TIME DISP.
TIME DISP.
4RETURN
25. 12. 99
Power Switch
Menu Screen
DATE/TIME DISP. Menu
1 SELECT OPERATION MODE Set the Power Switch to “PRO.”.
2 ACCESS MENU SCREEN
Press the Select Dial to display the Menu Screen.
3 ACCESS “DATE/TIME DISP.” MENU Move the highlight bar to “DATE/TIME DISP.” by rotating the Select Dial while in
Then press it to display the DATE/TIME DISP. Menu.
4 SELECT THE DESIRED MODE Move the highlight bar to the desired mode by rotating the Select Dial, then press it. The desired mode is activated.
•You should have already performed the Date/Time Setting procedure (☞ pg. 7). If you haven’t, do so first.
5 CLOSE MENU SCREEN
The Menu Screen reappears with the highlight bar on “RETURN”. Then press the Select Dial to close the Menu Screen.
NOTES:
DISPLAY
●The selected display can be recorded.
●If you do not want to record the display, select the OFF mode before shooting.
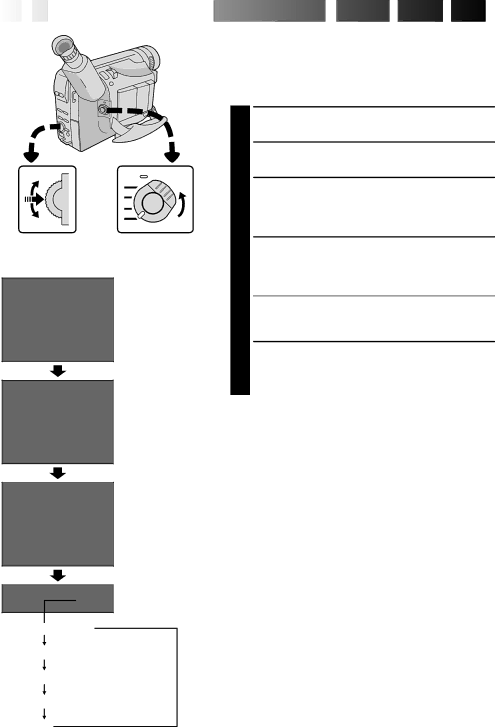
AUTO DATE
●Your camcorder automatically records the date for about 5 seconds after recording is initiated in the following situations:
•After changing the date.
•After loading a cassette.
•After Auto Date Record mode is selected by rotating the Select Dial.
●In this mode, the date is replaced after 5 seconds with “AUTO DATE” but this is not recorded.
AUTO DATE![]()
25 . 12 . 99 (DATE)
22 : 50 : 00 (TIME)
25 . 12 . 99 22 : 50 : 00 (DATE&TIME)
OFF
(No indication)