| 2 |
|
1 | 2 | 3 |
4 | 5 | 6 |
7 | 8 | 9 |
CANCEL | 0 | 4 |
|
|
3 | OK |
MENU | 1 |
|
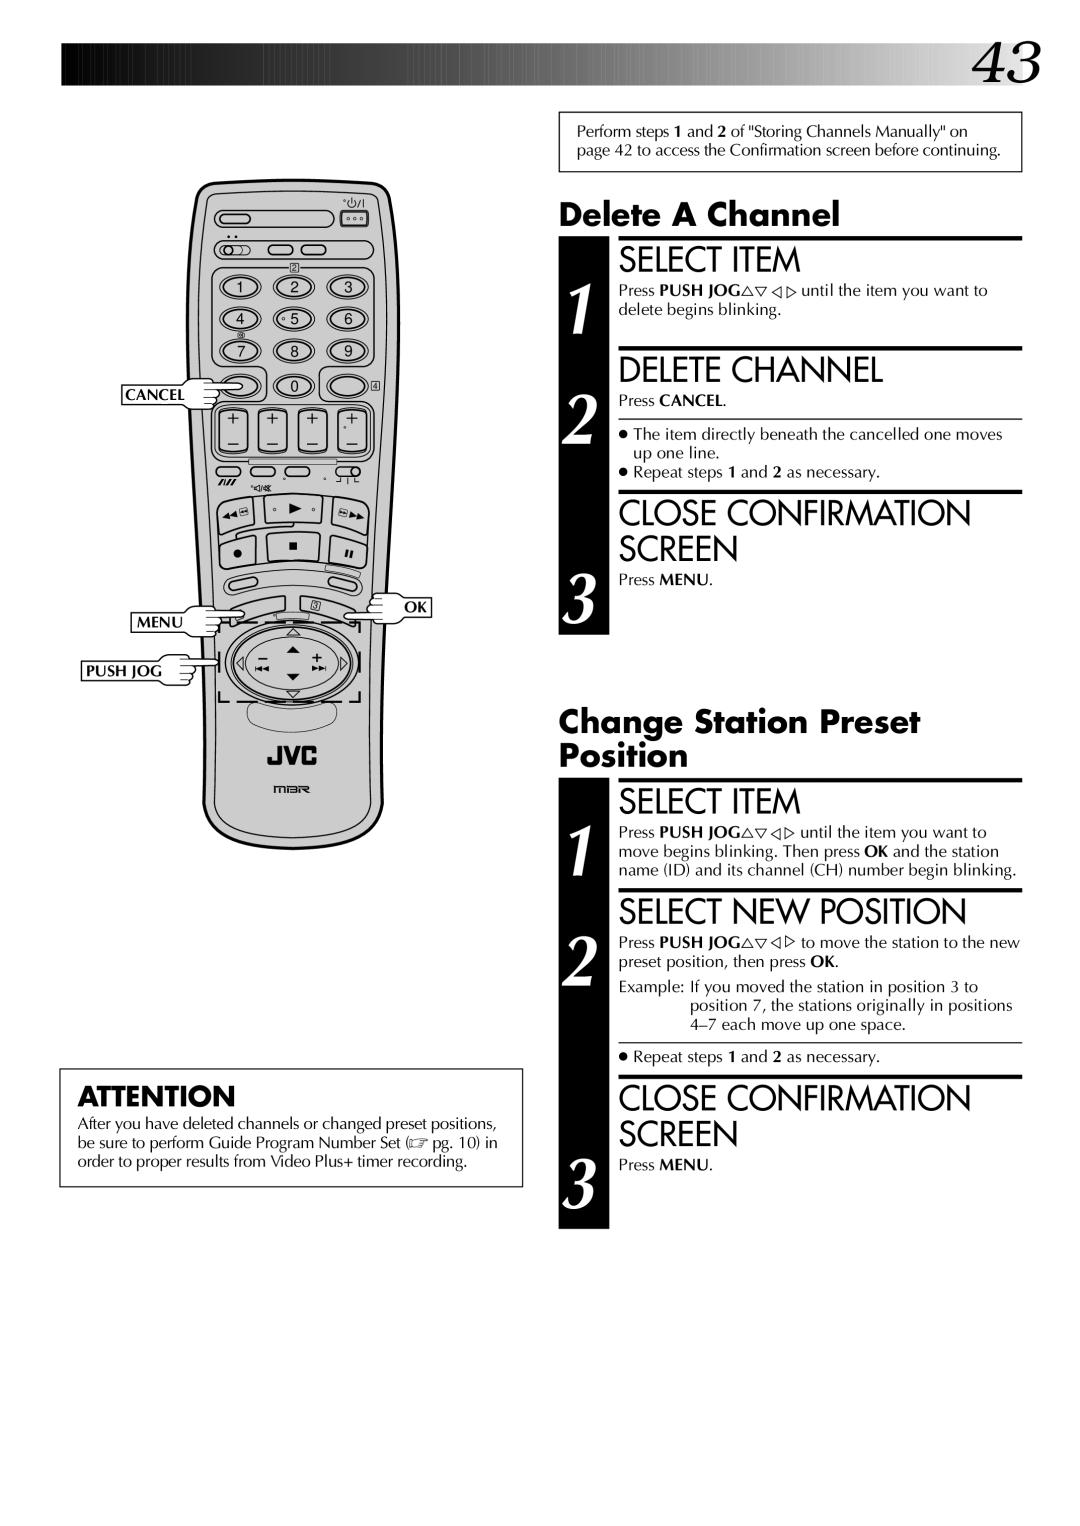
PUSH JOG
ATTENTION
After you have deleted channels or changed preset positions, be sure to perform Guide Program Number Set (☞ pg. 10) in order to proper results from Video Plus+ timer recording.
![]()
![]()
![]()
![]()
![]()
![]()
![]()
![]()
![]()
![]()
![]()
![]()
![]()
![]()
![]()
![]()
![]()
![]()
![]()
![]()
![]()
![]()
![]()
![]()
![]()
![]()
![]()
![]()
![]()
![]()
![]()
![]()
![]()
![]()
![]()
![]()
![]()
![]()
![]()
![]()
![]()
![]()
![]()
![]()
![]()
![]()
![]()
![]()
![]()
![]()
![]()
![]()
![]()
![]() 43
43![]()
Perform steps 1 and 2 of "Storing Channels Manually" on page 42 to access the Confirmation screen before continuing.
Delete A Channel
1 |
| SELECT ITEM |
| Press PUSH JOG%Þ%%until the item you want to | |
| delete begins blinking. | |
2 |
| DELETE CHANNEL |
| Press CANCEL. | |
|
| |
| ● The item directly beneath the cancelled one moves | |
| up one line. | |
|
| ● Repeat steps 1 and 2 as necessary. |
|
|
|
|
| CLOSE CONFIRMATION |
3 |
| SCREEN |
| Press MENU. |
Change Station Preset
Position
1 |
| SELECT ITEM |
| Press PUSH JOG%Þ%%until the item you want to | |
| move begins blinking. Then press OK and the station | |
name (ID) and its channel (CH) number begin blinking. | ||
2 |
| SELECT NEW POSITION |
| Press PUSH JOG%Þ%%to move the station to the new | |
| preset position, then press OK. | |
| Example: If you moved the station in position 3 to | |
|
| position 7, the stations originally in positions |
|
| |
|
|
|
|
| ● Repeat steps 1 and 2 as necessary. |
|
|
|
|
| CLOSE CONFIRMATION |
3 |
| SCREEN |
| Press MENU. | |