1 2 3
2
4 5 6
7 8 9
0 4
1
OK
MENU
PUSH JOG
![]()
![]()
![]()
![]()
![]()
![]()
![]()
![]()
![]()
![]()
![]()
![]()
![]()
![]()
![]()
![]()
![]()
![]()
![]()
![]()
![]()
![]()
![]()
![]()
![]()
![]()
![]()
![]()
![]()
![]()
![]()
![]()
![]()
![]()
![]()
![]()
![]() E
E![]() N
N![]()
![]() 33
33![]()
| VIEW CHANNEL LIST |
|
|
| |||
4 | SCREEN |
|
|
|
|
|
|
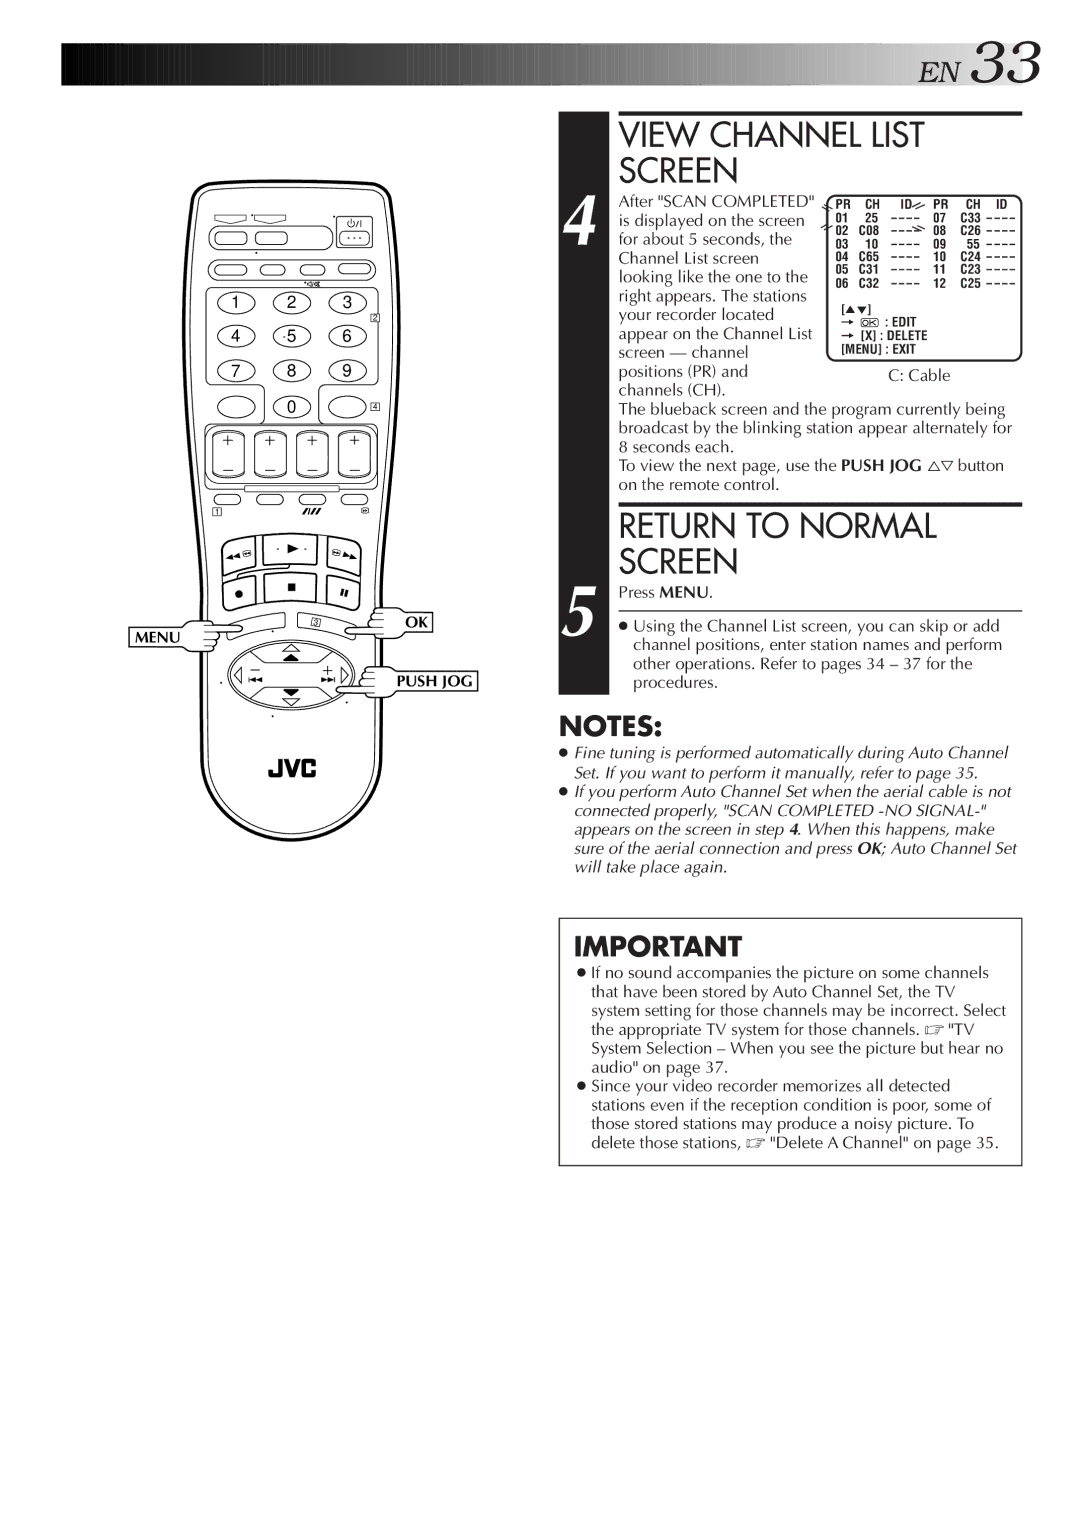
After "SCAN COMPLETED" | PR | CH | ID | PR | CH | ID | |
is displayed on the screen | 01 | 25 | – – – – | 07 | C33 | – – – – | |
for about 5 seconds, the | 02 | C08 | – – – – | 08 | C26 | – – – – | |
03 | 10 | – – – – | 09 | 55 – – – – | |||
Channel List screen | 04 | C65 | – – – – | 10 | C24 | – – – – | |
| looking like the one to the | 05 | C31 | – – – – | 11 | C23 | – – – – |
| 06 | C32 | – – – – | 12 | C25 | – – – – | |
| right appears. The stations | ||||||
| [5°] |
|
|
|
| ||
| your recorder located |
|
|
|
| ||
| = |
| : EDIT |
|
|
| |
| appear on the Channel List |
|
|
|
| ||
| = [X] : DELETE |
|
|
| |||
| screen — channel | [MENU] : EXIT |
|
|
| ||
| positions (PR) and |
|
| C: Cable |
|
| |
| channels (CH). |
|
|
|
|
|
|
| The blueback screen and the program currently being | ||||||
| broadcast by the blinking station appear alternately for | ||||||
| 8 seconds each. |
|
|
|
|
|
|
| To view the next page, use the PUSH JOG %Þbutton | ||||||
| on the remote control. |
|
|
|
|
|
|
| RETURN TO NORMAL |
5 | SCREEN |
Press MENU. | |
| |
● Using the Channel List screen, you can skip or add | |
channel positions, enter station names and perform | |
| other operations. Refer to pages 34 – 37 for the |
| procedures. |
NOTES:
●Fine tuning is performed automatically during Auto Channel Set. If you want to perform it manually, refer to page 35.
●If you perform Auto Channel Set when the aerial cable is not connected properly, "SCAN COMPLETED
IMPORTANT
●If no sound accompanies the picture on some channels that have been stored by Auto Channel Set, the TV system setting for those channels may be incorrect. Select the appropriate TV system for those channels. ☞ "TV System Selection – When you see the picture but hear no audio" on page 37.
●Since your video recorder memorizes all detected stations even if the reception condition is poor, some of those stored stations may produce a noisy picture. To delete those stations, ☞ "Delete A Channel" on page 35.