Daily Operations—Playback
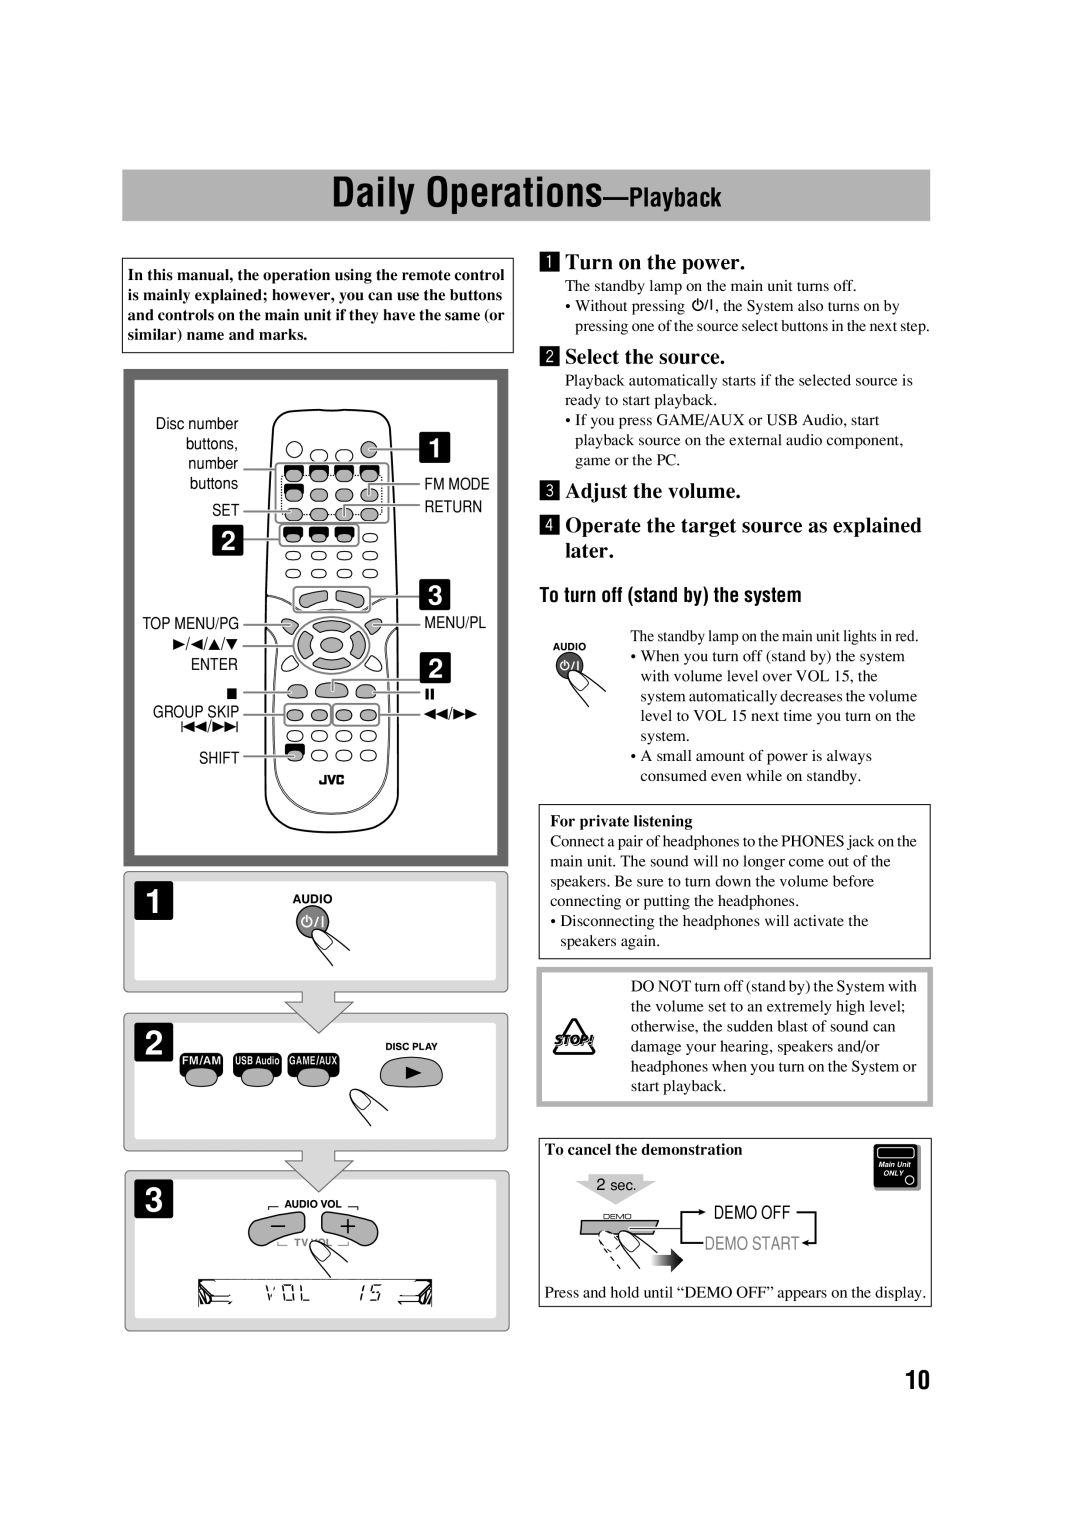
In this manual, the operation using the remote control is mainly explained; however, you can use the buttons and controls on the main unit if they have the same (or similar) name and marks.
¥Turn on the power.
The standby lamp on the main unit turns off.
•Without pressing ![]() , the System also turns on by pressing one of the source select buttons in the next step.
, the System also turns on by pressing one of the source select buttons in the next step.
øSelect the source.
Playback automatically starts if the selected source is ready to start playback.
Disc number buttons, number buttons
SET
2
TOP MENU/PG ![]()
3/2/5/∞
ENTER
7
GROUP SKIP
4/¢
SHIFT
1
![]() FM MODE RETURN
FM MODE RETURN
3
 MENU/PL
2
![]() 8
8 ![]() 1/¡
1/¡
•If you press GAME/AUX or USB Audio, start playback source on the external audio component, game or the PC.
πAdjust the volume.
[Operate the target source as explained later.
To turn off (stand by) the system
The standby lamp on the main unit lights in red.
•When you turn off (stand by) the system with volume level over VOL 15, the system automatically decreases the volume level to VOL 15 next time you turn on the system.
•A small amount of power is always consumed even while on standby.
For private listening
1
2
3
Connect a pair of headphones to the PHONES jack on the main unit. The sound will no longer come out of the speakers. Be sure to turn down the volume before connecting or putting the headphones.
•Disconnecting the headphones will activate the speakers again.
DO NOT turn off (stand by) the System with the volume set to an extremely high level; otherwise, the sudden blast of sound can damage your hearing, speakers and/or headphones when you turn on the System or start playback.
To cancel the demonstration
Main Unit
ONLY
2sec.
![]() DEMO OFF
DEMO OFF
DEMO START
Press and hold until “DEMO OFF” appears on the display.
10