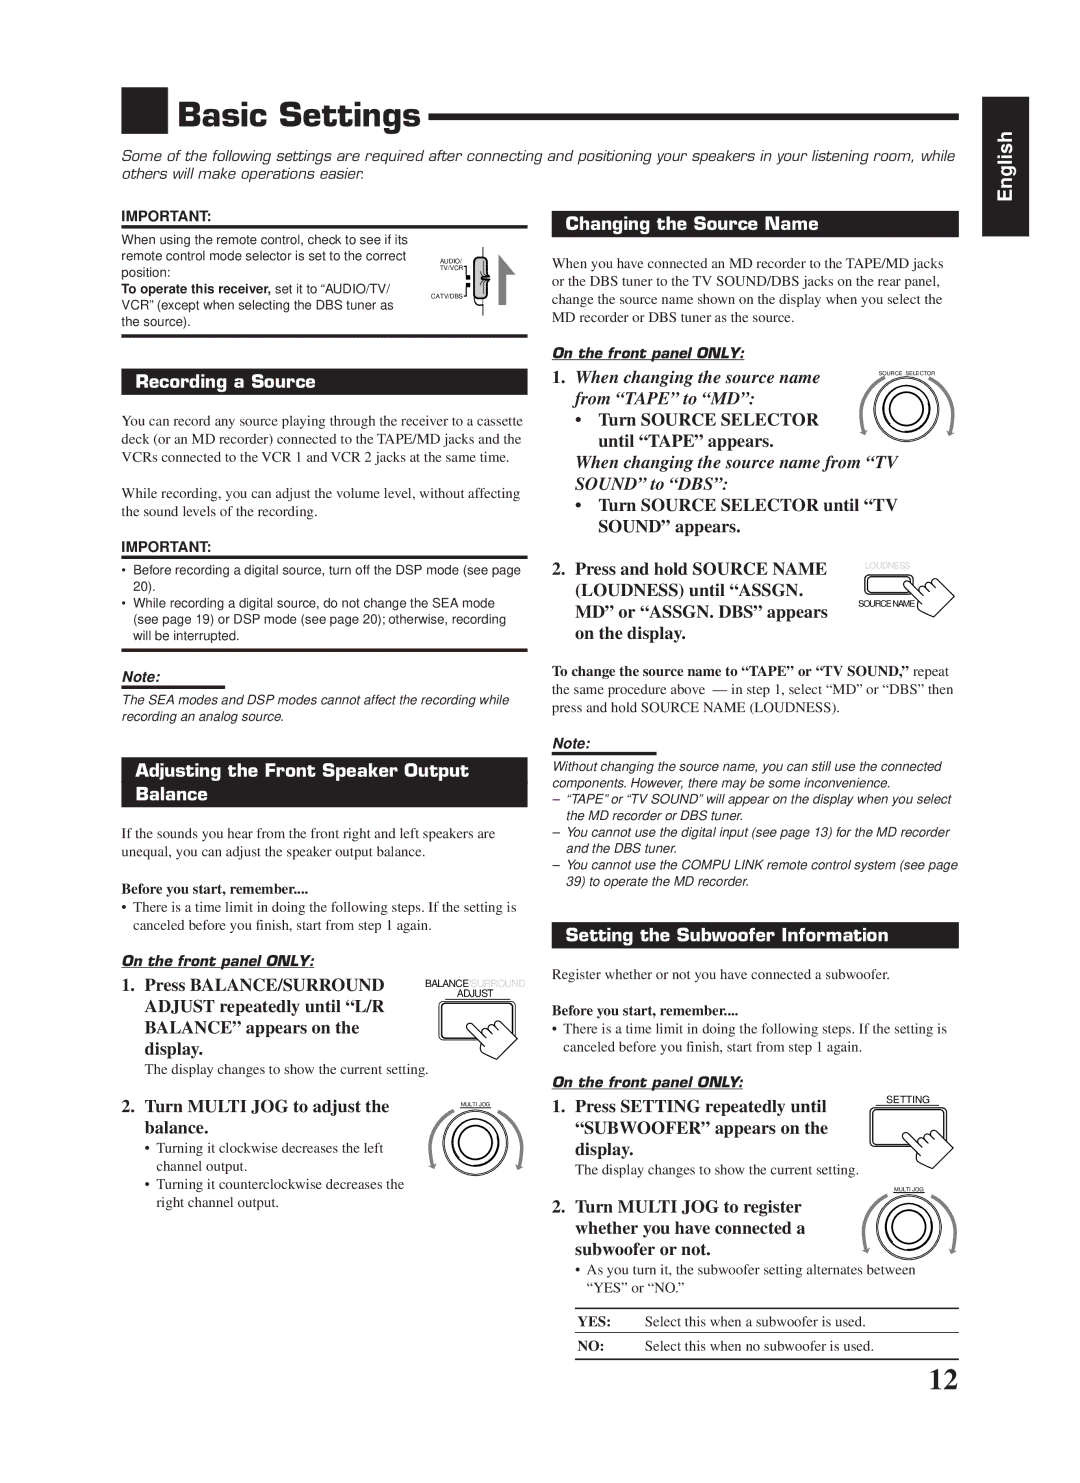

 Basic Settings
Some of the following settings are required after connecting and positioning your speakers in your listening room, while others will make operations easier.
English
IMPORTANT:
When using the remote control, check to see if its |
|
|
|
|
remote control mode selector is set to the correct | AUDIO/ | |||
position: | TV/VCR |
| ||
|
|
|
| |
To operate this receiver, set it to “AUDIO/TV/ | CATV/DBS |
|
|
|
|
|
| ||
VCR” (except when selecting the DBS tuner as |
|
| ||
|
|
|
| |
|
|
|
| |
the source). |
|
|
|
|
|
|
|
|
|
Recording a Source
You can record any source playing through the receiver to a cassette deck (or an MD recorder) connected to the TAPE/MD jacks and the VCRs connected to the VCR 1 and VCR 2 jacks at the same time.
While recording, you can adjust the volume level, without affecting the sound levels of the recording.
IMPORTANT:
•Before recording a digital source, turn off the DSP mode (see page 20).
•While recording a digital source, do not change the SEA mode (see page 19) or DSP mode (see page 20); otherwise, recording will be interrupted.
Note:
The SEA modes and DSP modes cannot affect the recording while recording an analog source.
Adjusting the Front Speaker Output
Balance
If the sounds you hear from the front right and left speakers are unequal, you can adjust the speaker output balance.
Before you start, remember....
•There is a time limit in doing the following steps. If the setting is canceled before you finish, start from step 1 again.
On the front panel ONLY:
1. Press BALANCE/SURROUND | BALANCE/SURROUND |
| ADJUST |
Changing the Source Name
When you have connected an MD recorder to the TAPE/MD jacks or the DBS tuner to the TV SOUND/DBS jacks on the rear panel, change the source name shown on the display when you select the MD recorder or DBS tuner as the source.
On the front panel ONLY:
1. When changing the source name | SOURCE SELECTOR |
| |
from “TAPE” to “MD”: |
|
•Turn SOURCE SELECTOR until “TAPE” appears.
When changing the source name from “TV SOUND” to “DBS”:
•Turn SOURCE SELECTOR until “TV SOUND” appears.
2. Press and hold SOURCE NAME | LOUDNESS | |
| ||
(LOUDNESS) until “ASSGN. | SOURCENAME | |
MD” or “ASSGN. DBS” appears | ||
| ||
on the display. |
|
To change the source name to “TAPE” or “TV SOUND,” repeat
the same procedure above — in step 1, select “MD” or “DBS” then press and hold SOURCE NAME (LOUDNESS).
Note:
Without changing the source name, you can still use the connected components. However, there may be some inconvenience.
–“TAPE” or “TV SOUND” will appear on the display when you select the MD recorder or DBS tuner.
–You cannot use the digital input (see page 13) for the MD recorder and the DBS tuner.
–You cannot use the COMPU LINK remote control system (see page 39) to operate the MD recorder.
Setting the Subwoofer Information
Register whether or not you have connected a subwoofer.
ADJUST repeatedly until “L/R |
| Before you start, remember.... |
BALANCE” appears on the |
| • There is a time limit in doing the following steps. If the setting is |
display. |
| canceled before you finish, start from step 1 again. |
The display changes to show the current setting.
On the front panel ONLY:
2.Turn MULTI JOG to adjust the balance.
•Turning it clockwise decreases the left channel output.
•Turning it counterclockwise decreases the right channel output.
MULTI JOG
1.Press SETTING repeatedly until “SUBWOOFER” appears on the
display.
The display changes to show the current setting.
2.Turn MULTI JOG to register whether you have connected a subwoofer or not.
SETTING
MULTI JOG
•As you turn it, the subwoofer setting alternates between “YES” or “NO.”
YES: Select this when a subwoofer is used.
NO: Select this when no subwoofer is used.
12
