Speaker settings
To obtain the best possible surround effect from Surround/DSP modes (see pages 26 to 31), you need to set up the speaker and subwoofer information after all the connections are completed. You can set the speaker information using one of the following three methods.
Smart Surround Setup: Set the speakers information automatically by one simple
Quick Setup:Set the speakers and subwoofer information quickly by entering the use of the subwoofer, the number of the speakers, and your room size.
Manual Setup: Set the speakers and subwoofer information manually.
• Before starting the speaker setting, connect and position the speakers and subwoofer (see page 7) and turn on the receiver.
Setting the speakers information
The distance from your listening point to the speakers is one of the important element to obtain the best possible sound effect for the Surround/DSP modes.
You need to set the delay time of the center and surround speakers relative to the front speakers so that sounds through all the speakers can reach you at the same time (see also page 19).
By using Smart Surround Setup, the speaker delay time and output level are automatically calculated by one simple
•To set the speaker information effectively using Smart Surround Setup, unplug the power cords of all the components connected to this receiver such as a TV, DVD player, DBS tuner, and VCR which may cause noise.
•To use Smart Surround Setup effectively, connect both the center and surround speakers.
•You can also set the crossover frequency, the low frequency effect attenuator and the dynamic range compression manually (see page 19).
•When you change your speakers, do the following steps again.
From the remote control ONLY:
ZOOM | 1 | 2 | 3 |
|
|
| BASS | TREBLE |
|
VFP | 4 | 5 | 6 |
|
KARAOKE |
|
|
|
|
| 7 | 8 | 9 |
|
KEY TV RETURN |
| 100+ |
| |
ANGLE | 10 | 0 | +10 |
|
KEY | VOCAL | EFFECT |
|
|
REPEAT | 3D | INPUT |
| When operating the receiver using |
DIMMER |
|
| ||
SLEEP ANALOG/DIGITAL CANCEL |
| |||
SMART S. SETUP | BASS BOOST |
| A.POSITION | the remote control, always set the |
|
| TONE | SURROUND | |
SUBWFR | CENTER |
| mode selector to AUDIO/TV/VCR/DBS. | |
L SURR R | ||||
TEST | EFFECT | DECODE |
|
|
Before you start, remember...
There is a time limit in doing the following steps. If the setting is canceled before you finish, start from step 2 again.
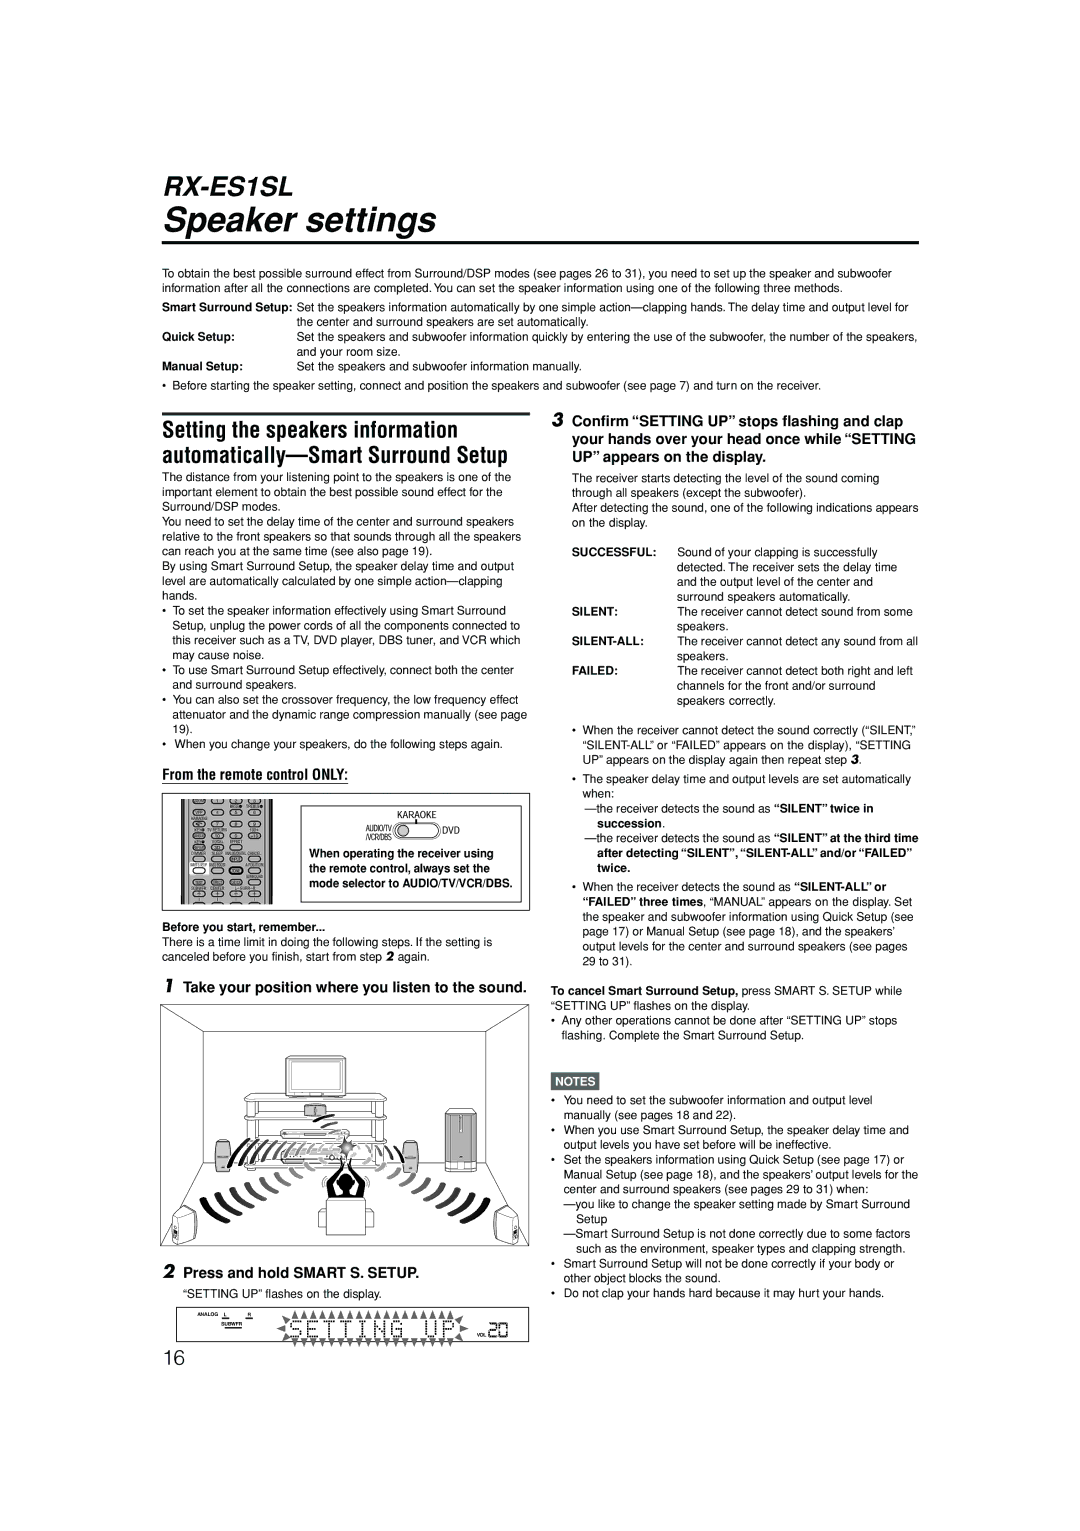
1Take your position where you listen to the sound.
2Press and hold SMART S. SETUP.
“SETTING UP” flashes on the display.
ANALOG L |
| R | |
|
|
|
|
SUBWFR
VOL |
3Confirm “SETTING UP” stops flashing and clap your hands over your head once while “SETTING UP” appears on the display.
The receiver starts detecting the level of the sound coming through all speakers (except the subwoofer).
After detecting the sound, one of the following indications appears on the display.
SUCCESSFUL: Sound of your clapping is successfully detected. The receiver sets the delay time and the output level of the center and surround speakers automatically.
SILENT: The receiver cannot detect sound from some speakers.
FAILED: The receiver cannot detect both right and left channels for the front and/or surround speakers correctly.
•When the receiver cannot detect the sound correctly (“SILENT,”
•The speaker delay time and output levels are set automatically when:
•When the receiver detects the sound as
To cancel Smart Surround Setup, press SMART S. SETUP while “SETTING UP” flashes on the display.
•Any other operations cannot be done after “SETTING UP” stops flashing. Complete the Smart Surround Setup.
NOTES
•You need to set the subwoofer information and output level manually (see pages 18 and 22).
•When you use Smart Surround Setup, the speaker delay time and output levels you have set before will be ineffective.
•Set the speakers information using Quick Setup (see page 17) or Manual Setup (see page 18), and the speakers’ output levels for the center and surround speakers (see pages 29 to 31) when:
•Smart Surround Setup will not be done correctly if your body or other object blocks the sound.
•Do not clap your hands hard because it may hurt your hands.
16