![]()
![]()
![]() 1
1
3 ![]()
![]() 2
2
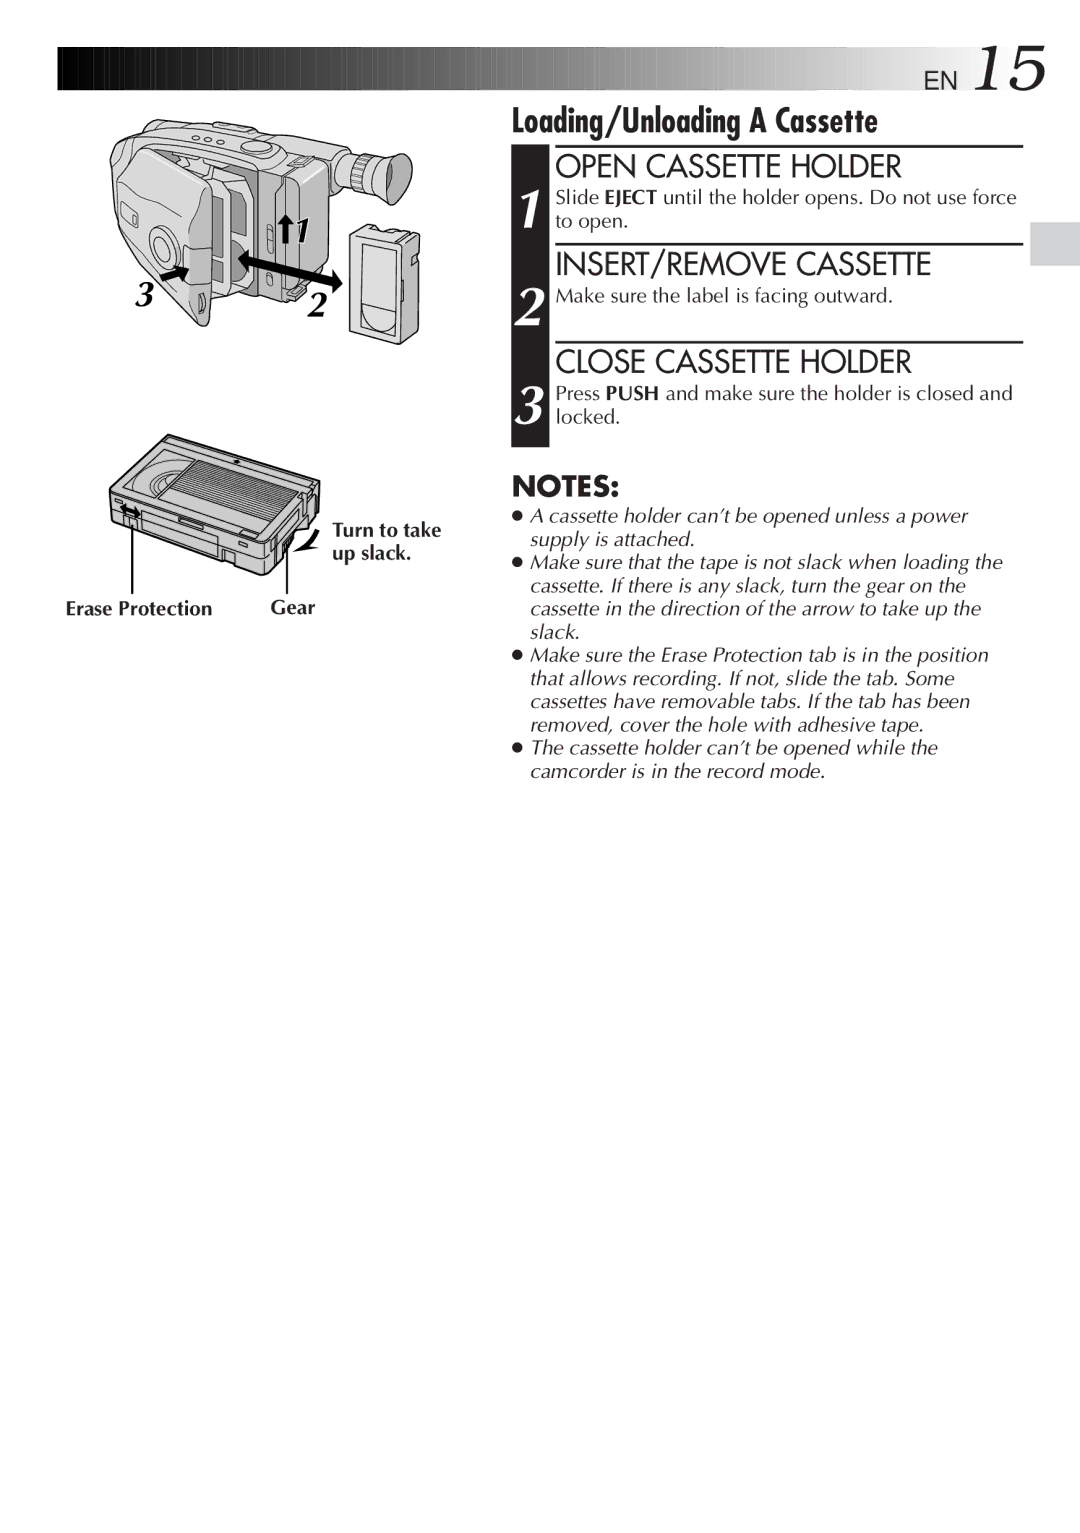
| Turn to take |
| up slack. |
Erase Protection | Gear |
![]()
![]()
![]()
![]()
![]()
![]() EN
EN![]() 15
15![]()
![]()
Loading/Unloading A Cassette
OPEN CASSETTE HOLDER
1 Slide EJECT until the holder opens. Do not use force to open.
INSERT/REMOVE CASSETTE
2 Make sure the label is facing outward.
CLOSE CASSETTE HOLDER
3 Press PUSH and make sure the holder is closed and locked.
NOTES:
●A cassette holder can’t be opened unless a power supply is attached.
●Make sure that the tape is not slack when loading the cassette. If there is any slack, turn the gear on the cassette in the direction of the arrow to take up the slack.
●Make sure the Erase Protection tab is in the position that allows recording. If not, slide the tab. Some cassettes have removable tabs. If the tab has been removed, cover the hole with adhesive tape.
●The cassette holder can’t be opened while the camcorder is in the record mode.