78![]()
![]()
![]() EN
EN![]()
![]()
![]()
![]()
![]()
![]()
![]()
![]()
![]()
![]()
![]()
![]()
![]()
![]()
![]()
![]()
![]()
![]()
![]()
![]()
![]()
![]()
![]()
![]()
![]()
![]()
![]()
![]()
![]()
![]()
![]()
![]()
![]()
![]()
![]()
![]()
![]()
![]()
![]()
![]()
![]()
![]()
![]()
![]()
![]()
![]()
![]()
![]()
![]()
![]()
![]()
![]()
![]()
TROUBLESHOOTING
 (cont.)


When the System Select Switch is set to “D.S.C.”:
SYMPTOM
SHOOTING
Although the SNAPSHOT Button is pressed, a still image is not stored in the
It is not possible to shoot in sucession.
PLAYBACK
Although “ALL” is selected in the DELETE Menu Screen, all still images cannot be deleted.
OTHER
Date/Time Insert is not performed while shooting a still image.
Instant Titles are not displayed while shooting a still image.
Some settings cannot be changed in the Menu Screen.
POSSIBLE CAUSE(S)
●When the number of remaining shots available reaches “0” (blinking), it becomes impossible to take your next
shot. Perform “DELETE” function to remove some still images already stored in memory (☞ pg. 58).
●Pressing the Recording Start/Stop Button does not start
recording in the
●A still image is in the process of being stored in memory for approx. 2 seconds after the SNAPSHOT Button is pressed. During that time, it is impossible to take another shot. When the still image disappears and the scene you
are currently aimed at appears on the screen, take another shot (☞ pg. 46).
●The “Protect” function is in effect for some still images. If
they are not necessary, cancel the “Protect” function, then try deleting all still images again (☞ pg. 57).
●It is not possible to display the date/time on a still image.
●It is not possible to display the Instant Titles on a still image.
●It is not possible to set “REC TIME” in the Menu Screen.
Since the camcorder is a
In such a case, initialize the memory by following steps 1 through 3 below. Please note that initialization deletes all the still images (including ones for which you performed the “Protect” function) stored in the camcorder’s memory. If you wish to keep any of the still images that are stored in memory, before initialization first transfer them to a PC and save them. If image data is corrupt, transfer is impossible.
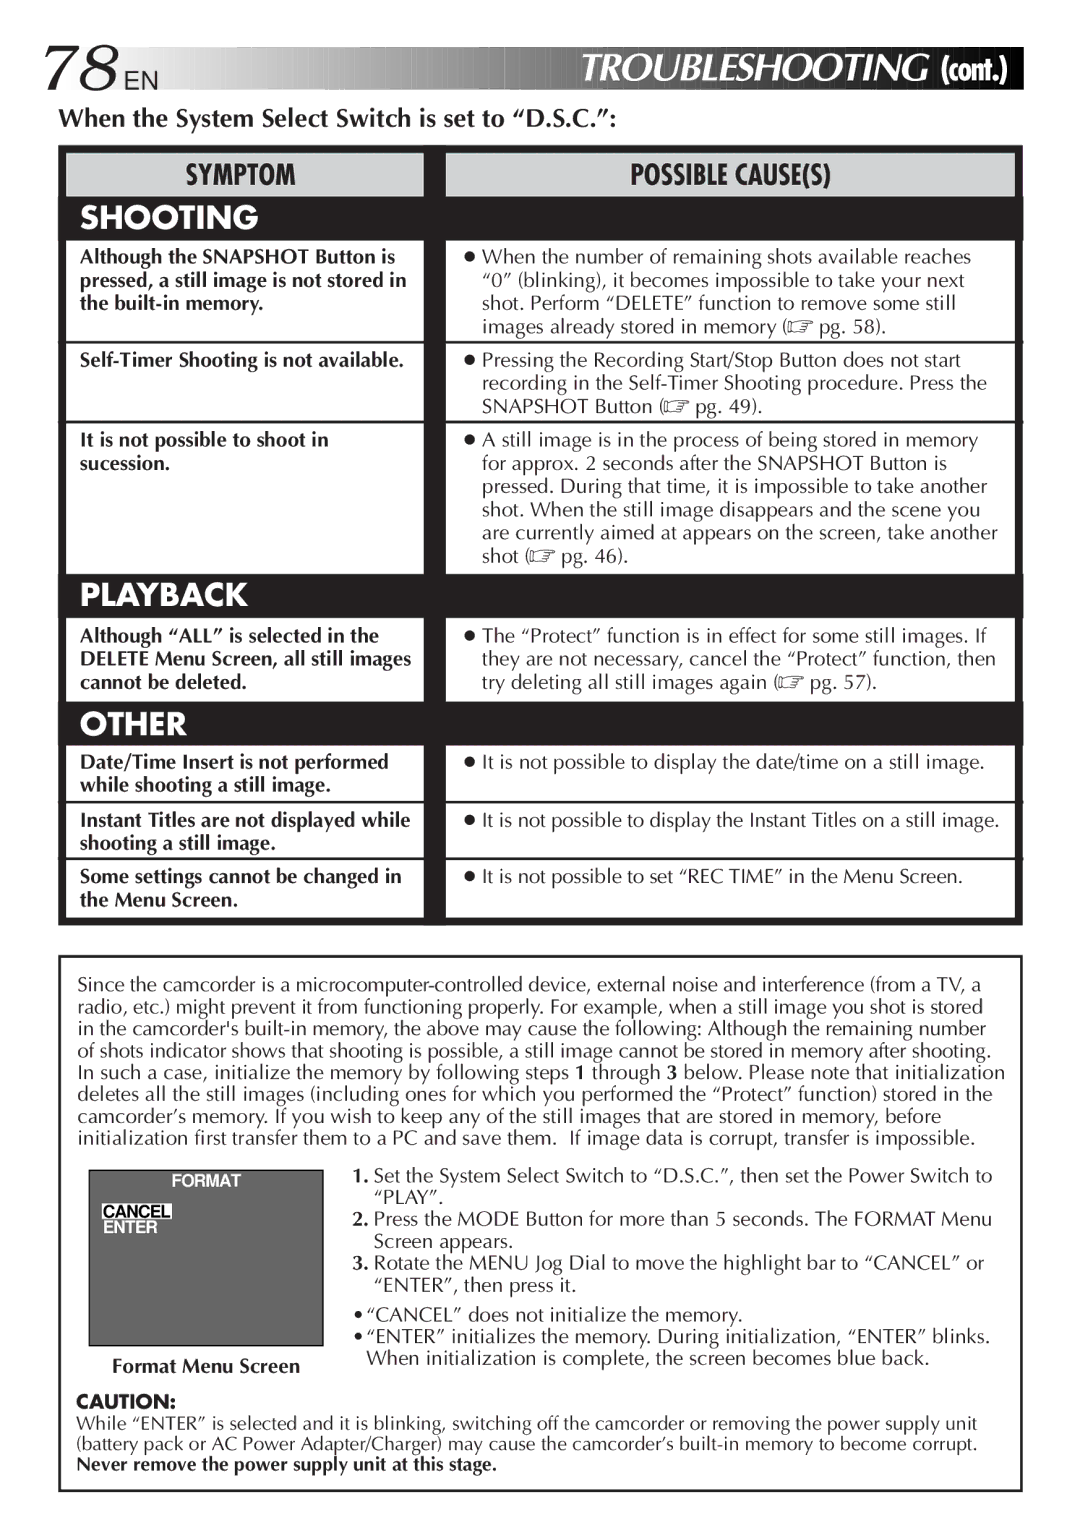
FORMAT
CANCEL
ENTER
Format Menu Screen
1.Set the System Select Switch to “D.S.C.”, then set the Power Switch to “PLAY”.
2.Press the MODE Button for more than 5 seconds. The FORMAT Menu Screen appears.
3.Rotate the MENU Jog Dial to move the highlight bar to “CANCEL” or “ENTER”, then press it.
•“CANCEL” does not initialize the memory.
•“ENTER” initializes the memory. During initialization, “ENTER” blinks. When initialization is complete, the screen becomes blue back.
CAUTION:
While “ENTER” is selected and it is blinking, switching off the camcorder or removing the power supply unit (battery pack or AC Power Adapter/Charger) may cause the camcorder’s
Never remove the power supply unit at this stage.