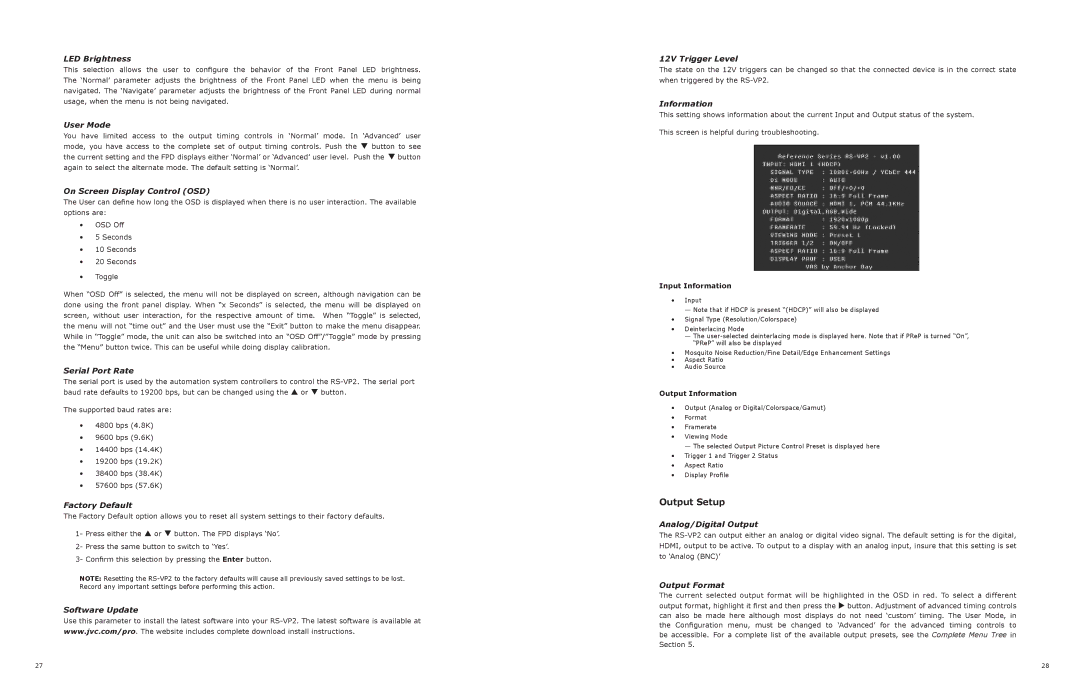
RS-VP2 specifications
The JVC RS-VP2 is a high-performance home theater projector designed for cinephiles and those who appreciate the seamless integration of advanced technology with sublime picture quality. At the heart of the RS-VP2 is its exceptional 4K resolution, offering a stunning pixel density that enhances clarity and detail in every frame. This projector supports HDR (High Dynamic Range) content, delivering vibrant colors and an expanded contrast ratio, allowing users to experience films and videos as they were intended to be seen.One of the standout features of the JVC RS-VP2 is its advanced DLA (Direct Drive Laser Array) technology. This system delivers superior brightness and color accuracy while maintaining a long lifespan. With 3200 lumens of brightness, the RS-VP2 is ideal for both darkened rooms and environments with some ambient light, making it versatile for different viewing scenarios.
Additionally, the RS-VP2 boasts a high Dynamic Contrast ratio, achieving deep blacks and brilliant whites through its proprietary image processing technologies. The projector uses a 4K e-shift technology, which enhances the perceived resolution by shifting pixels, thus achieving a near-4K experience even with 1080p content. This feature makes the RS-VP2 a compelling option for users who want high-quality visuals without necessarily having to rely solely on native 4K content.
In terms of connectivity, the RS-VP2 is equipped with multiple HDMI inputs that support 4K at 60Hz, making it compatible with a variety of modern devices, including gaming consoles and streaming devices. The projector also incorporates JVC's unique Motion Enhance technology, which provides smoother motion for fast-moving scenes, making it a great choice for sports and action films.
The user interface of the RS-VP2 is designed for ease of use, featuring a remote control with intuitive navigation and quick access to frequently used settings. Additionally, it supports various installation options, including lens shift and keystone correction, ensuring flexibility in setup and positioning.
In conclusion, the JVC RS-VP2 is a state-of-the-art projector that combines advanced imaging technologies with user-friendly features. Its impressive brightness, exceptional color performance, and versatile connectivity options make it a remarkable choice for home theater enthusiasts seeking an immersive viewing experience. Whether you are watching the latest blockbuster or playing video games, the RS-VP2 delivers visuals that captivate and impress.

