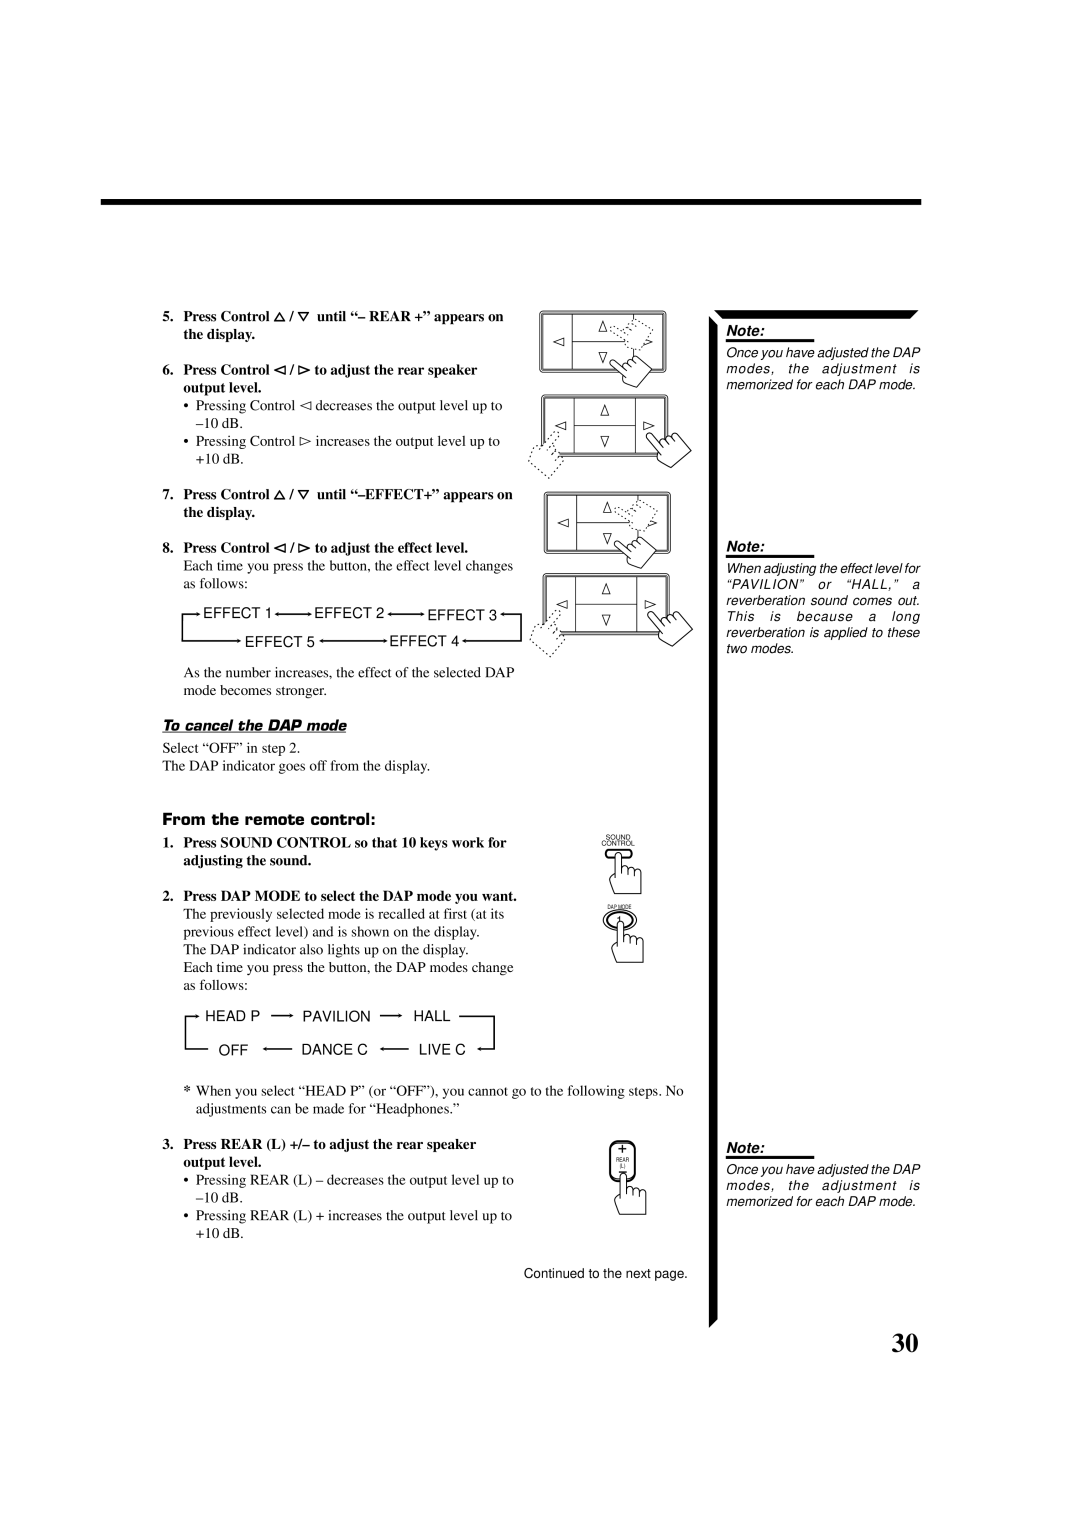
5.Press Control %/ Þ until “– REAR +” appears on the display.
6.Press Control @/ #to adjust the rear speaker output level.
•Pressing Control @decreases the output level up to
•Pressing Control #increases the output level up to +10 dB.
7.Press Control %/ Þ until
8.Press Control @ / # to adjust the effect level.
Each time you press the button, the effect level changes as follows:
![]() EFFECT 1
EFFECT 1![]()
![]() EFFECT 2
EFFECT 2 ![]()
![]() EFFECT 3
EFFECT 3![]()
![]() EFFECT 5
EFFECT 5 ![]()
![]() EFFECT 4
EFFECT 4![]()
As the number increases, the effect of the selected DAP mode becomes stronger.
To cancel the DAP mode
Select “OFF” in step 2.
The DAP indicator goes off from the display.
Note:
Once you have adjusted the DAP modes, the adjustment is memorized for each DAP mode.
Note:
When adjusting the effect level for “PAVILION” or “HALL,” a reverberation sound comes out. This is because a long reverberation is applied to these two modes.
From the remote control:
1.Press SOUND CONTROL so that 10 keys work for adjusting the sound.
2.Press DAP MODE to select the DAP mode you want. The previously selected mode is recalled at first (at its previous effect level) and is shown on the display.
The DAP indicator also lights up on the display.
Each time you press the button, the DAP modes change as follows:
 HEAD P
  PAVILION
  HALL
HALL
OFF  DANCE C
  LIVE C
SOUND
CONTROL
DAP MODE
1
*When you select “HEAD P” (or “OFF”), you cannot go to the following steps. No adjustments can be made for “Headphones.”
3. Press REAR (L) +/– to adjust the rear speaker |
|
|
|
|
|
output level. |
| (L) | |||
| REAR | ||||
• Pressing REAR (L) – decreases the output level up to
•Pressing REAR (L) + increases the output level up to +10 dB.
Continued to the next page.
Note:
Once you have adjusted the DAP modes, the adjustment is memorized for each DAP mode.
30
