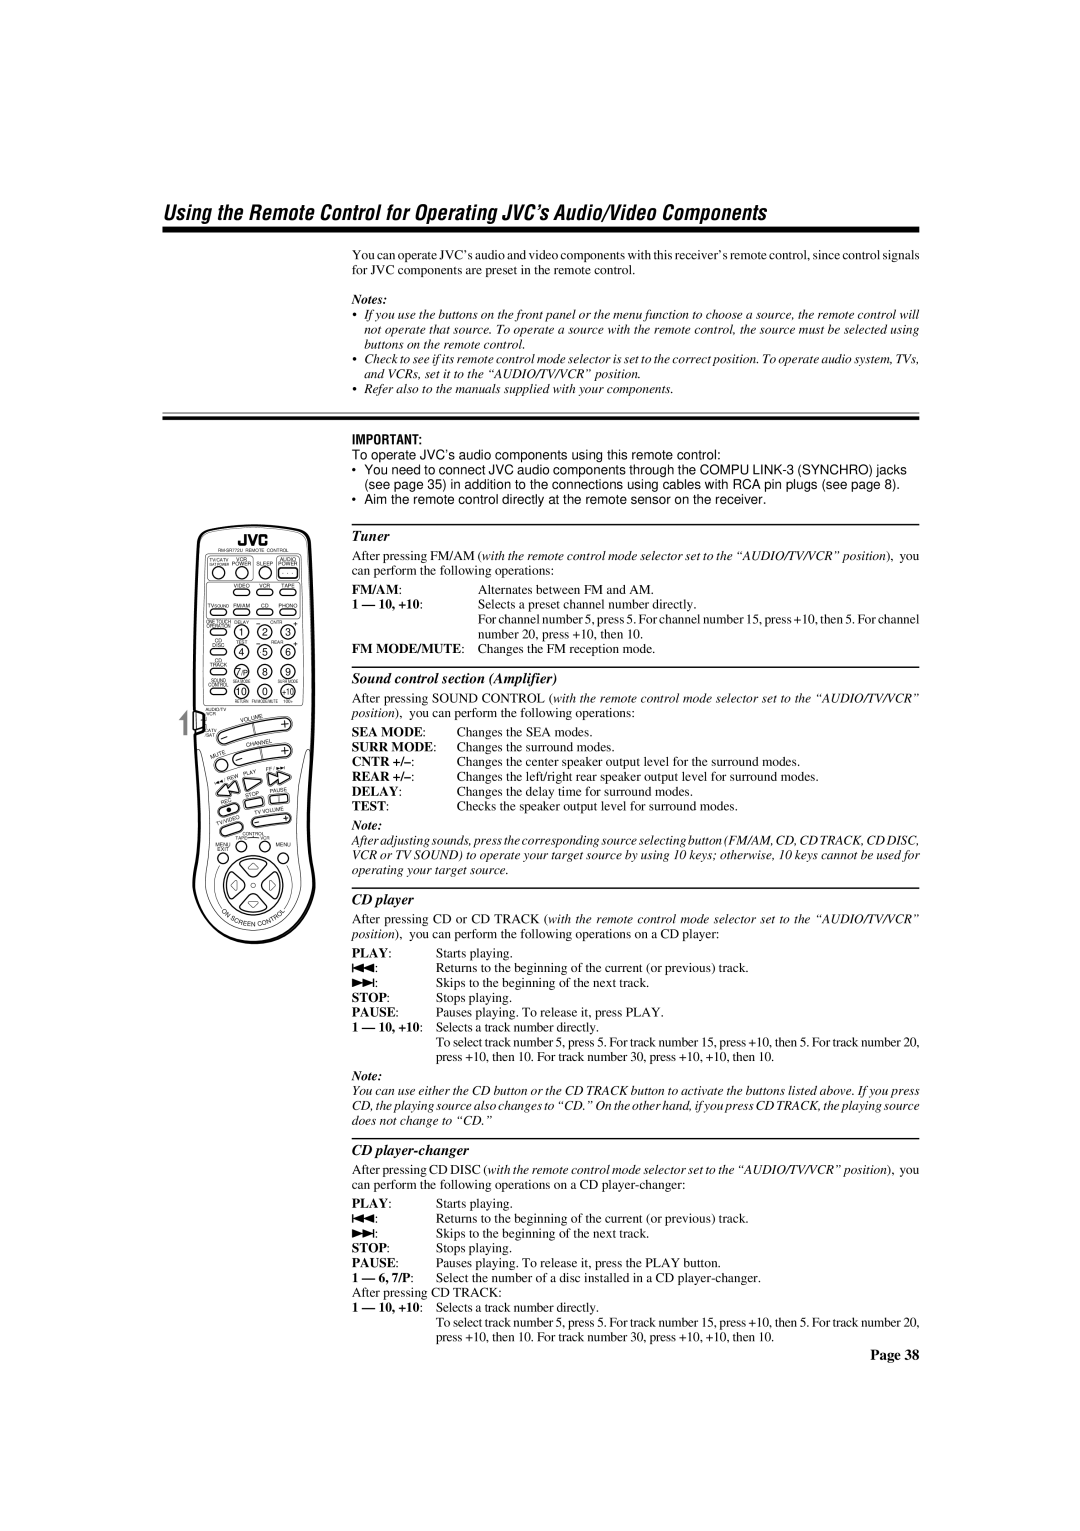
JVC RX-772VBK manual Using the Remote Control for Operating JVC’s Audio/Video Components, Tuner

Models: RX-772VBK

1 54
Download 54 pages 14.03 Kb
Page 41
Image 41
Using the Remote Control for Operating JVC’s Audio/Video Components

Using the Remote Control for Operating JVC’s Audio/Video Components

RM-SR772U REMOTE CONTROL

TV/CATV


VCR

SLEEP


AUDIO

/SAT POWER


POWER


POWER


VIDEO

VCR


TAPE

TVSOUND


FM/AM

CD


PHONO

ONE TOUCH


DELAY


CNTR

OPERATION


1

2


3

CD


TEST


REAR

DISC


4

5


6

CD


TRACK


7/P

8


9

SOUND


SEA MODE


SURR MODE

CONTROL


10

0


+10


RETURN

FM MODE/MUTE

100+

AUDIO/TV


/VCR


VOLUME


CATV


/SAT


CHANNEL


MUTE


FF / ¢


PLAY


/REW


4


STOP

PAUSE


REC


TV VOLUME

TV/VIDEO


CONTROL


TAPE

VCR


MENU


MENU

EXIT


O


L

N

S


O


T


C


N

R


REEN CO


You can operate JVC’s audio and video components with this receiver’s remote control, since control signals for JVC components are preset in the remote control.

Notes:

If you use the buttons on the front panel or the menu function to choose a source, the remote control will not operate that source. To operate a source with the remote control, the source must be selected using buttons on the remote control.

Check to see if its remote control mode selector is set to the correct position. To operate audio system, TVs, and VCRs, set it to the “AUDIO/TV/VCR” position.

Refer also to the manuals supplied with your components.

IMPORTANT:

To operate JVC’s audio components using this remote control:

You need to connect JVC audio components through the COMPU LINK-3 (SYNCHRO) jacks (see page 35) in addition to the connections using cables with RCA pin plugs (see page 8).

Aim the remote control directly at the remote sensor on the receiver.

Tuner

After pressing FM/AM (with the remote control mode selector set to the “AUDIO/TV/VCR” position ), you can perform the following operations:

FM/AM:Alternates between FM and AM.

1 — 10, +10 :Selects a preset channel number directly.

For channel number 5, press 5. For channel number 15, press +10, then 5. For channel number 20, press +10, then 10.

FM MODE/MUTE: Changes the FM reception mode.

Sound control section (Amplifier)

After pressing SOUND CONTROL (with the remote control mode selector set to the “AUDIO/TV/VCR” position), you can perform the following operations:

SEA MODE: Changes the SEA modes.

SURR MODE: Changes the surround modes.

CNTR +/–: Changes the center speaker output level for the surround modes.

REAR +/–: Changes the left/right rear speaker output level for surround modes.

DELAY:Changes the delay time for surround modes.

TEST:Checks the speaker output level for surround modes.

Note:

After adjusting sounds, press the corresponding source selecting button (FM/AM, CD, CD TRACK, CD DISC, VCR or TV SOUND) to operate your target source by using 10 keys; otherwise, 10 keys cannot be used for operating your target source.

CD player

After pressing CD or CD TRACK (with the remote control mode selector set to the “AUDIO/TV/VCR” position), you can perform the following operations on a CD player:

PLAY:

Starts playing.

4:

Returns to the beginning of the current (or previous) track.

¢:

Skips to the beginning of the next track.

STOP:

Stops playing.

PAUSE:

Pauses playing. To release it, press PLAY.

1 — 10, +10 :

Selects a track number directly.


To select track number 5, press 5. For track number 15, press +10, then 5. For track number 20,


press +10, then 10. For track number 30, press +10, +10, then 10.

Note:

You can use either the CD button or the CD TRACK button to activate the buttons listed above. If you press CD, the playing source also changes to “CD.” On the other hand, if you press CD TRACK, the playing source does not change to “CD.”

CD player-changer

After pressing CD DISC (with the remote control mode selector set to the “AUDIO/TV/VCR” position ), you can perform the following operations on a CD player-changer:

PLAY:


Starts playing.

4:


Returns to the beginning of the current (or previous) track.

¢:


Skips to the beginning of the next track.

STOP:


Stops playing.

PAUSE:


Pauses playing. To release it, press the PLAY button.

1 — 6, 7/P

:

Select the number of a disc installed in a CD player-changer.

After pressing CD TRACK:

1 — 10, +10

:

Selects a track number directly.


To select track number 5, press 5. For track number 15, press +10, then 5. For track number 20,


press +10, then 10. For track number 30, press +10, +10, then 10.

Page 38

Page 41
Image 41
JVC RX-772VBK Using the Remote Control for Operating JVC’s Audio/Video Components, Tuner, Sound control section Amplifier