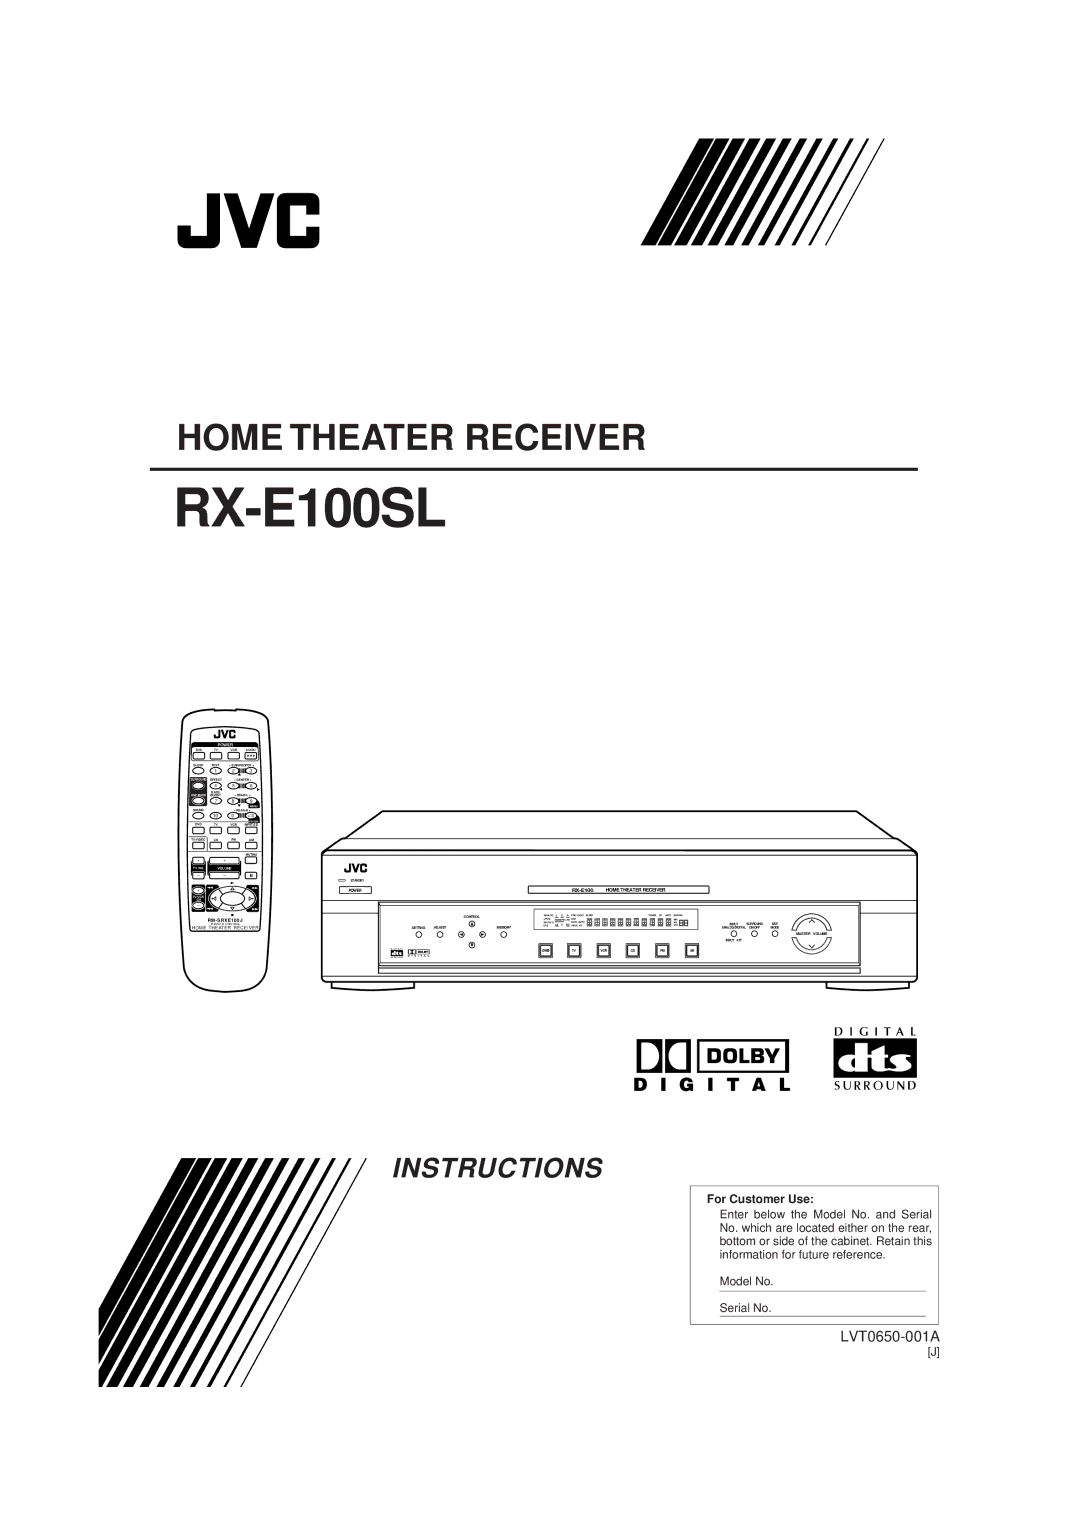
RX-E100SL
For Canada/pour Le Canada
Table of Contents
Putting Batteries in the Remote Control
Before Installation
Checking the Supplied Accessories
Getting Started
Getting
Connecting the FM and AM Antennas
Started
AM antenna connection
Speaker Layout Diagram
Connecting the Speakers
Connecting the front, center, and rear speakers
Connecting the subwoofer
Left front speaker
Connecting the Power Cord
Connecting Audio/Video Components
Connecting cords are not supplied with this unit. Use
Digital connections
DVD
To turn off the power into standby
Turn On the Power
To increase the volume, press and hold
To decrease the volume, press and hold
With the Timer
Turning Off the Power
Basic Operations
Setting the Digital Input
Basic Settings
Press Setting
Terminals
Selecting the Analog or Digital Input Mode
Basic Settings
When Dgtl D.D. or Dgtl DTS is selected, Auto goes off
Setting the Speakers for
Setting the Subwoofer Information
DSP Modes
Press Control 3or 2 to select YES
Ex. When registering the rear speaker size
Delay Time CTR DL, Rear DL
Press Control 3 or 2 to select the appropriate speaker size
Display
Repeat steps 2 and 3 to adjust the other delay time
Press Control 3or 2 to select the delay time
Ex. When adjusting the center delay
Crossover Frequency Cross
Dynamic Range Compression D.R.C
Press Control 3or 2 to select the LFE attenuator level
Low Frequency Effect Attenuator LFE
To cancel Auto Surround
Setting Auto Surround
To activate Auto Surround, follow the procedure below
Each time you press the button, Auto Surround turns on or
Basic Settings/Sound Adjustments
Sound Adjustments
Attenuating the Input Signal
Adjusting the Front Speaker
Reinforcing the Bass
When using the remote control
Press Control 3 or 2 to turn on or OFF Bass Boost
Adjusting the Tone
Sound Adjustments
Adjusting the Subwoofer Output Level
Using Preset Tuning
Tuning in Stations Manually
Tuner Operations
Press FM or AM to select the band
To tune in a preset station
Selecting the FM Reception Mode
To restore the stereo effect
Tuner Operations
Creating Realistic Sound Fields
Creating Realistic Sound Fields
Available DSP modes according to the input signal format
DAP Digital Acoustic Processor Modes
Creating sound field
DSP mode
Surround mode
When Auto SR Auto Surround is turned on
About Relations between Speaker Layout and DSP Modes
Using Surround Modes Remote Control
Using Theater Surround Remote Control
Adjust the following speaker output levels from -10 to +10
Press Test to check the speaker output balance
Press Test again to stop the test tone
Press Effect to select the DSP effect level 1 to You want
To cancel Theater Surround
Adjust the rear speaker output levels from -10 to +10
Using DAP Modes Remote Control
To cancel DAP Mode
Press Surround ON/OFF to activate an
Using Surround Modes Front Panel
Digital, or DTS Digital Surround
See
Press Control 3or 2 to adjust the speaker output level
Using Theater Surround Front Panel
Ex. When adjusting the center speaker output level
Repeat steps 4 and 5 to make other adjustments
Press Control 3or 2 to make an adjustment
Using DAP Modes Front Panel
Ex. When adjusting the left rear speaker output level
Mastering Remote Operations
Operating other JVC products Audio/video operation buttons
Mastering Remote Operations
Parts Identification
Remote Control
Front Panel
Parts Identification/Troubleshooting
Troubleshooting
Amplifier
Specifications
FM tuner IHF
AM tuner
Source Name
Memorandum
Valley Road Wayne, NJ
781 954 650
1099
Limited Warranty AUDIO-2
0301NHMMDWJEIN