NAVIGATION (DVD DECK ONLY) EN 55

6 Find the point where you want the moved scene to begin, then

Play Back Play List


press ENTER with the arrow on “IN”. The edit-in time is fixed and


1 Perform steps 1 to 3 of “Create Play List” ( pg. 54) before

the elapsed playing time starts counting again.

7 Find the point where you want the moved scene to end, then

continuing.


press ENTER with the arrow on “OUT”. The edit-out time is fixed.

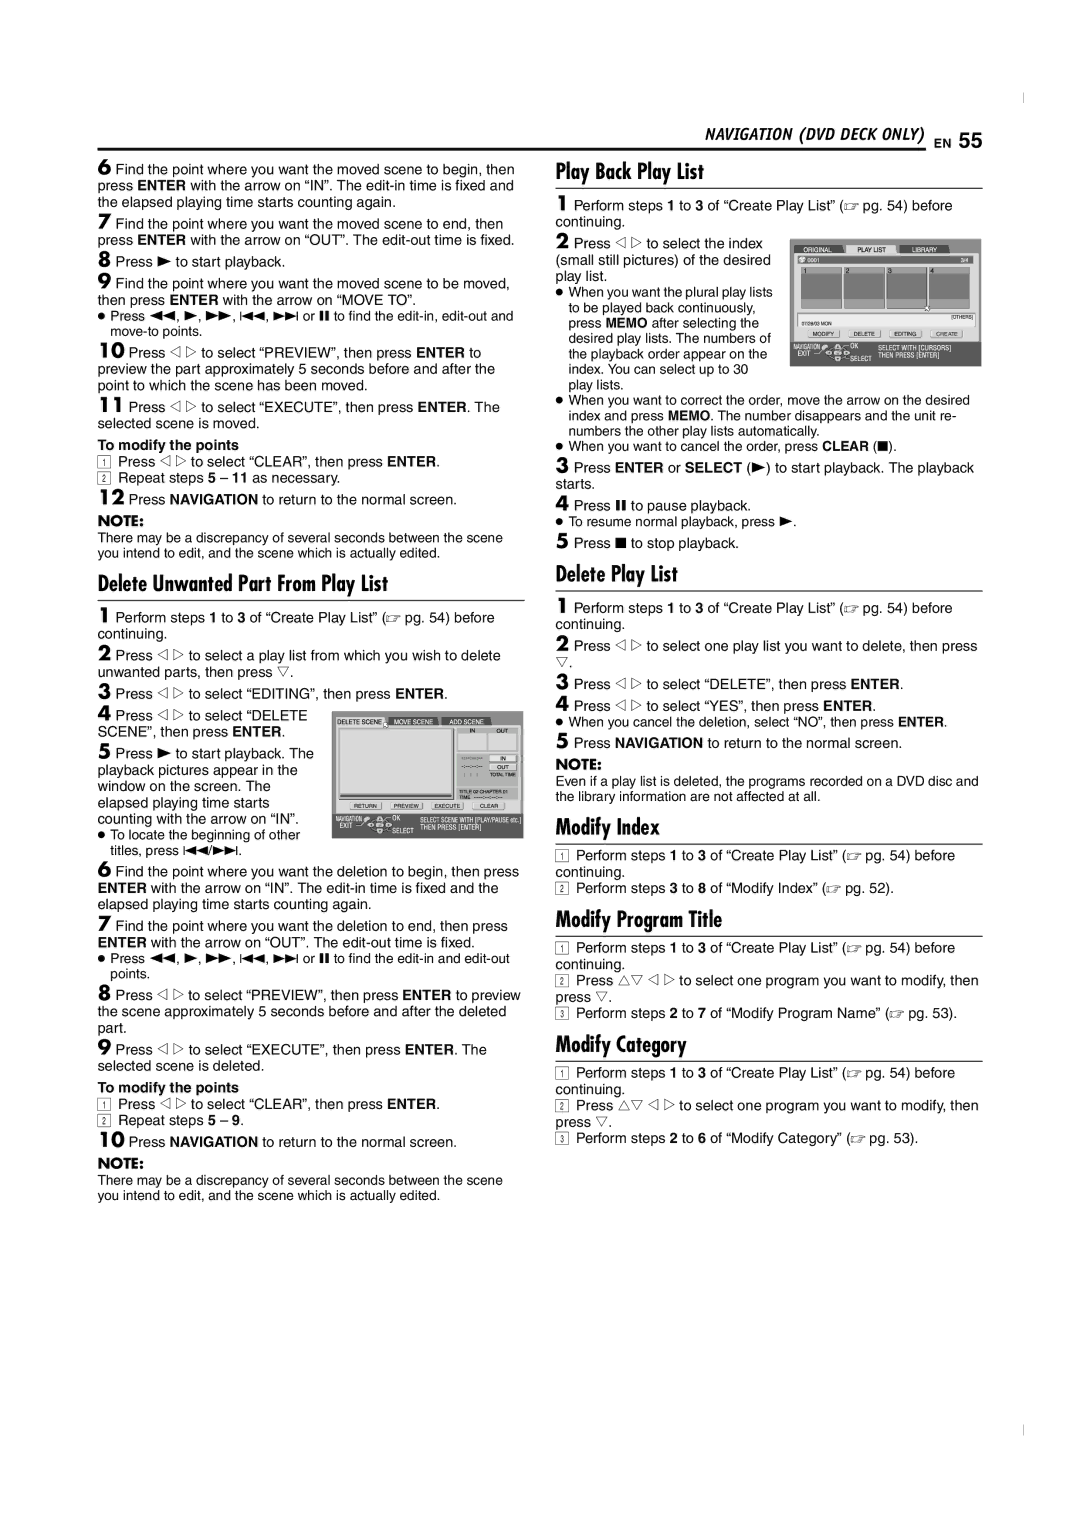
2 Press w e to select the index


8 Press 4 to start playback.

(small still pictures) of the desired


9 Find the point where you want the moved scene to be moved,

play list.


When you want the plural play lists


then press ENTER with the arrow on “MOVE TO”.


to be played back continuously,


Press 3, 4, 5, 2, 6 or 9 to find the edit-in, edit-out and

press MEMO after selecting the


move-to points.

desired play lists. The numbers of


CREATE

10 Press w e to select “PREVIEW”, then press ENTER to

the playback order appear on the


preview the part approximately 5 seconds before and after the

index. You can select up to 30


point to which the scene has been moved.

play lists.


11 Press w e to select “EXECUTE”, then press ENTER. The

When you want to correct the order, move the arrow on the desired

index and press MEMO. The number disappears and the unit re-

selected scene is moved.

numbers the other play lists automatically.


To modify the points


When you want to cancel the order, press CLEAR (8).


A Press w e to select “CLEAR”, then press ENTER.

3 Press ENTER or SELECT (4) to start playback. The playback

B Repeat steps 5 11 as necessary.

starts.


12 Press NAVIGATION to return to the normal screen.


4 Press 9 to pause playback.


NOTE:

There may be a discrepancy of several seconds between the scene you intend to edit, and the scene which is actually edited.

To resume normal playback, press 4.

5 Press 8 to stop playback.

Delete Unwanted Part From Play List

1 Perform steps 1 to 3 of “Create Play List” ( pg. 54) before continuing.

2 Press w e to select a play list from which you wish to delete unwanted parts, then press t.

3 Press w e to select “EDITING”, then press ENTER.

4 Press w e to select “DELETE

SCENE”, then press ENTER.

5 Press 4 to start playback. The playback pictures appear in the window on the screen. The elapsed playing time starts counting with the arrow on “IN”.

To locate the beginning of other titles, press 2/6.

6 Find the point where you want the deletion to begin, then press ENTER with the arrow on “IN”. The edit-in time is fixed and the elapsed playing time starts counting again.

7 Find the point where you want the deletion to end, then press ENTER with the arrow on “OUT”. The edit-out time is fixed.

Press 3, 4, 5, 2, 6 or 9 to find the edit-in and edit-out points.

8 Press w e to select “PREVIEW”, then press ENTER to preview the scene approximately 5 seconds before and after the deleted part.

9 Press w e to select “EXECUTE”, then press ENTER. The selected scene is deleted.

To modify the points

APress w e to select “CLEAR”, then press ENTER. B Repeat steps 5 9.

10 Press NAVIGATION to return to the normal screen.

NOTE:

There may be a discrepancy of several seconds between the scene you intend to edit, and the scene which is actually edited.

Delete Play List

1 Perform steps 1 to 3 of “Create Play List” ( pg. 54) before continuing.

2 Press w e to select one play list you want to delete, then press t.

3 Press w e to select “DELETE”, then press ENTER.

4 Press w e to select “YES”, then press ENTER.

When you cancel the deletion, select “NO”, then press ENTER.

5 Press NAVIGATION to return to the normal screen.

NOTE:

Even if a play list is deleted, the programs recorded on a DVD disc and the library information are not affected at all.

Modify Index

APerform steps 1 to 3 of “Create Play List” ( pg. 54) before continuing.

B Perform steps 3 to 8 of “Modify Index” ( pg. 52).

Modify Program Title

APerform steps 1 to 3 of “Create Play List” ( pg. 54) before continuing.

B Press rt w e to select one program you want to modify, then press t.

C Perform steps 2 to 7 of “Modify Program Name” ( pg. 53).

Modify Category

APerform steps 1 to 3 of “Create Play List” ( pg. 54) before continuing.

B Press rt w e to select one program you want to modify, then press t.

C Perform steps 2 to 6 of “Modify Category” ( pg. 53).

Page 55
Image 55
JVC SR-MV50U manual Play Back Play List, Delete Unwanted Part From Play List, Delete Play List, Modify Program Title

SR-MV50U specifications

The JVC SR-MV50U is a versatile and innovative multimedia machine that has earned its reputation as a reliable option for both amateur and professional users. This unit combines the functionality of a video recording device with the convenience of a digital media player, making it an excellent addition to any home theater system or production setup.

One of the standout features of the SR-MV50U is its dual-format recording capability. It supports both S-VHS and VHS formats, providing users with flexibility in terms of video quality and playback options. The S-VHS format, known for delivering superior image quality, is particularly advantageous for those looking to capture high-definition content. This dual functionality ensures that users can easily transition between formats as needed.

The SR-MV50U also comes equipped with a built-in MPEG-2 encoder, which enhances the unit’s digital recording capabilities. This technology allows for improved compression and better quality video playback when transferring to digital media. Users can record their favorite shows or home videos onto VHS tapes, while simultaneously creating digital copies for archiving or editing purposes. This makes it particularly useful for video enthusiasts and content creators.

In terms of connectivity, the SR-MV50U is well-equipped, featuring a range of input and output options, including composite video, S-Video, and audio outputs. This extensive connectivity allows users to easily connect the device to televisions, external speakers, or video editing setups, ensuring a seamless workflow in both capture and playback situations.

The user interface of the SR-MV50U is designed to be intuitive, with accessible controls for navigating menus and settings. This makes the device suitable for users of varying experience levels, from beginners to seasoned videographers. Additionally, the remote control feature ensures that users can operate the machine from a distance, enhancing convenience, especially during recording sessions.

Moreover, the JVC SR-MV50U offers time-lapse recording capabilities, providing users with the option to capture long periods of activity in a shorter timeframe. This feature is particularly useful for timelapse projects, surveillance, or documenting events where extended recording is essential.

In summary, the JVC SR-MV50U is a multifunctional device that excels in both video recording and playback. With dual-format recording, built-in MPEG-2 encoding, versatile connectivity options, and user-friendly interface, it stands as a valuable tool for anyone looking to create and enjoy high-quality video content. Its blend of features makes it not only practical but also a durable and efficient choice for various video applications.