System setting
You can adjust the sound and speaker settings of this system.
• The adjustments on a source take effect for the other sources.
IMPORTANT
Before using the remote control for the following operation;
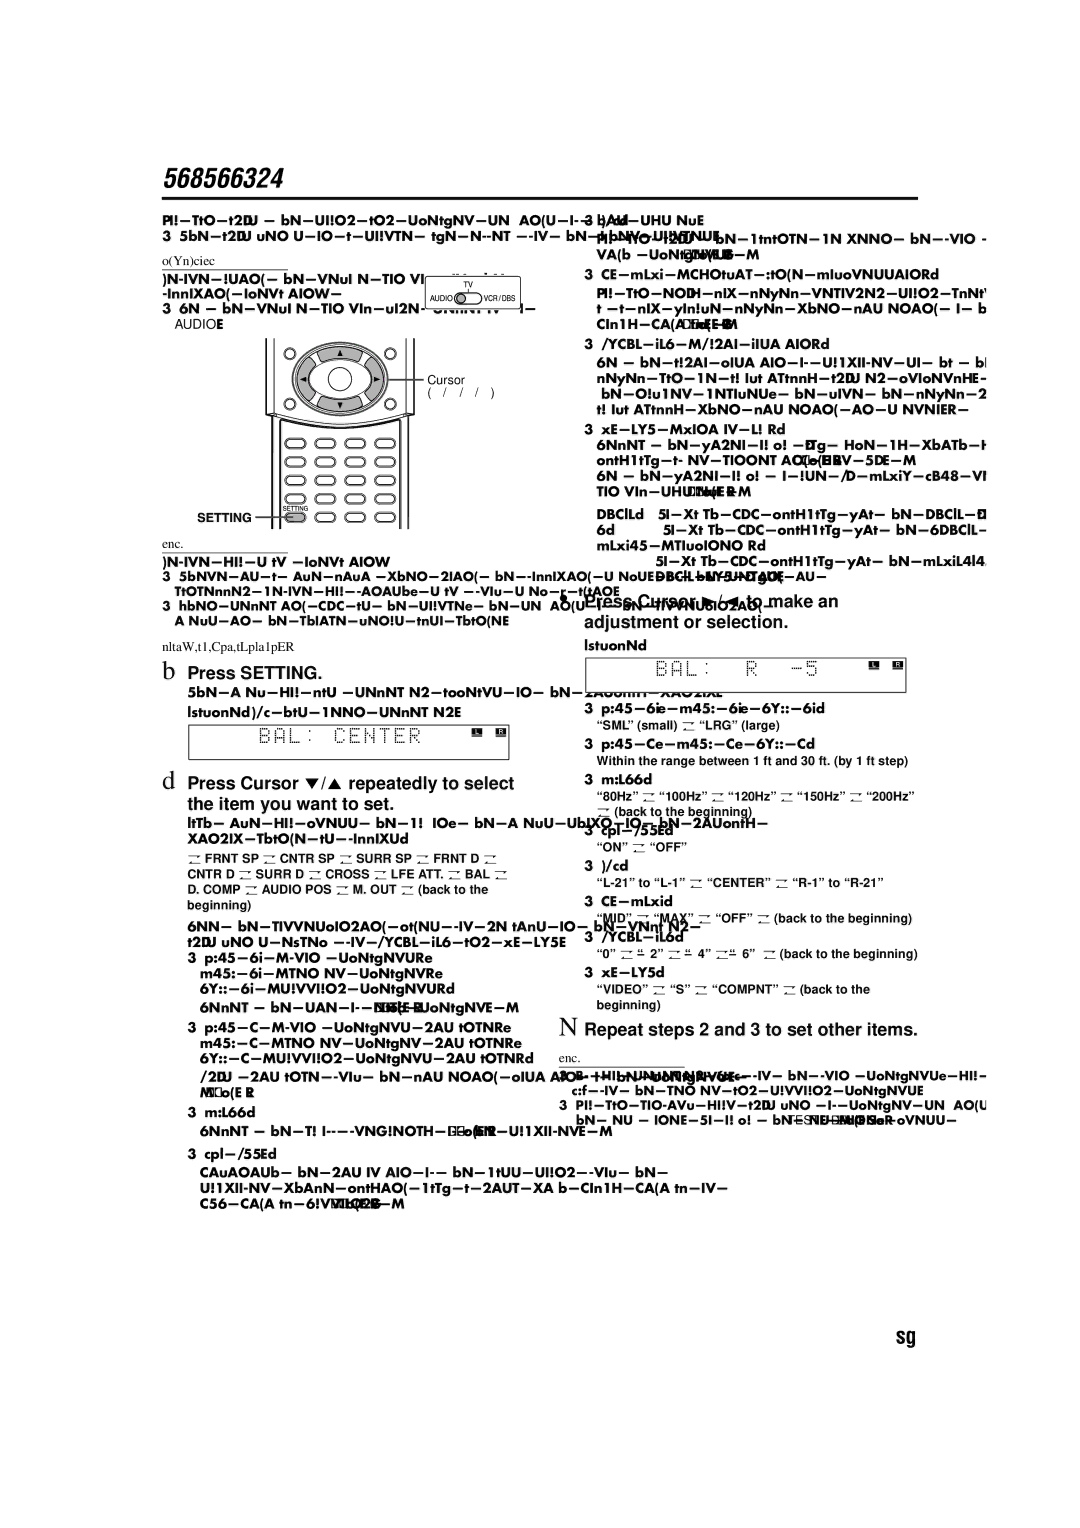
•Set the remote control mode selector to
AUDIO .
Cursor
(3/2///5)
NOTE
Before you start operation;
•There is a time limit when doing the following steps. If the setting is cancelled before you finish, start from step 1 again.
•When selecting DVD as the source, the settings of the corresponding items in the choice menus also change.
On the remote control:
1Press SETTING.
The item you last selected appears on the display window.
Example: “BAL” has been selected.
2Press Cursor //5 repeatedly to select
the item you want to set.
Each time you press the button, the items shown on the display window change as follows:
O FRNT SP | O CNTR SP O SURR SP O FRNT D | O | |
CNTR D | O SURR D | O CROSS O LFE ATT. O BAL | O |
D. COMP | O AUDIO POS | O M. OUT O (back to the | |
beginning) |
|
|
|
See the corresponding pages for details on the related adjustments except for “AUDIO POS” and “M. OUT”.
• FRNT SP (front speakers), |
|
CNTR SP (center speaker), |
|
SURR SP (surround speakers): |
|
Select the size of each speaker. ( | A pg. 50) |
•FRNT D (front speakers distance), CNTR D (center speaker distance), SURR D (surround speakers distance):
Adjust distance from the listening position to the speakers. ( A pg. 50)
•CROSS:
Select the cutoff frequency of the subwoofer. ( | A pg. 50) | |
• LFE ATT.: |
|
|
Diminish the distortion of the bass sound from the |
| |
subwoofer while playing back a disc with Dolby Digital or |
| |
DTS Digital Surround. ( | A pg. 49) |
|
• BAL:
You can adjust the balance between the front left and front right speakers. ( A pg. 49)
• D. COMP (Dynamic Range Compression):
You can enjoy low level recorded sound clearly at night even at a low volume level when listening to the sound with
Dolby Digital. ( | A pg. 49) |
•AUDIO POS (Audio Position):
Set the audio position of subwoofer so that the subwoofer level can be automatically adjusted properly. (The smaller the number becomes, the more the level decreases automatically when listening in stereo.)
•M. OUT (Monitor Out):
Select the video output jack type by which you watch DVD |
| |
playback after connecting your TV. ( | A pg. 8) | |
Set the video output to use AV COMPU LINK remote |
| |
control system. ( | A pg. 55) |
|
VIDEO: To watch DVD playback via the VIDEO jack.
S:To watch DVD playback via the
To watch DVD playback via the COMPONENT VIDEO OUT jacks.
3Press Cursor 3/2 to make an adjustment or selection.
Example:
•FRNT SP, CNTR SP, SURR SP:
“SML” (small) O “LRG” (large)
•FRNT D, CNTR D, SURR D:
Within the range between 1 ft and 30 ft. (by 1 ft step)
•CROSS:
“80Hz” O “100Hz” O “120Hz” O “150Hz” O “200Hz” O (back to the beginning)
•LFE ATT.:
“ON” O “OFF”
•BAL:
O “CENTER” | O |
• D. COMP:
“MID” O “MAX” O “OFF” O (back to the beginning)
•AUDIO POS:
“0” O “– 2”O
•M. OUT:
“VIDEO” | O “S” O “COMPNT” | O (back to the |
beginning)
4Repeat steps 2 and 3 to set other items.
NOTE
•If you selected “SML” for the front speakers, you cannot select “LRG” for the center and surround speakers.
•You can confirm your adjustment of speaker settings by listening to
the test tone. To output the test tone, press | TEST | . ( A pg. 32) |
54
