2.Set the personal computer’s IP address. The camera’s default IP address is 192.168.0.2 and sub mask is 255.255.255.0.
3.Check that the camera and computer are connected by pinging the IP address you have set. To do this, start a command prompt (Windows: from the Start Menu, select Program. Then select Accessories and choose Command Prompt.) Type “Ping 192.168.0.2”. If the message “Reply from… ” appears, it means the connection is done.
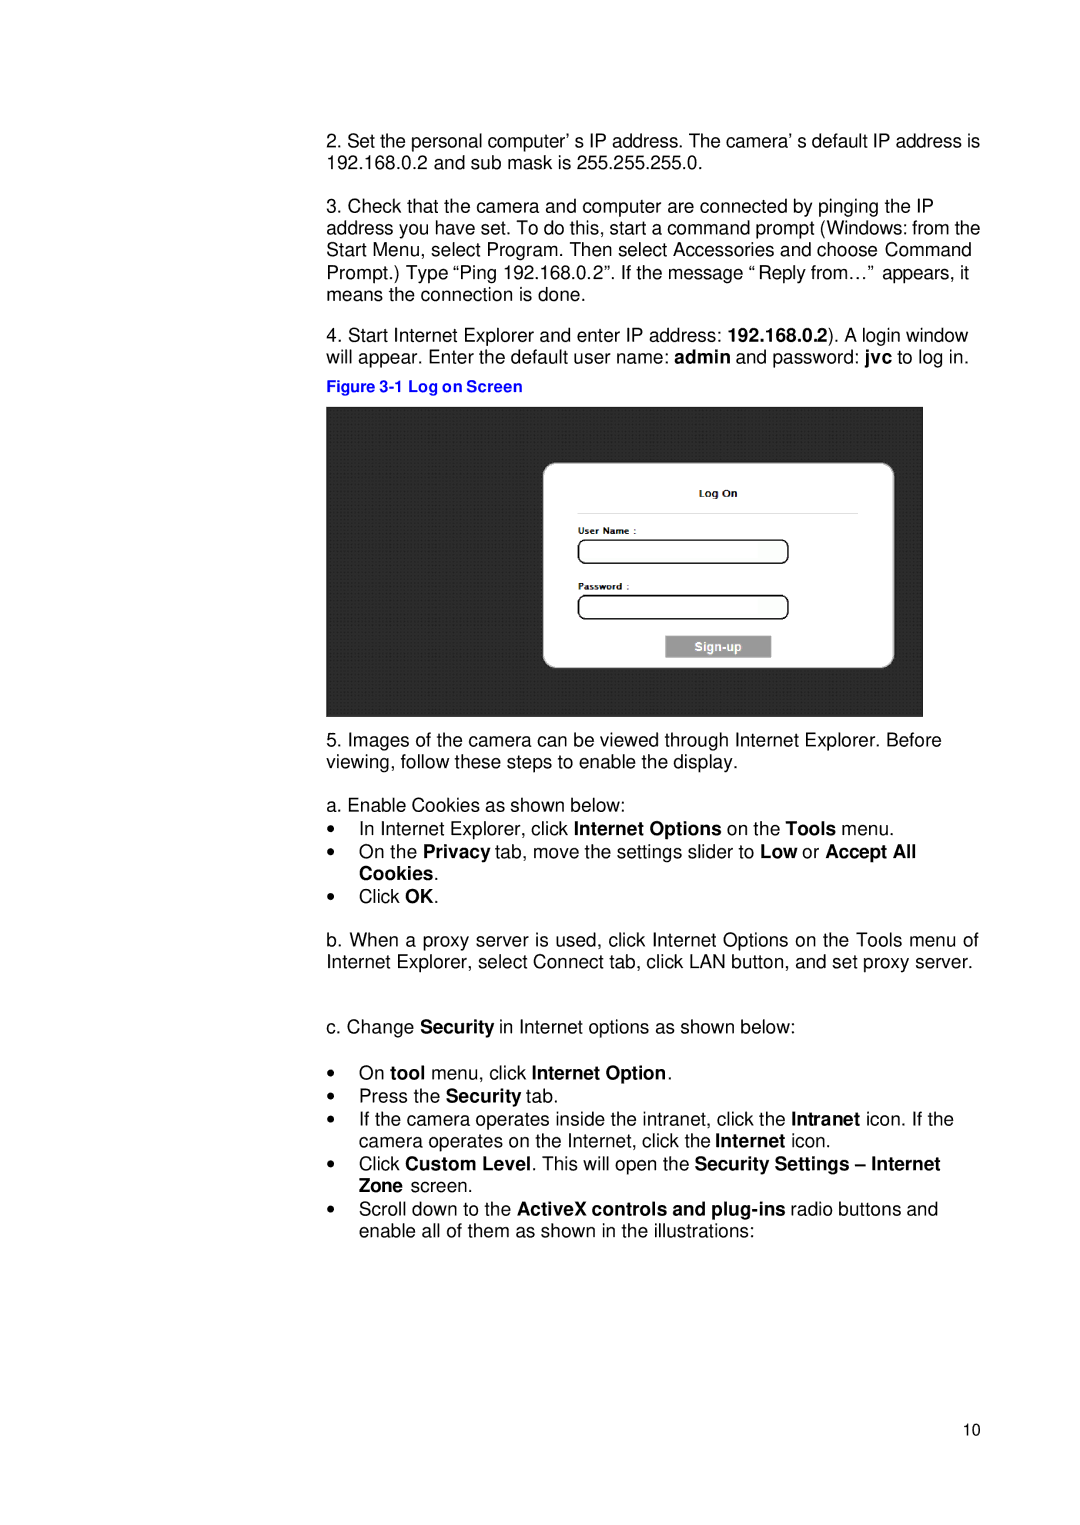
4.Start Internet Explorer and enter IP address: 192.168.0.2). A login window will appear. Enter the default user name: admin and password: jvc to log in.
Figure 3-1 Log on Screen
5.Images of the camera can be viewed through Internet Explorer. Before viewing, follow these steps to enable the display.
a. Enable Cookies as shown below:
∙In Internet Explorer, click Internet Options on the Tools menu.
∙On the Privacy tab, move the settings slider to Low or Accept All Cookies.
∙Click OK.
b. When a proxy server is used, click Internet Options on the Tools menu of Internet Explorer, select Connect tab, click LAN button, and set proxy server.
c. Change Security in Internet options as shown below:
∙On tool menu, click Internet Option.
∙Press the Security tab.
∙If the camera operates inside the intranet, click the Intranet icon. If the camera operates on the Internet, click the Internet icon.
∙Click Custom Level. This will open the Security Settings – Internet Zone screen.
∙Scroll down to the ActiveX controls and
10