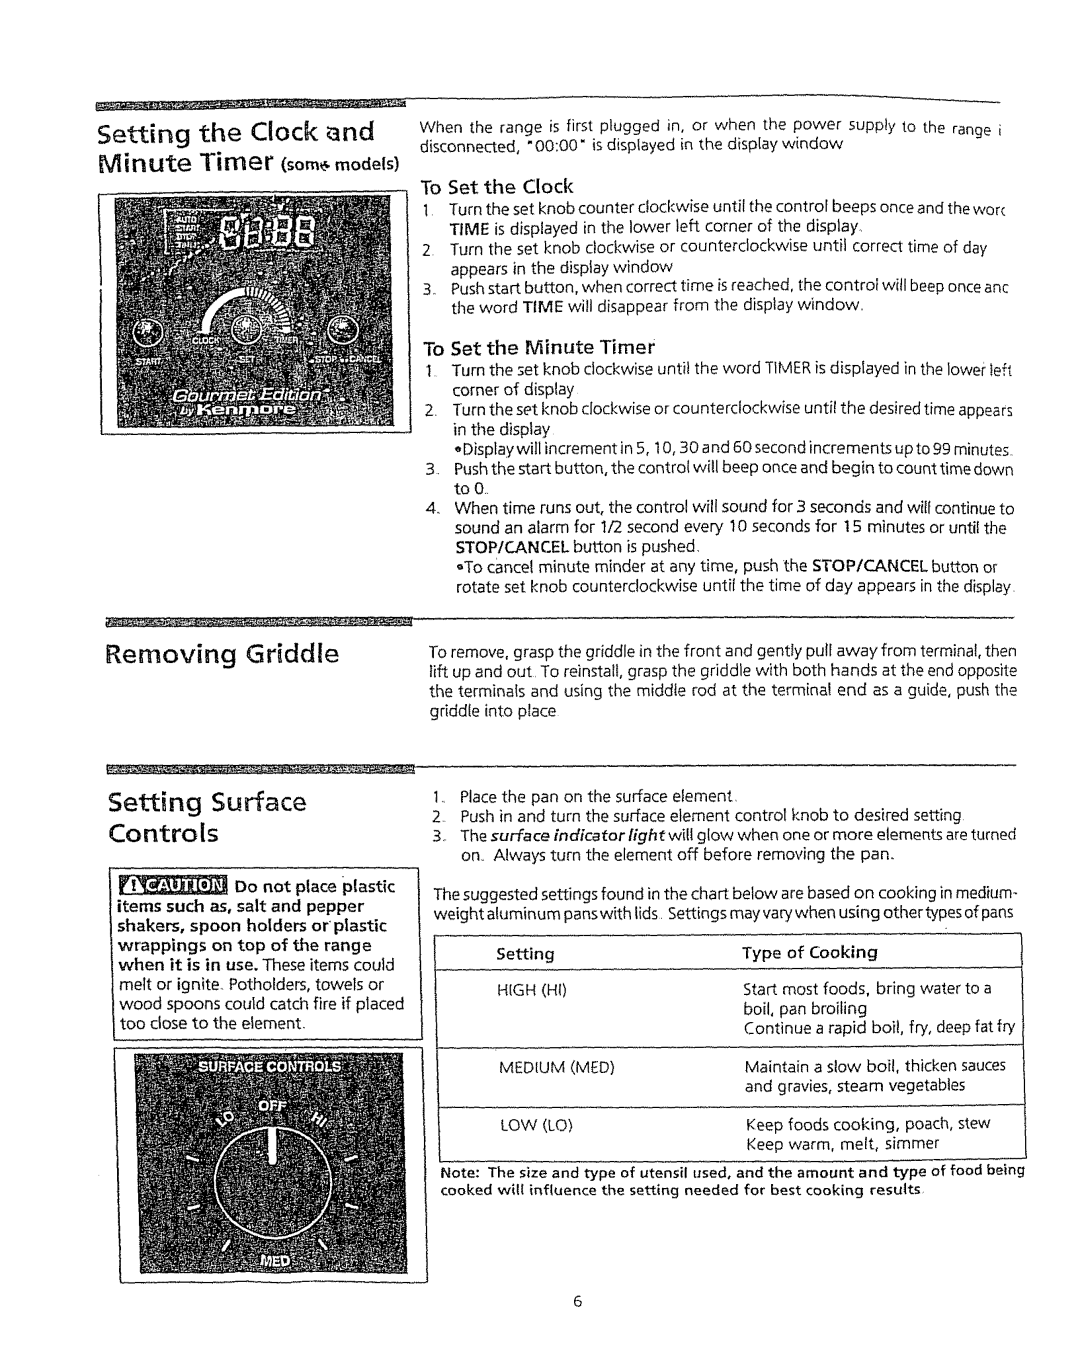
Setting | the Clock | When the range is first plugged in, or when the power supply to the range i | ||
disconnected, "O0:O0" is displayed in the display window | ||||
Minute |
| |||
Timer (som models) |
| |||
|
| To | Set the Clock | |
|
| t. | Turn the set knob counter clockwise until the control beeps once and the wor( | |
TIME is displayed in the lower left corner of the display.
2.Turn the set knob clockwise or counterclockwise until correct time of day appears in the display window
3..Push start button, when correct time is reached, the control will beep once anc the word TIME will disappear from the display window..
Removing Griddle
Setting Surface
Controls
Do not place plastic
items such as, salt and pepper shakers, spoon holders or'plastic
wrappings on top of the range when it is in use. These items could
melt or ignite_ Potholders, towels or wood spoons could catch fire if placed too close to the element.
!......
To Set the Minute Timer
!.Turn the set knob clockwise until the word TIMER is displayed in the lower left
corner of display
2.Turn the set knob clockwise or counterclockwise until the desired time appears in tile display
,,Display will increment in 5, 10, 30 and 60 second increments up to 99 minutes..
3.Push the start button, the control will beep once and begin to count time down toO..
4.When time runs out, the control will sound for 3 seconds and will continue to sound an alarm for I/2 second every 10 seconds for 15 minutes or until the STOPICANCEL button is pushed.
,,To cancel minute minder at any time, push the STOP/CANCEL button or rotate set knob counterclockwise until the time of day appears in the display.
To remove, grasp the griddle in the front and gently pull away from terminal, then lift up and out. To reinstall, grasp the griddle with both hands at the end opposite the terminals and using the middle rod at the termina! end as a guide, push the griddle into place
1..Place the pan on the surface element.
2.Push in and turn the surface element control knob to desired setting
3o The surface indicatorlightwill glow when one or more elements are turned on. Always turn the element off before removing the pan.
The suggested settings found in the char_ below are based on cooking in medium- weight aluminum panswith lids. Settings mayvac¢ when using other
Setting | Type | of | Cooking |
|
|
HIGH (HI) | Start | most foods, bring water | to a | ||
| boil, | pan broiling |
|
| |
| Continue a rapid boi!, fry, deep fat fry | ||||
MEDIUM (MED) | Maintain | a slow boi!, | thicken | sauces | |
| and | gravies, steam vegetables |
| ||
LOW (LO) | Keep foods cooking, | poach, stew | |||
| Keep warm, melt, simmer |
| |||
Note: The size and type of utensil used, and the amount and type of food being
cooked wilt influence the setting needed for best cooking results