
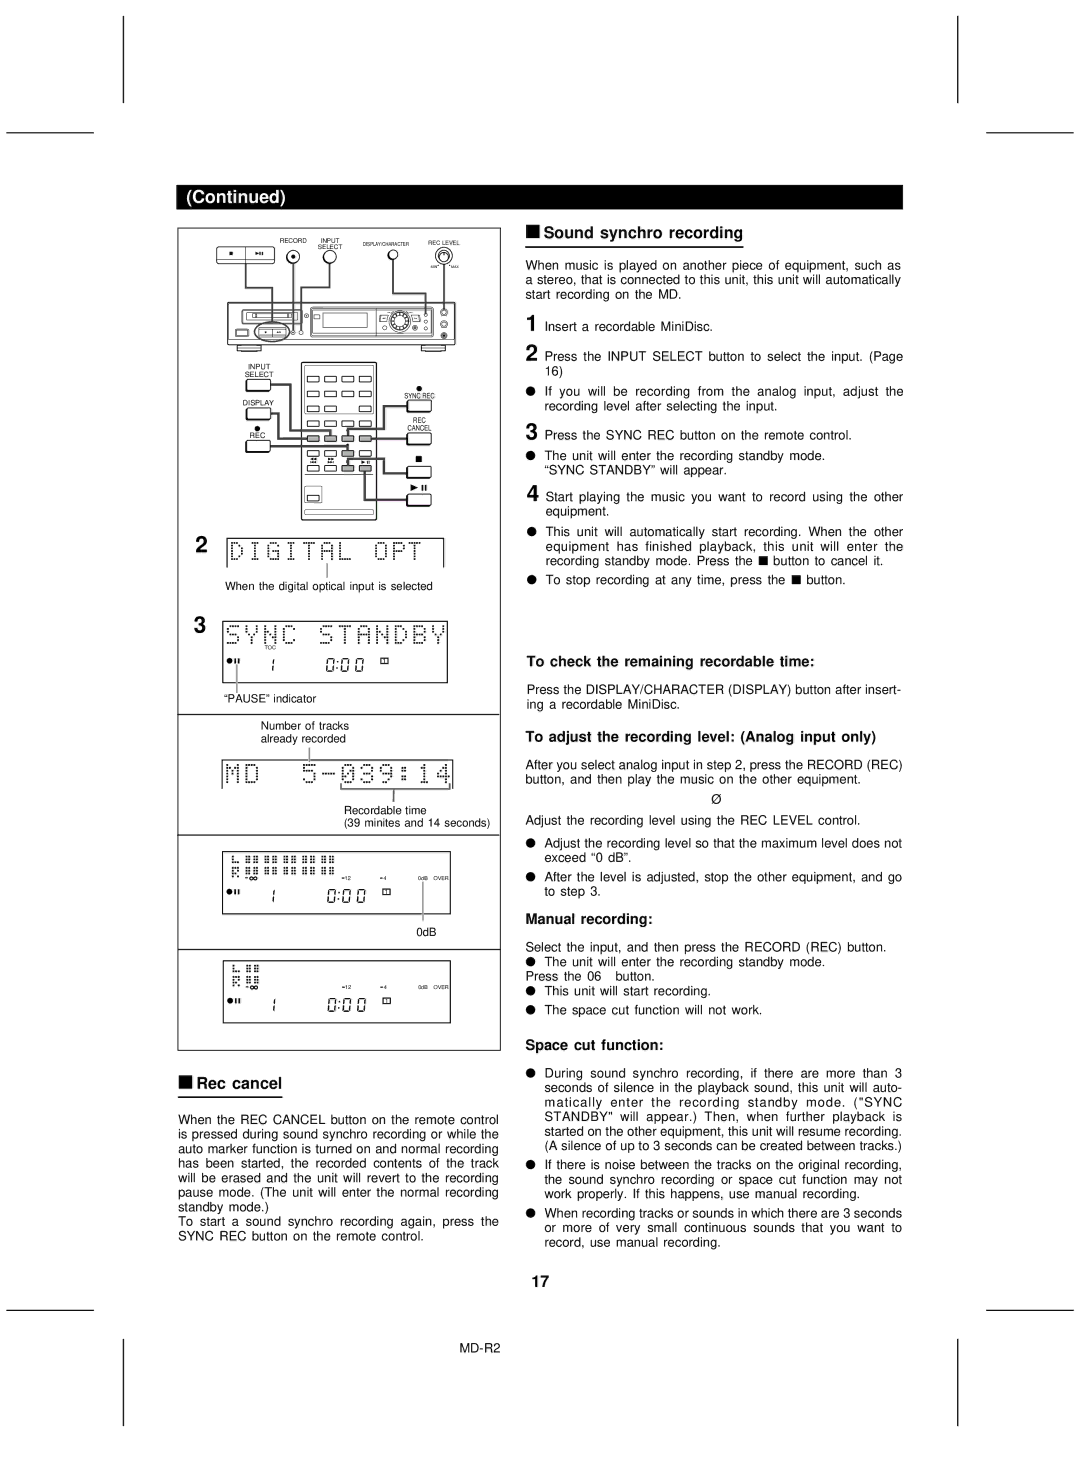
MD-R2 specifications
The Kenwood MD-R2 is a versatile and compact micro component system that promises high-quality audio performance in a sleek and modern design. This device is especially popular among audiophiles and casual listeners alike due to its rich features and user-friendly interface.One of the standout features of the MD-R2 is its integrated MD (MiniDisc) player and recorder. This allows users to enjoy their favorite tracks while also having the option to record audio from various sources. The MiniDisc format provides a unique blend of digital sound quality and portability, making it ideal for music lovers who appreciate clarity and convenience. The device supports both playback and recording, allowing users to create custom playlists on MiniDiscs with ease.
In terms of connectivity, the Kenwood MD-R2 is equipped with multiple input options. These include built-in FM and AM tuners for radio enthusiasts, as well as auxiliary inputs for connecting external devices such as smartphones or tablets. The inclusion of a CD player also means that users can enjoy their traditional CD collections, ensuring that the MD-R2 caters to a wide range of audio formats.
The design of the MD-R2 is another key highlight. Its compact size makes it suitable for various room settings, from living rooms to bedrooms, without occupying too much space. The unit features an attractive display that showcases track information, making navigation simple and intuitive. The controls are straightforward, allowing users to seamlessly switch between different modes and adjust settings as needed.
The sound quality of the Kenwood MD-R2 is impressive, providing a balanced audio experience with rich bass and clear treble. It is designed with built-in speakers that deliver a powerful sound, perfectly suited for both casual listening and more immersive audio experiences. The sound output can be enhanced by connecting additional speakers, thanks to its speaker output connections.
Additionally, the MD-R2 includes various sound processing features that enhance playback quality. These may include equalization settings, allowing users to customize the sound profile according to their preferences. Whether you're enjoying classical music, rock, or electronic, the MD-R2 has the capability to deliver an enjoyable listening experience.
Lastly, the build quality of the Kenwood MD-R2 reflects the brand's commitment to durability and reliability. This micro component system is designed to withstand regular use while delivering consistent performance over time. With its combination of features, sound quality, and aesthetic appeal, the Kenwood MD-R2 remains a popular choice for those who seek a compact and capable audio solution.