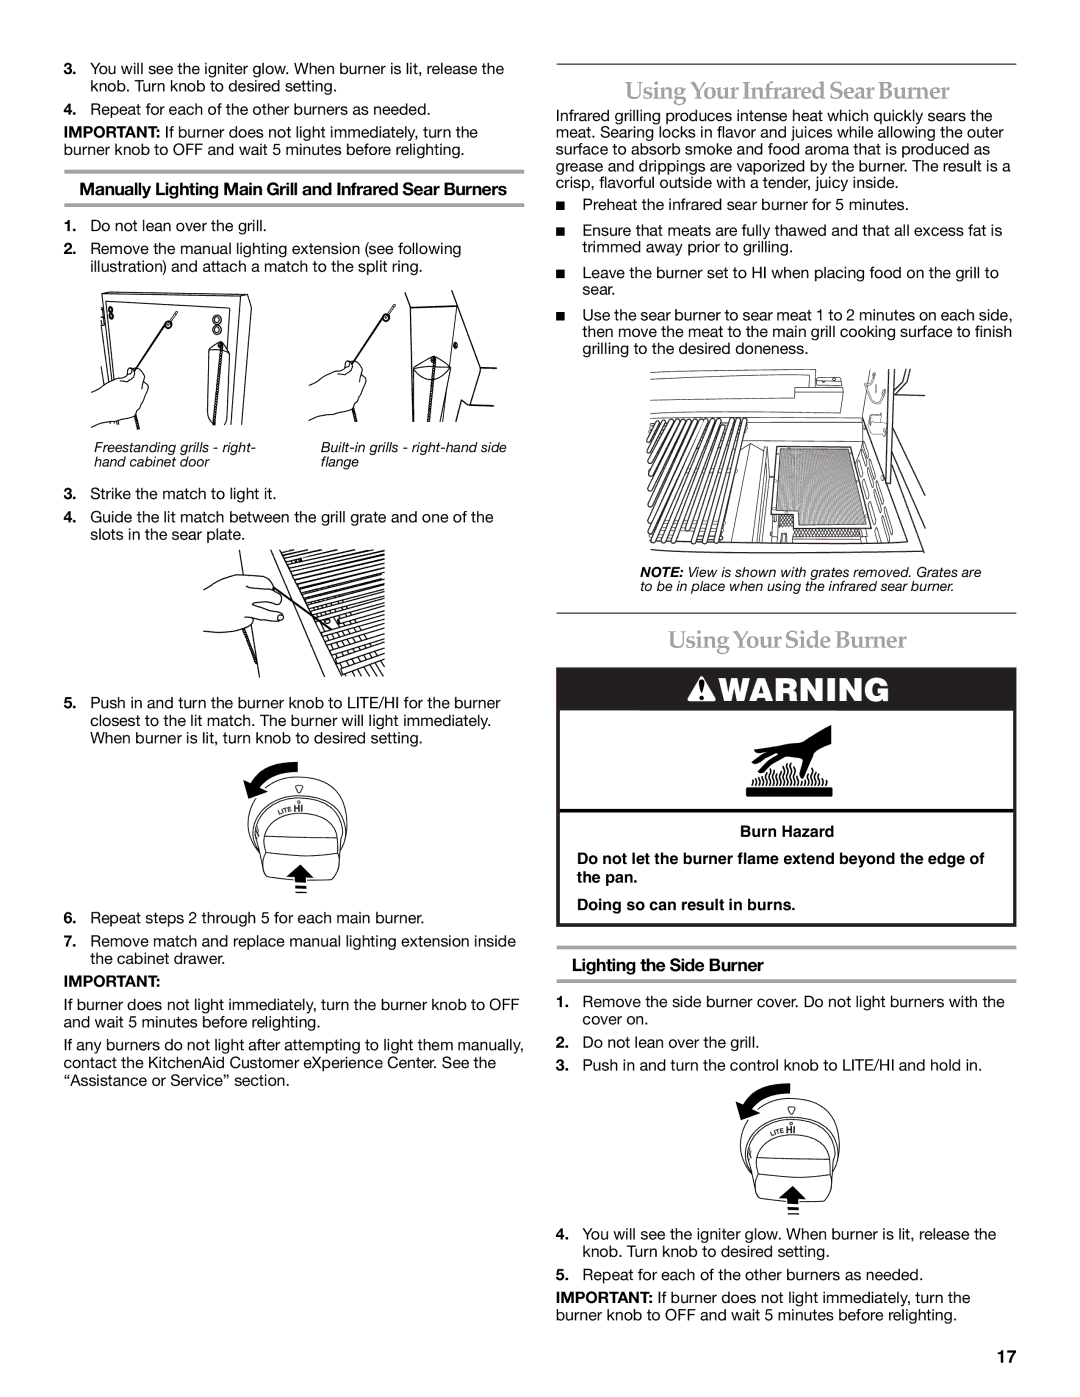
3.You will see the igniter glow. When burner is lit, release the knob. Turn knob to desired setting.

4.Repeat for each of the other burners as needed.

IMPORTANT: If burner does not light immediately, turn the burner knob to OFF and wait 5 minutes before relighting.

Manually Lighting Main Grill and Infrared Sear Burners

1.Do not lean over the grill.

2.Remove the manual lighting extension (see following illustration) and attach a match to the split ring.

Freestanding grills - right-

Built-in grills - right-hand side

hand cabinet door

flange

3.Strike the match to light it.

4.Guide the lit match between the grill grate and one of the slots in the sear plate.

5.Push in and turn the burner knob to LITE/HI for the burner closest to the lit match. The burner will light immediately. When burner is lit, turn knob to desired setting.

6.Repeat steps 2 through 5 for each main burner.

7.Remove match and replace manual lighting extension inside the cabinet drawer.

IMPORTANT:

If burner does not light immediately, turn the burner knob to OFF and wait 5 minutes before relighting.

If any burners do not light after attempting to light them manually, contact the KitchenAid Customer eXperience Center. See the “Assistance or Service” section.

Using Your Infrared Sear Burner

Infrared grilling produces intense heat which quickly sears the meat. Searing locks in flavor and juices while allowing the outer surface to absorb smoke and food aroma that is produced as grease and drippings are vaporized by the burner. The result is a crisp, flavorful outside with a tender, juicy inside.

Preheat the infrared sear burner for 5 minutes.

Ensure that meats are fully thawed and that all excess fat is trimmed away prior to grilling.

Leave the burner set to HI when placing food on the grill to sear.

Use the sear burner to sear meat 1 to 2 minutes on each side, then move the meat to the main grill cooking surface to finish grilling to the desired doneness.

NOTE: View is shown with grates removed. Grates are to be in place when using the infrared sear burner.

Using Your Side Burner

WARNING

Burn Hazard

Do not let the burner flame extend beyond the edge of the pan.

Doing so can result in burns.

Lighting the Side Burner

1.Remove the side burner cover. Do not light burners with the cover on.

2.Do not lean over the grill.

3.Push in and turn the control knob to LITE/HI and hold in.

4.You will see the igniter glow. When burner is lit, release the knob. Turn knob to desired setting.

5.Repeat for each of the other burners as needed.

IMPORTANT: If burner does not light immediately, turn the burner knob to OFF and wait 5 minutes before relighting.

17

Page 17
Image 17
KitchenAid KFRU488TSS Using Your Infrared Sear Burner, Using Your Side Burner, Lighting the Side Burner

KFRU488TSS specifications

The KitchenAid KFRU488TSS, KFRU488VSS, KFRS361TSS, KFRU368TSS, and KFRS271TSS represent a range of high-performance refrigerators designed for modern kitchens that demand style, functionality, and advanced technology. Each model is fortified with unique features that cater to various culinary needs while showcasing KitchenAid's commitment to quality and innovation.

The KFRU488TSS and KFRU488VSS are distinguished by their spacious French door design, which offers unparalleled access to fresh and frozen foods. Both models feature a generous capacity, allowing users to store large quantities of groceries effortlessly. A key highlight is the Preserva Food Care System, which uses a combination of a two-tiered cooling system and humidity-controlled crisper drawers to maintain optimal conditions for different food types. This technology extends the freshness of produce and prevents cross-contamination of odors.

The KFRS361TSS and KFRU368TSS models come equipped with the signature KitchenAid salt/pepper shakers and ice dispensers, bridging practicality with design. They boast the ExtendFresh Temperature Management System that monitors and adjusts temperatures in both fresh and frozen compartments, ensuring food retains its taste and texture. Additionally, these refrigerators feature an internal water dispenser, giving convenient access to chilled water without sacrificing space on the door.

For consumers focused on energy efficiency, the KFRS271TSS stands out with its Energy Star certification, signifying lower energy consumption without compromising performance. This model also incorporates a sleek, stainless steel finish that not only complements any kitchen aesthetic but also resists fingerprints and smudges for easy maintenance.

Another commonality among these KitchenAid models is their intuitive digital controls, which allow for precise temperature regulation and user-friendly navigation of different settings. Moreover, the LED lighting illuminates every corner of the refrigerator, making it easy to locate items.

In summary, the KitchenAid KFRU488TSS, KFRU488VSS, KFRS361TSS, KFRU368TSS, and KFRS271TSS embody a fusion of style, technology, and practicality, catering to the needs of modern households. With advanced preservation systems, energy efficiency, and user-centric features, these refrigerators exemplify KitchenAid's dedication to enhancing the culinary experience.