COOKTOP USE
Cookware
IMPORTANT: Do not leave empty cookware on a hot surface cooking area, element or surface burner.
Ideal cookware should have a flat bottom, straight sides, a well- fitting lid and the material should be of
Rough finishes may scratch the cooktop. Aluminum and copper may be used as a core or base in cookware. However, when used as a base it can leave permanent marks on the cooktop or grates.
Cookware material is a factor in how quickly and evenly heat is transferred, which affects cooking results. A nonstick finish has the same characteristics as its base material. For example, aluminum cookware with a nonstick finish will take on the properties of aluminum.
Griddles with nonstick surfaces should not be used under the broiler.
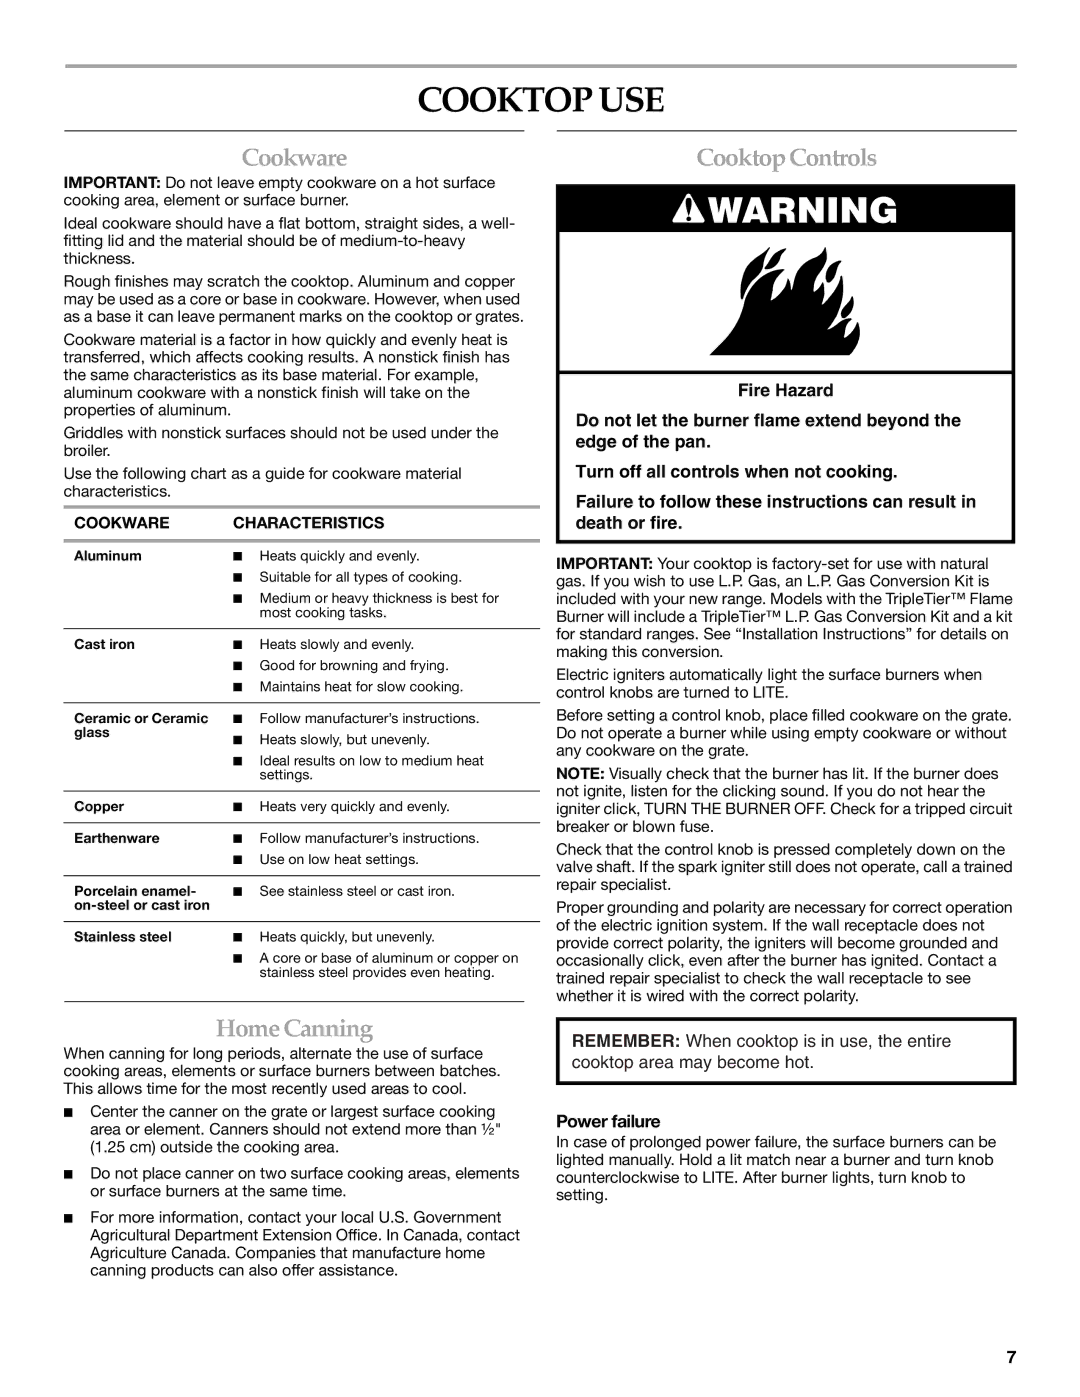
Use the following chart as a guide for cookware material characteristics.
COOKWARE | CHARACTERISTICS | |
|
| |
Aluminum | ■ Heats quickly and evenly. | |
| ■ Suitable for all types of cooking. | |
| ■ Medium or heavy thickness is best for | |
|
| most cooking tasks. |
|
| |
Cast iron | ■ Heats slowly and evenly. | |
| ■ Good for browning and frying. | |
| ■ Maintains heat for slow cooking. | |
|
|
|
Ceramic or Ceramic | ■ | Follow manufacturer’s instructions. |
glass | ■ Heats slowly, but unevenly. | |
| ||
| ■ Ideal results on low to medium heat | |
|
| settings. |
|
| |
Copper | ■ Heats very quickly and evenly. | |
|
|
|
Earthenware | ■ | Follow manufacturer’s instructions. |
| ■ Use on low heat settings. | |
|
| |
Porcelain enamel- | ■ See stainless steel or cast iron. | |
|
|
|
|
| |
Stainless steel | ■ Heats quickly, but unevenly. | |
| ■ A core or base of aluminum or copper on | |
|
| stainless steel provides even heating. |
Home Canning
When canning for long periods, alternate the use of surface cooking areas, elements or surface burners between batches. This allows time for the most recently used areas to cool.
■Center the canner on the grate or largest surface cooking area or element. Canners should not extend more than ½" (1.25 cm) outside the cooking area.
■Do not place canner on two surface cooking areas, elements or surface burners at the same time.
■For more information, contact your local U.S. Government Agricultural Department Extension Office. In Canada, contact Agriculture Canada. Companies that manufacture home canning products can also offer assistance.
Cooktop Controls
![]() WARNING
WARNING
Fire Hazard
Do not let the burner flame extend beyond the edge of the pan.
Turn off all controls when not cooking.
Failure to follow these instructions can result in death or fire.
IMPORTANT: Your cooktop is
Electric igniters automatically light the surface burners when control knobs are turned to LITE.
Before setting a control knob, place filled cookware on the grate. Do not operate a burner while using empty cookware or without any cookware on the grate.
NOTE: Visually check that the burner has lit. If the burner does not ignite, listen for the clicking sound. If you do not hear the igniter click, TURN THE BURNER OFF. Check for a tripped circuit breaker or blown fuse.
Check that the control knob is pressed completely down on the valve shaft. If the spark igniter still does not operate, call a trained repair specialist.
Proper grounding and polarity are necessary for correct operation of the electric ignition system. If the wall receptacle does not provide correct polarity, the igniters will become grounded and occasionally click, even after the burner has ignited. Contact a trained repair specialist to check the wall receptacle to see whether it is wired with the correct polarity.
REMEMBER: When cooktop is in use, the entire cooktop area may become hot.
Power failure
In case of prolonged power failure, the surface burners can be lighted manually. Hold a lit match near a burner and turn knob counterclockwise to LITE. After burner lights, turn knob to setting.
7
