Chapter 3
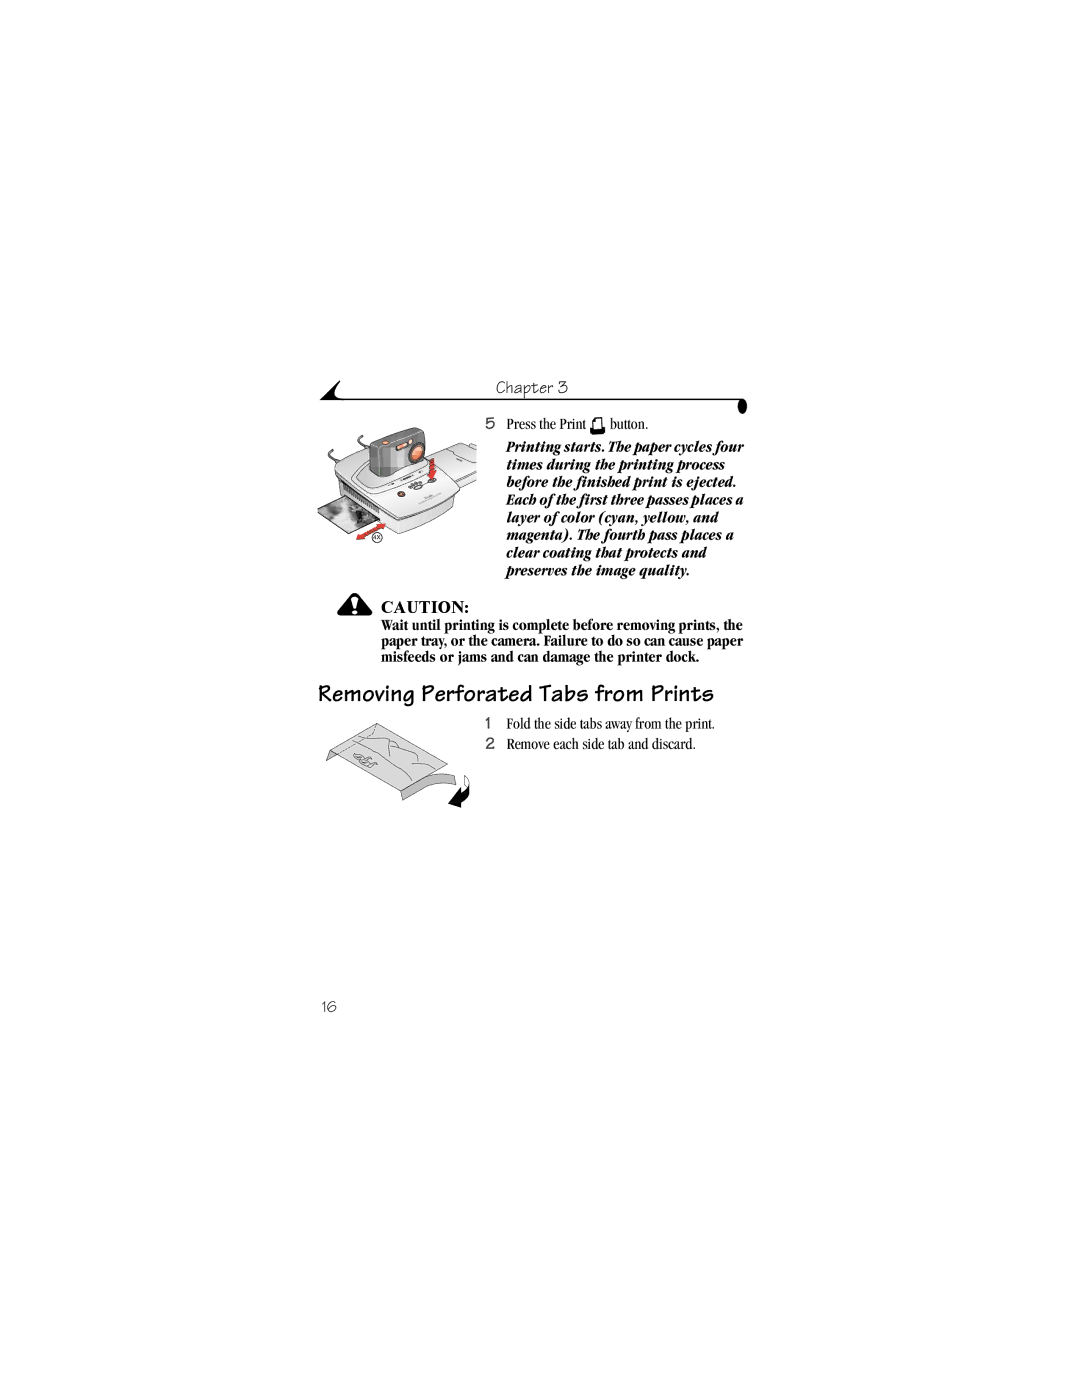
5Press the Print  button.
Printing starts. The paper cycles four times during the printing process before the finished print is ejected. Each of the first three passes places a layer of color (cyan, yellow, and
4X | magenta). The fourth pass places a |
clear coating that protects and preserves the image quality.
![]() CAUTION:
CAUTION:
Wait until printing is complete before removing prints, the paper tray, or the camera. Failure to do so can cause paper misfeeds or jams and can damage the printer dock.
Removing Perforated Tabs from Prints
1Fold the side tabs away from the print.
2 Remove each side tab and discard.
16