Power setup | One or more power cords may be supplied with the scanner. Use only the cord |
| required for your power type. Dispose of any unneeded power cords properly. |
| Use only the power supply that was provided with the scanner. |
| CAUTION: The scanner and power supply must only be used indoors in a |
| dry location. |
| IMPORTANT: Do not substitute another power supply model or another |
| manufacturer’s power supply. |
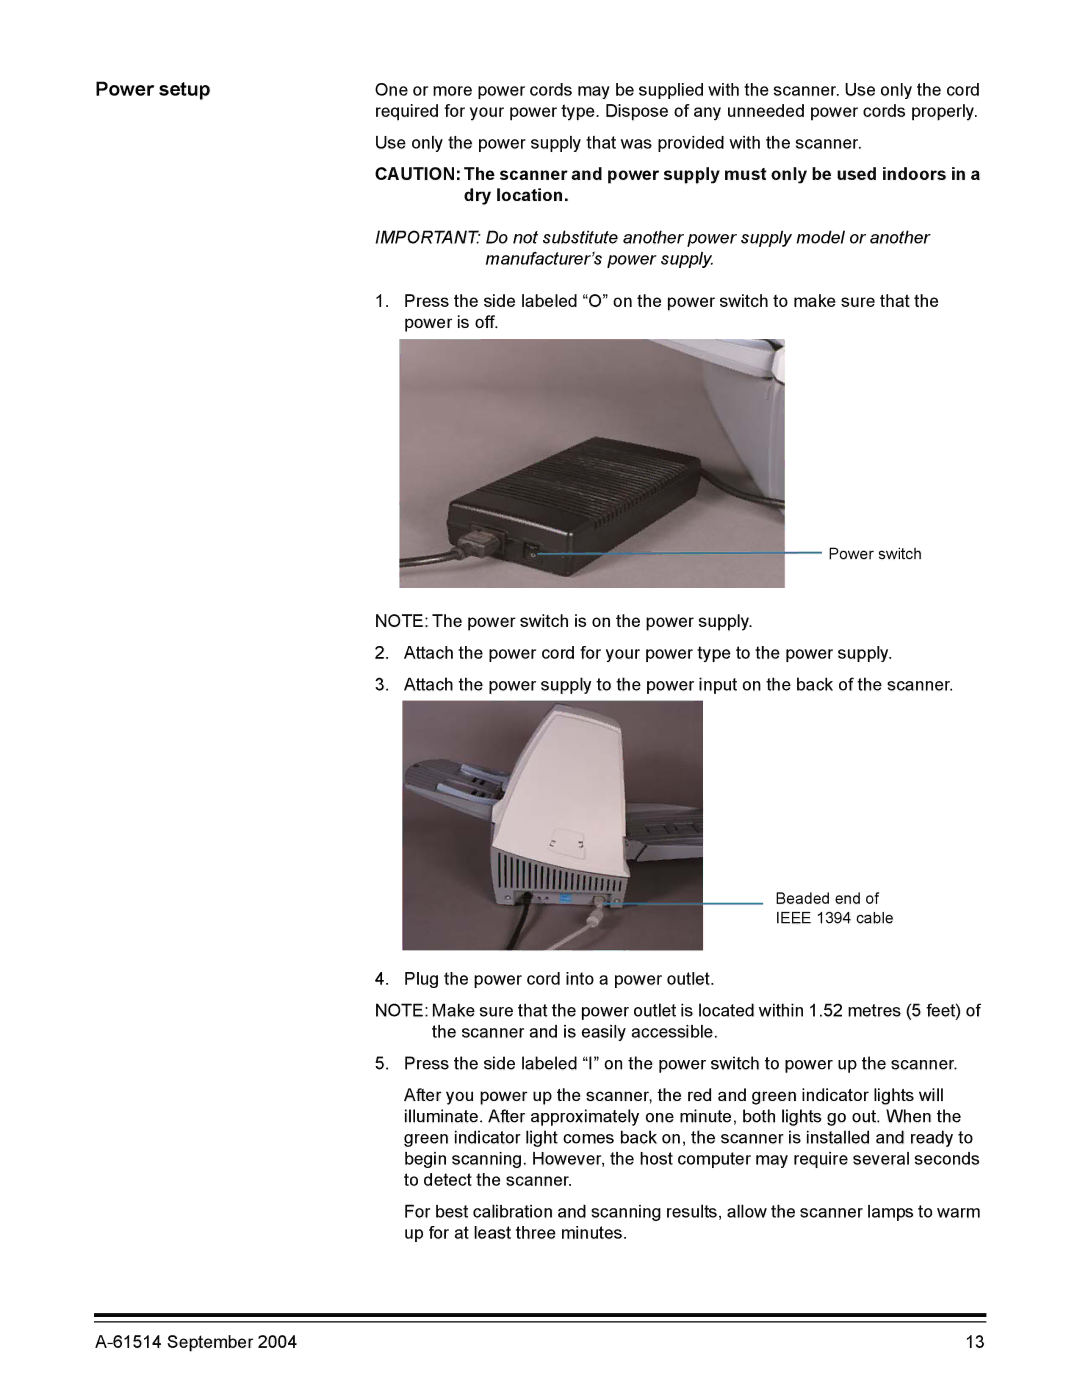
| 1. Press the side labeled “O” on the power switch to make sure that the |
| power is off. |
Power switch
NOTE: The power switch is on the power supply.
2.Attach the power cord for your power type to the power supply.
3.Attach the power supply to the power input on the back of the scanner.
Beaded end of
IEEE 1394 cable
4. Plug the power cord into a power outlet.
NOTE: Make sure that the power outlet is located within 1.52 metres (5 feet) of the scanner and is easily accessible.
5.Press the side labeled “I” on the power switch to power up the scanner.
After you power up the scanner, the red and green indicator lights will illuminate. After approximately one minute, both lights go out. When the green indicator light comes back on, the scanner is installed and ready to begin scanning. However, the host computer may require several seconds to detect the scanner.
For best calibration and scanning results, allow the scanner lamps to warm up for at least three minutes.
13 |