Configuring the
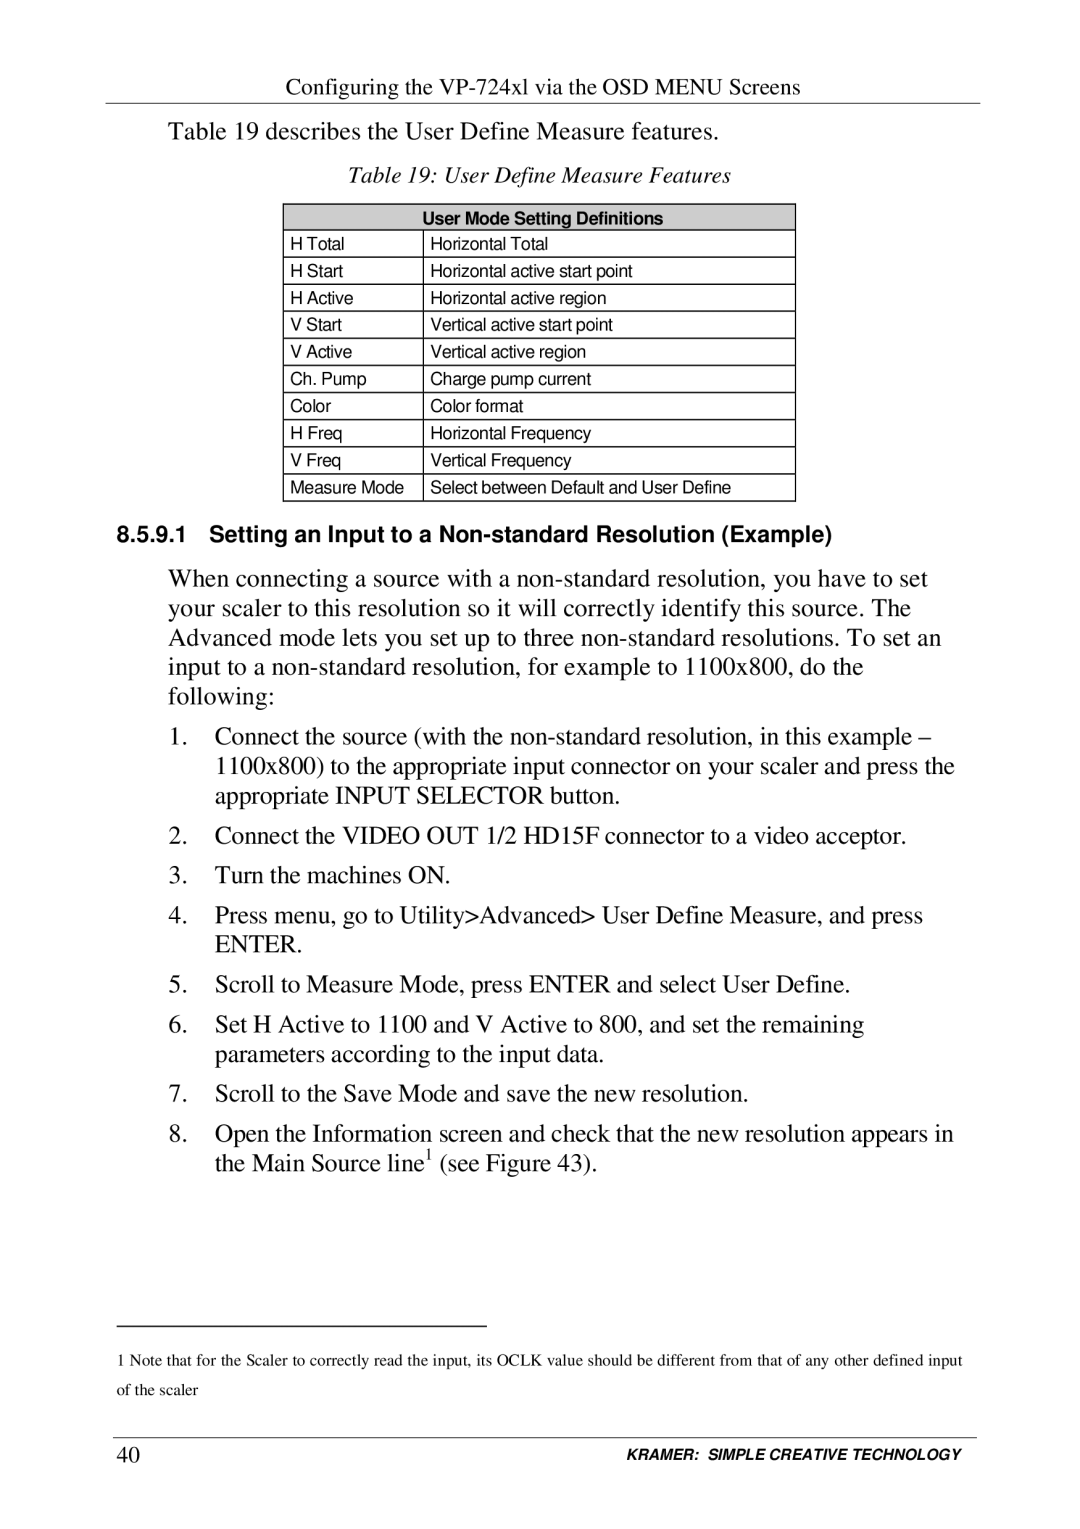
Table 19 describes the User Define Measure features.
Table 19: User Define Measure Features
| User Mode Setting Definitions |
H Total | Horizontal Total |
H Start | Horizontal active start point |
H Active | Horizontal active region |
V Start | Vertical active start point |
V Active | Vertical active region |
Ch. Pump | Charge pump current |
Color | Color format |
H Freq | Horizontal Frequency |
V Freq | Vertical Frequency |
Measure Mode | Select between Default and User Define |
8.5.9.1 Setting an Input to a Non-standard Resolution (Example)
When connecting a source with a
1.Connect the source (with the
2.Connect the VIDEO OUT 1/2 HD15F connector to a video acceptor.
3.Turn the machines ON.
4.Press menu, go to Utility>Advanced> User Define Measure, and press
ENTER.
5.Scroll to Measure Mode, press ENTER and select User Define.
6.Set H Active to 1100 and V Active to 800, and set the remaining parameters according to the input data.
7.Scroll to the Save Mode and save the new resolution.
8.Open the Information screen and check that the new resolution appears in the Main Source line1 (see Figure 43).
1 Note that for the Scaler to correctly read the input, its OCLK value should be different from that of any other defined input of the scaler
40 | KRAMER: SIMPLE CREATIVE TECHNOLOGY |
