6.Align the drive bay assembly with the two slots and rails on the sides of the chassis, reconnect the drive cables on the system board, and then slide the drive bay assembly towards the rear of the chassis until it snaps into position.
7.Reinstall the front bezel.
8.Go to Capitolo 4, “Completing the parts replacement”, a pagina 31.
Replacing a PCI adapter
Attention
Do not open your computer or attempt any repair before reading the “Important safety information” in the Safety and Warranty Guide that was included with your computer for the computer. To obtain copies of the Safety and Warranty Guide, go to http://www.lenovo.com/support.
This section provides instructions on how to replace a PCI adapter.
1.Remove the computer cover. See “Removing the cover” a pagina 9.
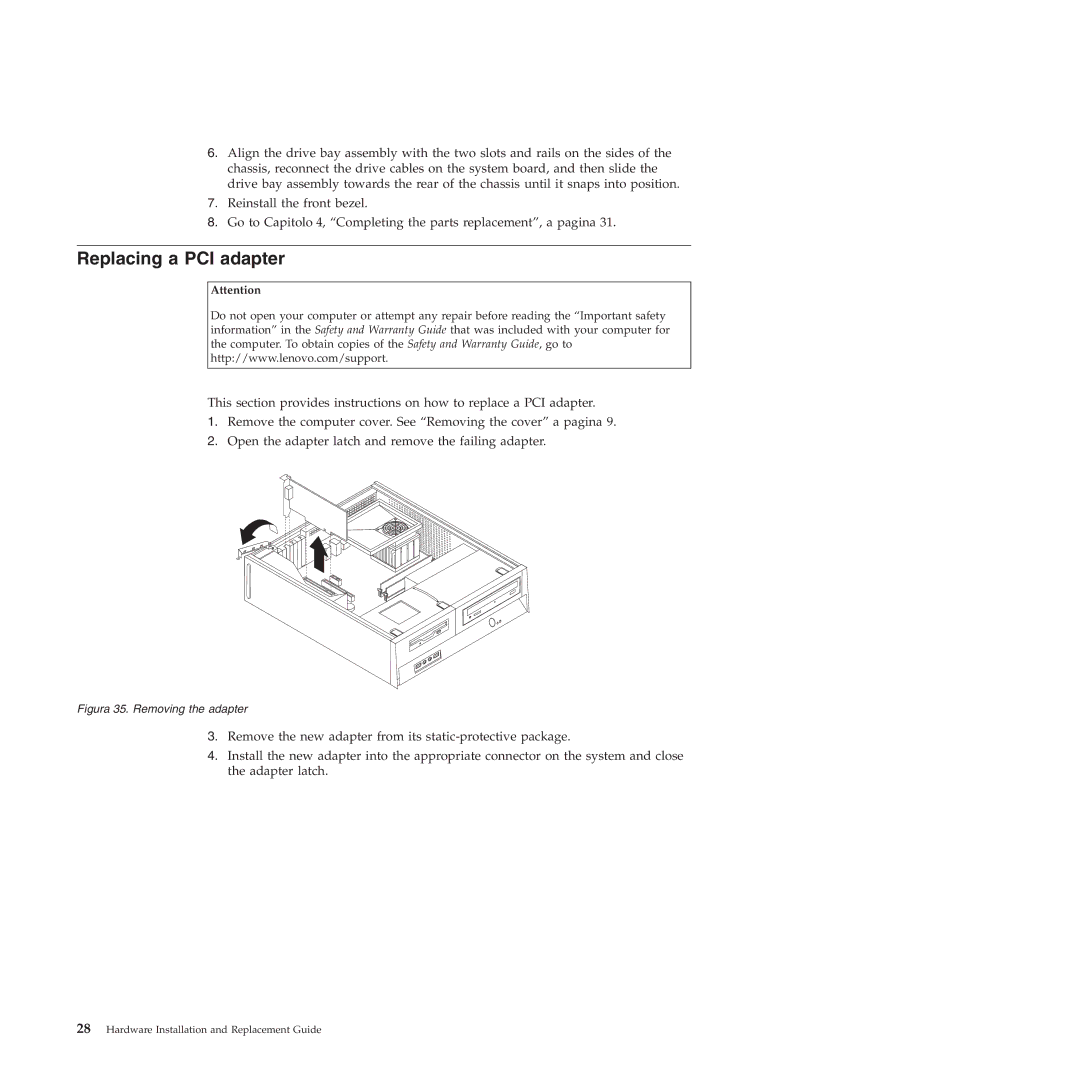
2.Open the adapter latch and remove the failing adapter.
Figura 35. Removing the adapter
3.Remove the new adapter from its
4.Install the new adapter into the appropriate connector on the system and close the adapter latch.