Figura 14. Retaining bracket
Nota: When installing the Universal Adapter Bracket, if the retaining bracket is not available, install the screws to secure the adapter bracket into the drive bay.
6.Install the drive into the drive bay until it snaps into position.
Figura 15. Installing the drive
7.Align the drive bay assembly with the two slots and rails on the sides of the chassis and connect the new drive cable on the system board. See “Connecting drives”.
Connecting drives
The steps to connect a drive are different depending on the type of drive that you are connecting. Use one of the following procedures for your drive connection.
Connecting an optical drive or a parallel ATA hard disk drive:
1.Locate the
2.Locate the IDE connector 1 on the system board. See “Identifying parts on the system board” a pagina 7.
3.Connect one end of the signal cable to the drive and the other to the IDE connector 1 on the system board.
4.Locate the extra
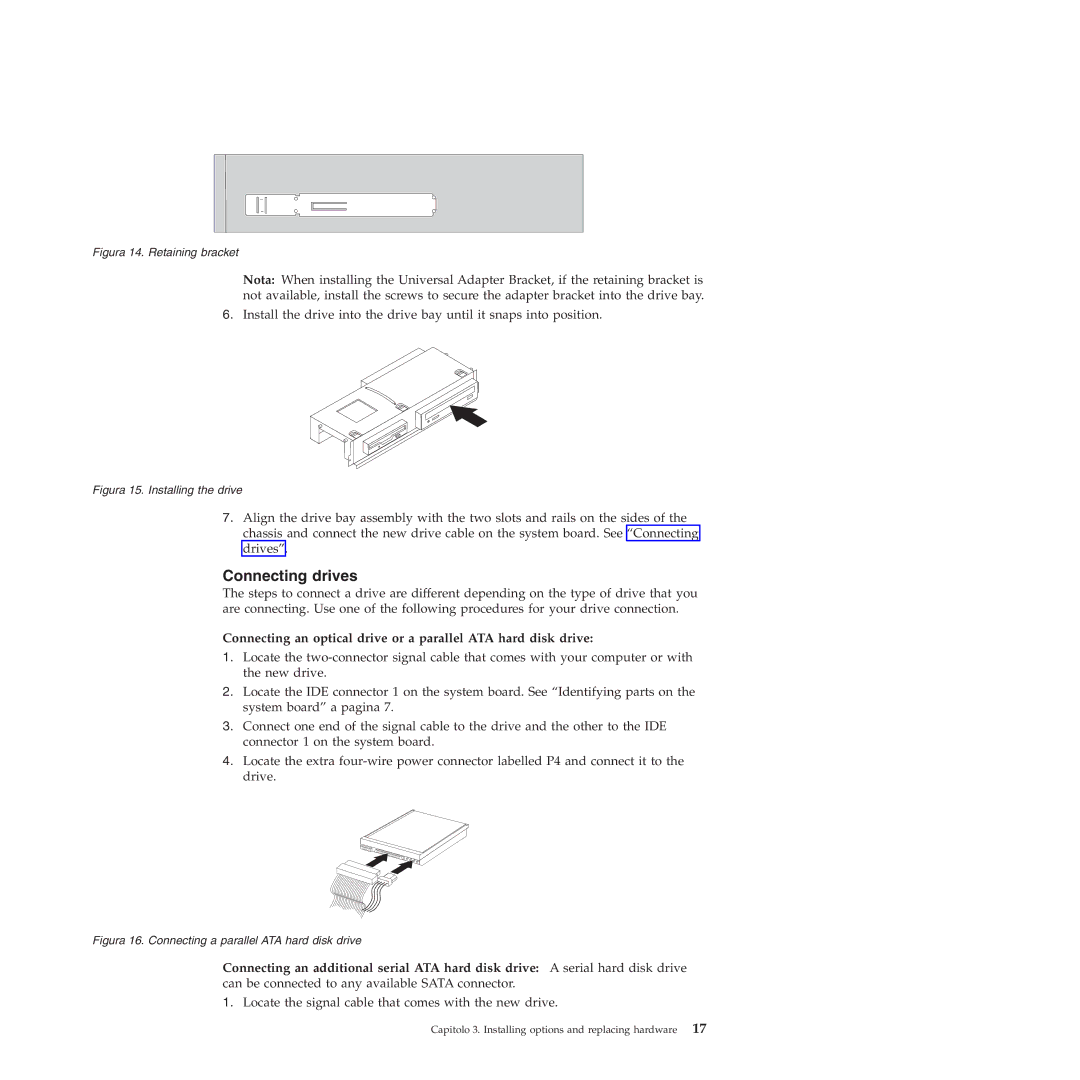
Figura 16. Connecting a parallel ATA hard disk drive
Connecting an additional serial ATA hard disk drive: A serial hard disk drive can be connected to any available SATA connector.
1.Locate the signal cable that comes with the new drive.
Capitolo 3. Installing options and replacing hardware 17