1110 CPU
For access, remove these FRUs in order:
v“1010 Battery pack” on page 63
v“1080 Thermal door” on page 72
v“1090 Fan assembly” on page 73
v“1100 CPU thermal module” on page 75
Attention: CPU is extremely sensitive. When you service the CPU, avoid any kind of rough handling.
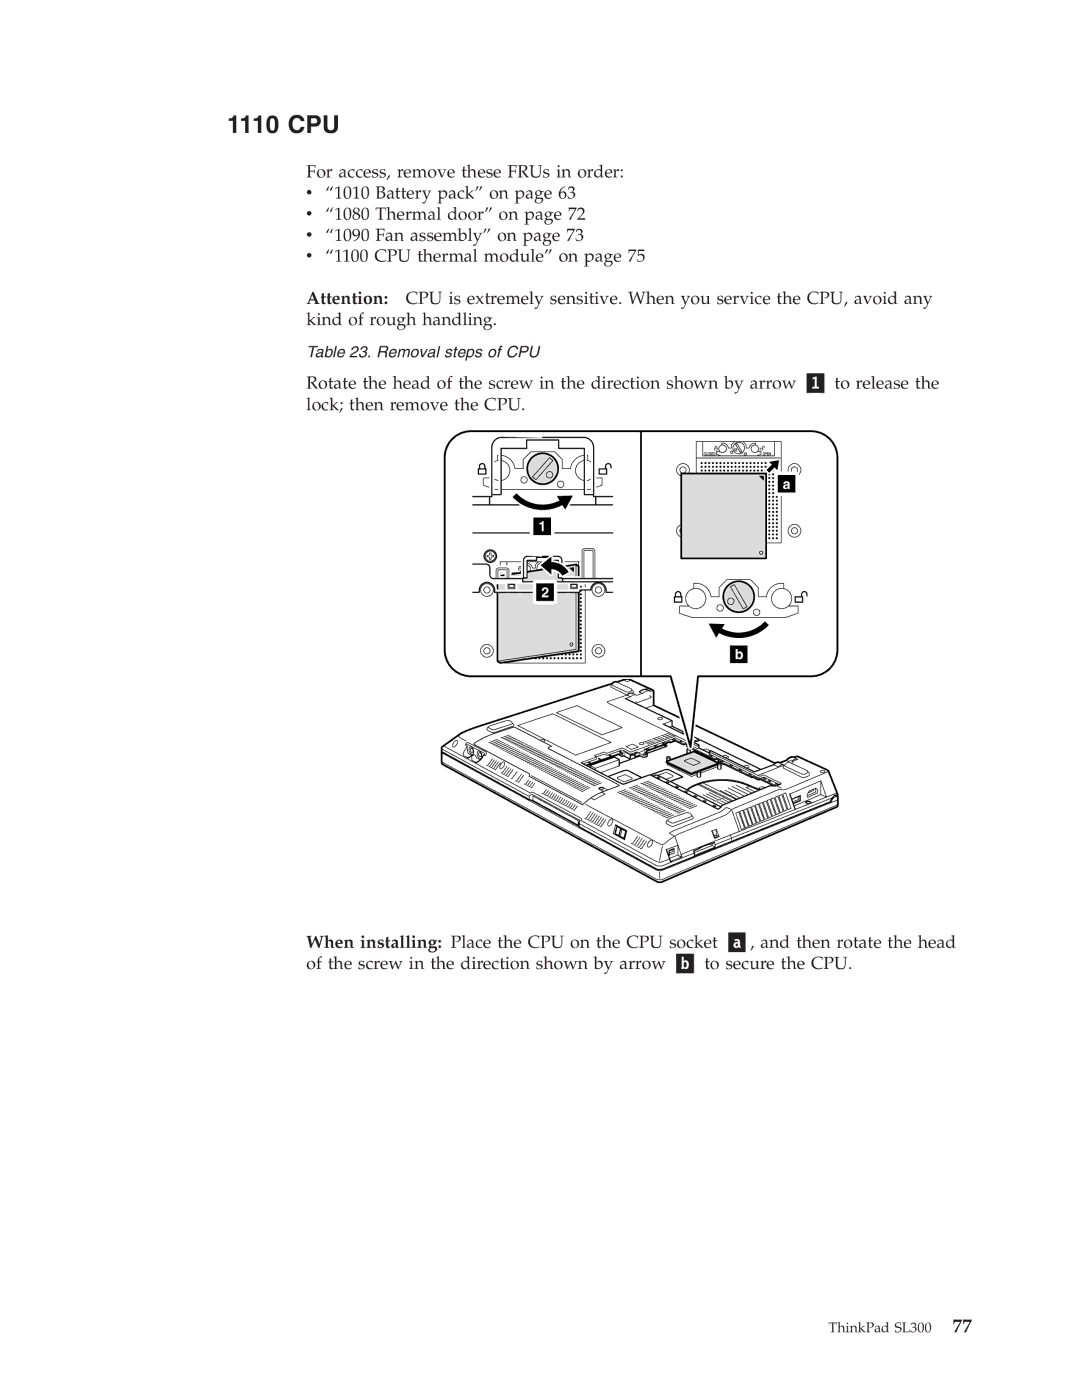
Table 23. Removal steps of CPU |
| ||
Rotate the head of the screw in the direction shown by arrow | to release the | ||
lock; then remove the CPU. |
| ||
|
|
|
|
|
|
|
|
1
2 |
![]()
![]()
![]()
![]()
![]()
![]()
![]()
![]()
![]()
![]()
![]()
![]()
![]()
![]()
![]()
![]()
![]()
![]()
![]()
![]()
![]() a
a
b
When installing: Place the CPU on the CPU socket | , and then rotate the head | |
of the screw in the direction shown by arrow | to secure the CPU. | |