ASSEMBLING AND PREPARING 17
Installing to a wall
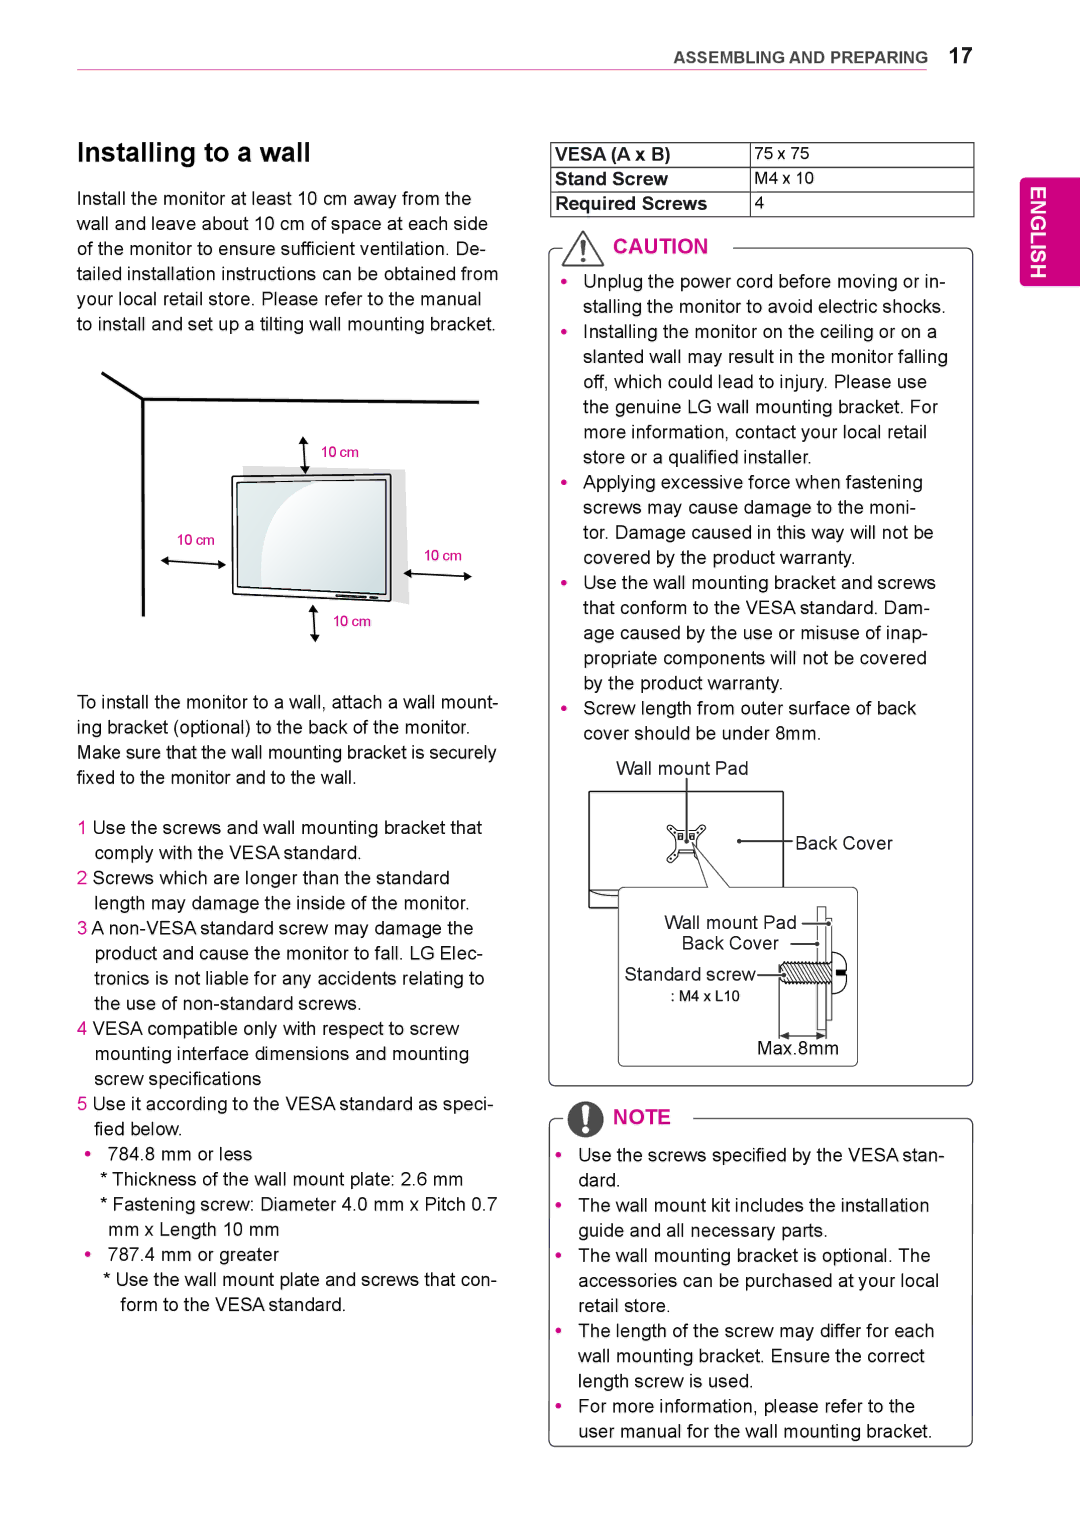
Install the monitor at least 10 cm away from the wall and leave about 10 cm of space at each side of the monitor to ensure sufficient ventilation. De- tailed installation instructions can be obtained from your local retail store. Please refer to the manual to install and set up a tilting wall mounting bracket.
10 cm
10 cm
10 cm
10 cm
To install the monitor to a wall, attach a wall mount- ing bracket (optional) to the back of the monitor. Make sure that the wall mounting bracket is securely fixed to the monitor and to the wall.
1 Use the screws and wall mounting bracket that comply with the VESA standard.
2 Screws which are longer than the standard length may damage the inside of the monitor.
3 A
4 VESA compatible only with respect to screw mounting interface dimensions and mounting screw specifications
5 Use it according to the VESA standard as speci- fied below.
y y784.8 mm or less
*Thickness of the wall mount plate: 2.6 mm
*Fastening screw: Diameter 4.0 mm x Pitch 0.7
mmx Length 10 mm y y787.4 mm or greater
* Use the wall mount plate and screws that con- form to the VESA standard.
VESA (A x B) | 75 x 75 |
Stand Screw | M4 x 10 |
Required Screws | 4 |
![]() CAUTION
CAUTION
yyUnplug the power cord before moving or in- stalling the monitor to avoid electric shocks.
yyInstalling the monitor on the ceiling or on a slanted wall may result in the monitor falling off, which could lead to injury. Please use the genuine LG wall mounting bracket. For more information, contact your local retail store or a qualified installer.
yyApplying excessive force when fastening screws may cause damage to the moni- tor. Damage caused in this way will not be covered by the product warranty.
yyUse the wall mounting bracket and screws that conform to the VESA standard. Dam- age caused by the use or misuse of inap- propriate components will not be covered by the product warranty.
yyScrew length from outer surface of back cover should be under 8mm.
Wall mount Pad
![]() Back Cover
Back Cover
Wall mount Pad ![]()
Back Cover
Standard screw ![]()
![]()
Max.8mm
![]() NOTE
NOTE
y yUse the screws specified by the VESA stan- dard.
y yThe wall mount kit includes the installation guide and all necessary parts.
y yThe wall mounting bracket is optional. The accessories can be purchased at your local retail store.
y yThe length of the screw may differ for each wall mounting bracket. Ensure the correct length screw is used.
y yFor more information, please refer to the user manual for the wall mounting bracket.
ENGLISH