Please read this manual carefully before operating your set
Retain it for future reference
Model number
Serial number
DLP PROJECTOR
Contents
Installing and Composition
Names of parts
Connection
Safety Instructions
Indoor Installation
Outdoor Installation
Power
Using
CAUTION concerning the Power Cord
Power
Power
Cleaning
Others
Using
Using
Names of parts
Connecting Part
Main Body
Control Panel
SOURCE
Remote Control
Installing Batteries
Optional Extras
Accessories
Only for HS102G model
Installing and Composition
Installation Instructions
Place this projector in adequate temperature and humidity conditions
Don’t place the projector where it can be covered with dust
How to install the projector using the tripod
Finished condition when projector is install on the tripod
Part connected to the projector Part connected to the tripod
Bottom side of Projector Camera Tripod
Basic Operation of the Projector
projection distance based on the picture format
Using Kensington Security System
Turning on the Projector
Turning off the Projector
Selecting source mode
1. Press the SOURCE button on the top cover or remote control
Focus and Position of the Screen Image
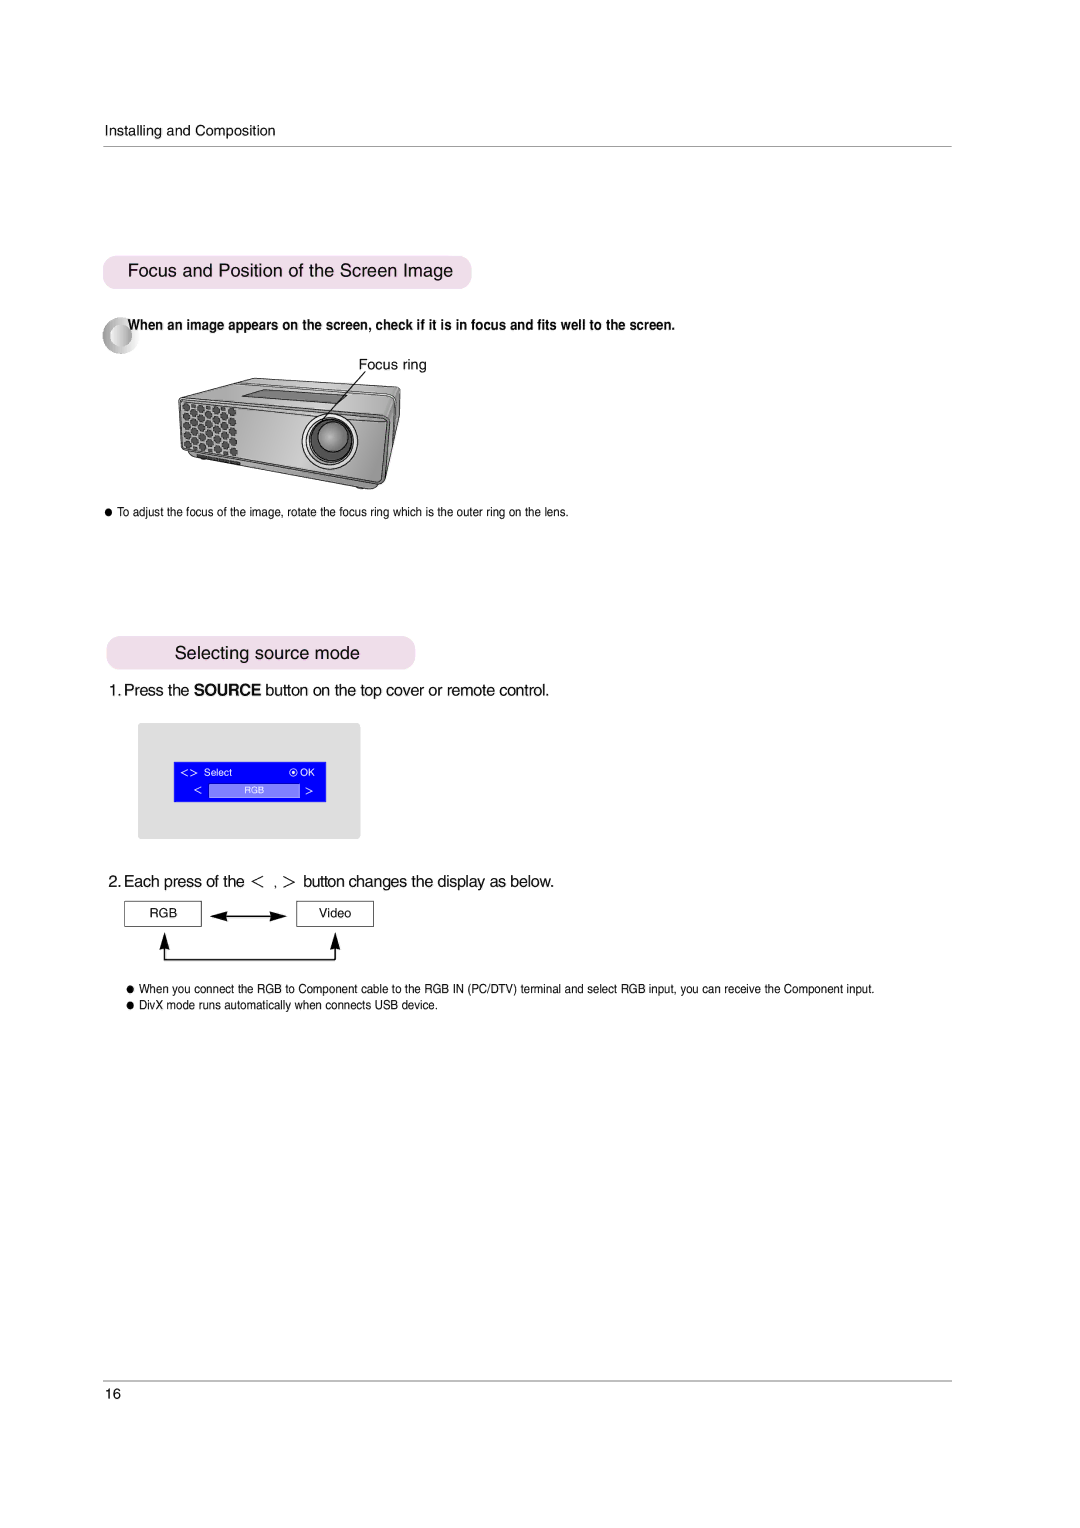
2. Each press of the , button changes the display as below
Connecting to a Desktop PC
Connecting to a Notebook PC
Connecting to a Video Source
How to connect
Connecting to a DVD
Connecting to a D-TV Set-Top Box
How to connect an RGB source
How to connect a Component source
Adjusting Video
2. Press the , button to select a video item you want to adjust
3. Press the , button to adjust the screen condition as you want
Function
Color Temperature Control
Picture mode
Select
Smart picture Function
Black level Function
2. Press the , button to select Smart picture item
2. Press the , button to select Black level item
Keypad Sound Function
Keypad LED Function
Screen Capture Function
Using RATIO Function
Special Menu Options
Selecting Language
Overscan Function
Flip horizontal Function
Flip vertical Function
2. Press the , button to select Flip horizontal item
3. Press the OK button to see reversed image
3. Press the , button to select the desired preset time
Sleep time Function
Auto sleep Function
2. Press the , button to select Sleep time item
Using Keystone Function
Presentation timer Function
4. Press the
Using Blank Function
1. Press the BLANK button on the remote control
2. Press any button to cancel the blank function
Selecting Blank image
LED mode Function
2. Press the , button to select LED mode item
3. Press the , button to select Normal or Dark
1. Press the MENU button and then use
Auto configure Function
Using Phase Function
Using Clock Function
1. Press the AUTO button of the remote controller
Using Horizontal Function
Using Vertical Function
button to select Horizontal item
2. Press the , button to select Vertical item
Connecting the USB device
To use the USB device
1. Connect the USB device to the USB jack on the back of the set
2. It turns automatically to DivX Home Menu
Set up the menu in Full-Sized screen
5. Corresponding buttons on the remote control
Photo List
Screen Components
Viewing the Slide show
Photo List
Photo List
Photo List
Music List
Music List
Music List
Screen Components
Page
Movie List
Movie List
Screen Components
DivX Audio Language & Subtitle Language
DivX registration code
Press the button to select the desired option
Supports up to Mpeg, Mp3, PCM, Dolby D file
Supported Monitor Display
Signal
Information
DVD/DTV Input
Cleaning the lens
Maintenance
Cleaning the Projector Case
Specifications
Operating Condition Temperature
HS102 HS102-JE / HS102G HS102G-JE
Humidity