
LRG3093ST, LRG3093SW, LRG3093SB specifications
The LG Electronics LRG3093 series, which includes models LRG3093SB, LRG3093SW, and LRG3093ST, represents a blend of style, functionality, and advanced cooking technologies that cater to diverse culinary needs. These freestanding gas ranges are designed to enhance cooking efficiency while providing a modern aesthetic that complements any kitchen decor.One notable feature of the LRG3093 series is its large capacity oven, which allows users to cook multiple dishes simultaneously or accommodate larger meals during gatherings and celebrations. With a generous 5.4 cubic feet of oven space, it offers ample room for baking, roasting, and broiling.
The series is equipped with LG’s exclusive ProBake Convection technology, which delivers even and consistent baking results. This innovative system circulates hot air throughout the oven, ensuring that every dish is cooked thoroughly and evenly, eliminating the need for manual rotation of pans.
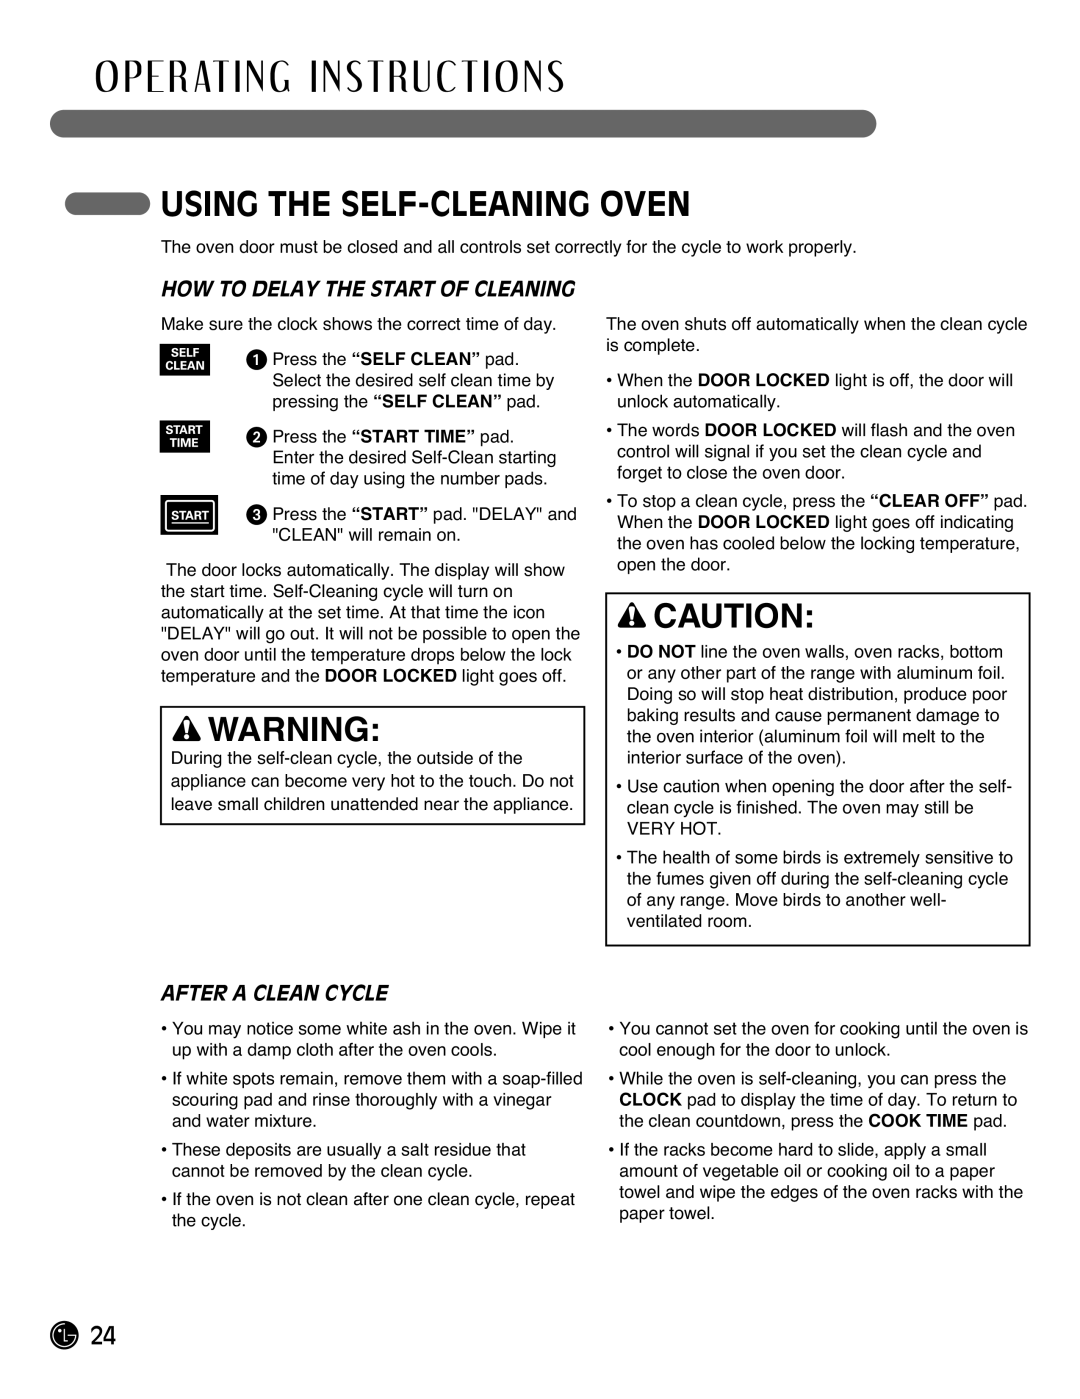
For those who enjoy the ease of cleaning, the LRG3093 models feature a Self-Cleaning function. This automated cycle uses high temperatures to burn away food residues, making maintenance convenient and hassle-free.
In addition to performance, the aesthetics of these ranges stand out. The LRG3093SB comes in a sleek black finish, while the LRG3093SW is available in a classic white, and the LRG3093ST offers a sophisticated stainless steel option. Each finish not only enhances visual appeal but also adds durability, ensuring longevity in any kitchen environment.
The cooktop of the LRG3093 range is designed for versatility with multiple burners, including a powerful high-heat burner for quick boiling and a simmer burner for delicate cooking tasks. This flexibility allows users to tackle recipes that require varying heat levels seamlessly.
Safety features such as the oven door locking during the self-clean cycle and the child lock function enhance peace of mind, making these ranges suitable for families.
Moreover, the LRG3093 series is equipped with an intuitive control panel that simplifies operations. The easy-to-read display and straightforward knobs make it easy for anyone to operate the range efficiently.
In summary, the LG Electronics LRG3093SB, LRG3093SW, and LRG3093ST are designed not just for style but for serious cooking. With features like ProBake Convection technology, self-cleaning capabilities, and a sleek design, this series stands out as a reliable choice for home chefs looking for performance and elegance in their kitchen appliances.