B-7

B-7

OPERATION

Return to Section TOC

Return to Section TOC

Return to Section TOC

Return to Section TOC

Return to Master TOC

Return to Master TOC

Return to Master TOC

Return to Master TOC

TIG WELDING SEQUENCE OF OPERATION (2-Step TIG Mode)

1.Connect an Arc Start Switch or an Amptrol to the Remote Amphenol.

2.Turn the welder, gas supply and water supply (if equipped), on. The digital ammeter/voltmeter dis- plays will illuminate when the power is on.

3.Select the 2-Step TIG Mode with the 2-Step/4-Step TIG/Stick switch.

4.Set the maximum output current using the output control knob.

5.Select AC or DC- electrode polarity. See Table B.2.

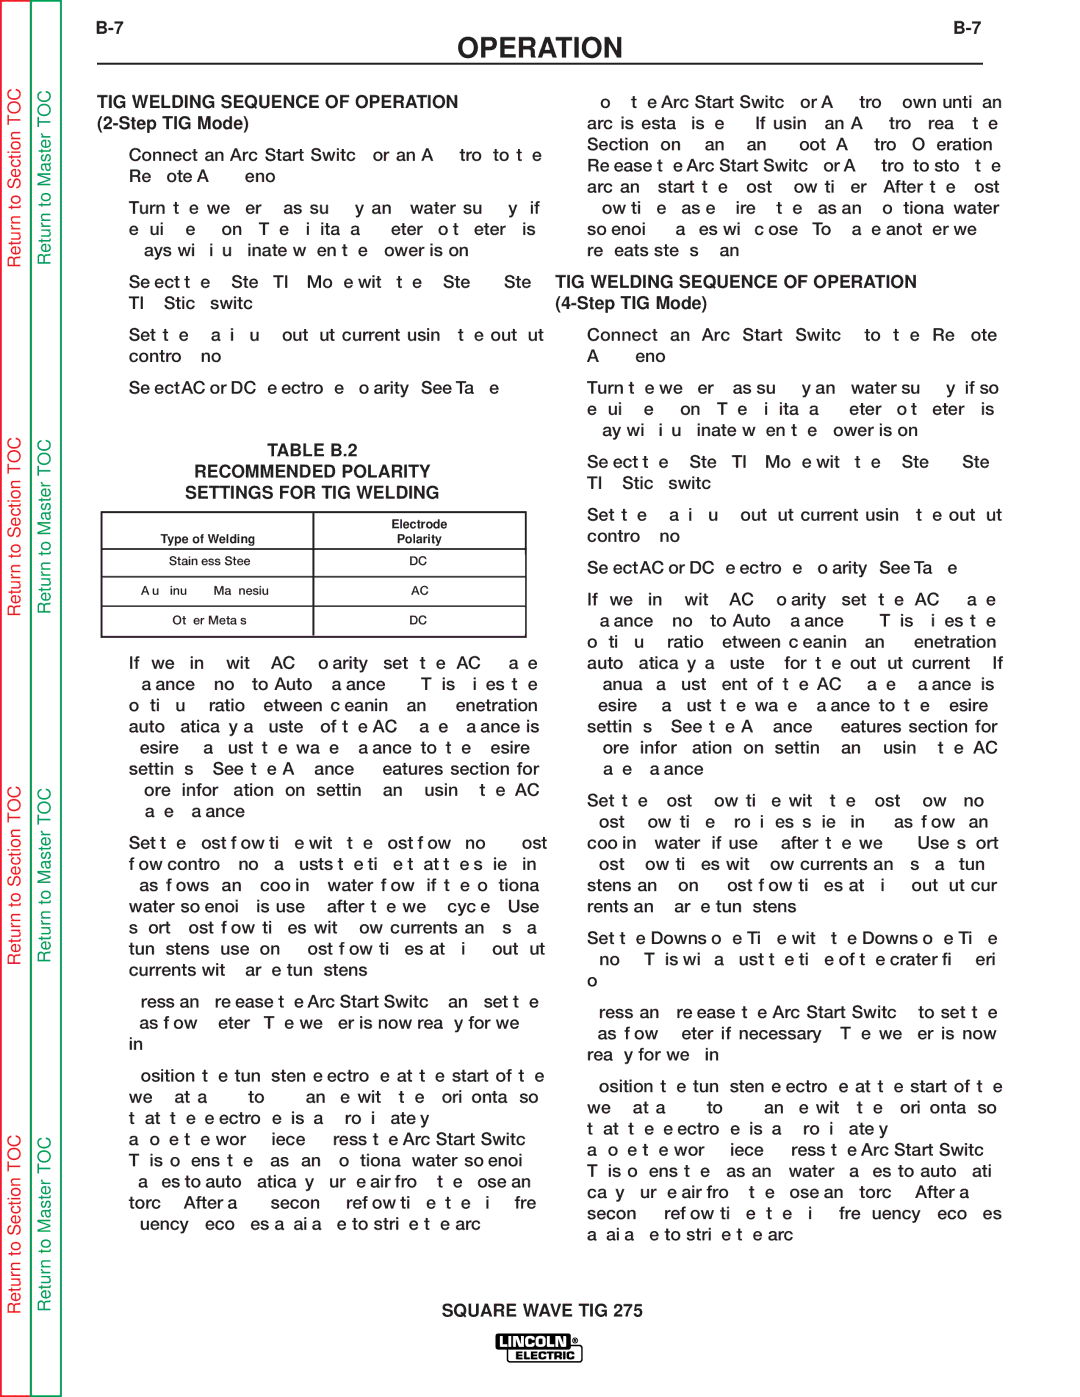
TABLE B.2

RECOMMENDED POLARITY

SETTINGS FOR TIG WELDING


Electrode

Type of Welding

Polarity


Stainless Steel

DC-


Aluminum & Magnesium

AC


Other Metals

DC-


6.If welding with AC polarity, set the AC Wave Balance Knob to Auto Balance™. This gives the optimum ratio between cleaning and penetration, automatically adjusted of the AC Wave Balance is desired, adjust the wave balance to the desired settings. See the Advanced Features section for more information on setting and using the AC Wave Balance.

7.Set the post flow time with the post flow knob. Post flow control knob adjusts the time that the shielding gas flows (and cooling water flow, if the optional water solenoid is used) after the weld cycle. Use short post flow times with low currents and small tungstens, use long post flow times at high output currents with large tungstens.

8.Press and release the Arc Start Switch, and set the gas flow meter. The welder is now ready for weld- ing.

9.Position the tungsten electrode at the start of the weld at a 65° to 75° angle with the horizontal so that the electrode is approximately 1/8” (4 mm) above the work piece. Press the Arc Start Switch. This opens the gas (and optional water solenoid) valves to automatically purge air from the hose and torch. After a 0.5 second preflow time, the high fre- quency becomes available to strike the arc.

10.Hold the Arc Start Switch or Amptrol down until an arc is established. If using an Amptrol, read the Section on Hand and Foot Amptrol Operation. Release the Arc Start Switch or Amptrol to stop the arc and start the Post Flow timer. After the Post Flow time has expired, the gas and (optional water solenoid) valves will close. To make another weld, repeats steps 9 and 10.

TIG WELDING SEQUENCE OF OPERATION (4-Step TIG Mode)

1.Connect an Arc Start Switch to the Remote Amphenol.

2.Turn the welder, gas supply and water supply (if so equipped), on. The digital ammeter/voltmeter dis- play will illuminate when the power is on.

3.Select the 4-Step TIG Mode with the 2-Step/4-Step TIG/Stick switch.

4.Set the maximum output current using the output control knob.

5.Select AC or DC- electrode polarity. See Table B.2.

6.If welding with AC polarity, set the AC Wave Balance Knob to Auto Balance™. This gives the optimum ratio between cleaning and penetration, automatically adjusted for the output current. If manual adjustment of the AC Wave Balance is desired, adjust the wave balance to the desired settings. See the Advanced Features section for more information on setting and using the AC Wave Balance.

7.Set the Post Flow time with the Post Flow knob. Post Flow time provides shielding gas flow (and cooling water, if used) after the weld. Use short Post Flow times with low currents and small tung- stens and long Post flow times at high output cur- rents and large tungstens.

8.Set the Downslope Time with the Downslope Time Knob. This will adjust the time of the crater fill peri- od.

9.Press and release the Arc Start Switch, to set the gas flow meter if necessary. The welder is now ready for welding.

10.Position the tungsten electrode at the start of the weld at a 65° to 75° angle with the horizontal so that the electrode is approximately 1/8” (4 mm) above the work piece. Press the Arc Start Switch. This opens the gas and water valves to automati- cally purge air from the hose and torch. After a 0.5 second preflow time, the high frequency becomes available to strike the arc.

SQUARE WAVE TIG 275

Page 23
Image 23
Lincoln Electric SVM141-A service manual TIG Welding Sequence of Operation 2-Step TIG Mode

SVM141-A specifications

The Lincoln Electric SVM141-A is a cutting-edge solution designed for operators requiring precision, efficiency, and versatility in their welding applications. This machine is known for its compact form but robust feature set, making it an ideal choice for both professional welders and industrial applications.

One of the standout features of the SVM141-A is its advanced inverter technology. This innovation allows for a stable arc, providing consistent results even under varying conditions. The machine minimizes power consumption, making it energy-efficient without compromising performance. The inverter technology also supports a wider input voltage range, making the SVM141-A suitable for use in diverse environments and job sites.

Another key characteristic is its multi-process capability. The SVM141-A supports MIG, stick, and TIG welding processes, providing flexibility for various welding tasks. This versatility enables operators to tackle different materials, including mild steel, stainless steel, and aluminum, making it a valuable tool for numerous projects.

The user-friendly interface of the SVM141-A includes an intuitive digital display, which allows welders to adjust settings with ease. This feature is crucial for ensuring the right configurations for specific welding tasks, reducing the chances of errors and enhancing the overall finish of welds.

Safety is also a priority with the Lincoln Electric SVM141-A. It comes with built-in safety features such as overheat protection and automatic shutdown, ensuring operator safety and equipment longevity. The machine's lightweight design enhances portability, allowing it to be used in various workspaces with ease.

Durability is another hallmark of the SVM141-A. Constructed with high-quality materials, the machine is designed to withstand the rigors of demanding work environments. This ensures reliability over time, providing consistent performance even under heavy use.

In summary, the Lincoln Electric SVM141-A is a versatile, efficient, and user-friendly welding machine that appeals to a wide range of users. Its advanced inverter technology, multi-process capabilities, safety features, and durable construction make it a strong contender in the welding market, suitable for both professionals and hobbyists alike. Whether it’s for light fabrication, repairs, or industrial welding tasks, the SVM141-A meets diverse needs with precision and reliability.