Instant EtherFast® Series
6.After ensuring that all of the listed network components are installed on your system, in the Primary Network Logon box select Client for Microsoft Networks.
EtherFast® 10/100 Compact USB Network Adapter
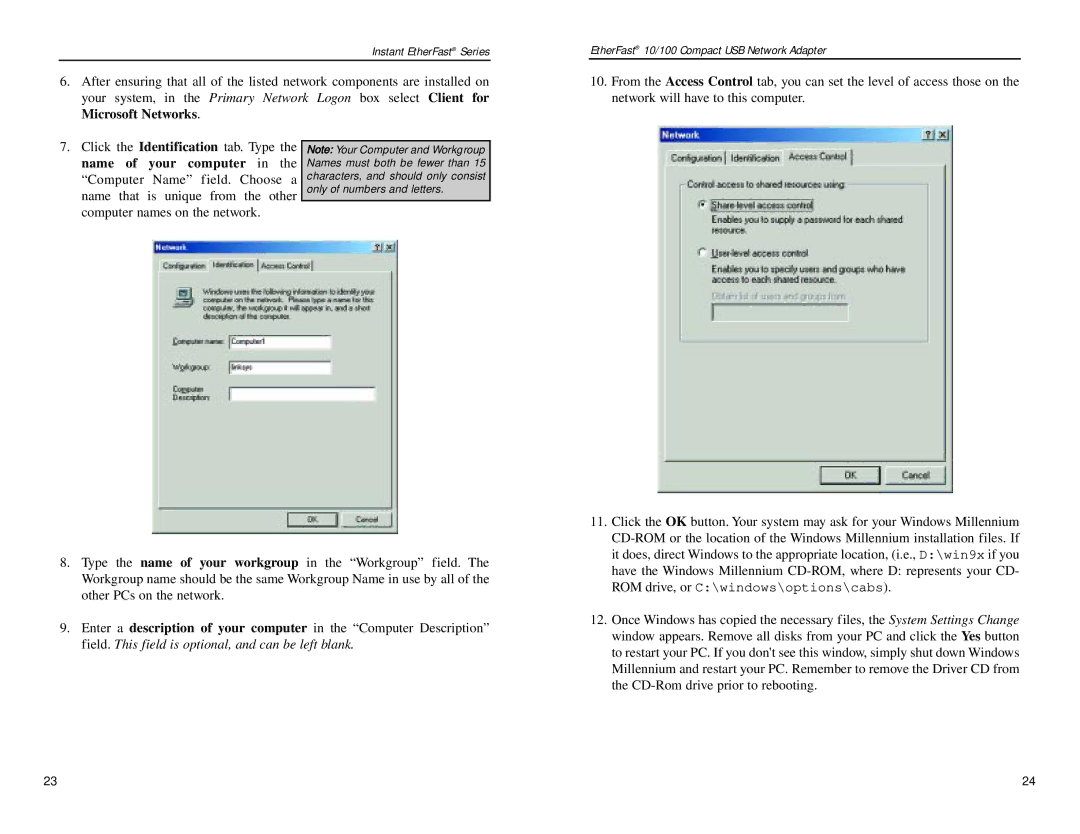
10.From the Access Control tab, you can set the level of access those on the network will have to this computer.
7.Click the Identification tab. Type the name of your computer in the “Computer Name” field. Choose a name that is unique from the other computer names on the network.
Note: Your Computer and Workgroup Names must both be fewer than 15 characters, and should only consist only of numbers and letters.
8.Type the name of your workgroup in the “Workgroup” field. The Workgroup name should be the same Workgroup Name in use by all of the other PCs on the network.
9.Enter a description of your computer in the “Computer Description” field. This field is optional, and can be left blank.
11.Click the OK button. Your system may ask for your Windows Millennium
12.Once Windows has copied the necessary files, the System Settings Change window appears. Remove all disks from your PC and click the Yes button to restart your PC. If you don't see this window, simply shut down Windows Millennium and restart your PC. Remember to remove the Driver CD from the
23 | 24 |