Wireless-G Ethernet Bridge
Chapter 4: Connecting the Wireless-G Ethernet Bridge for Setup
1.Attach the Bridge’s antenna.
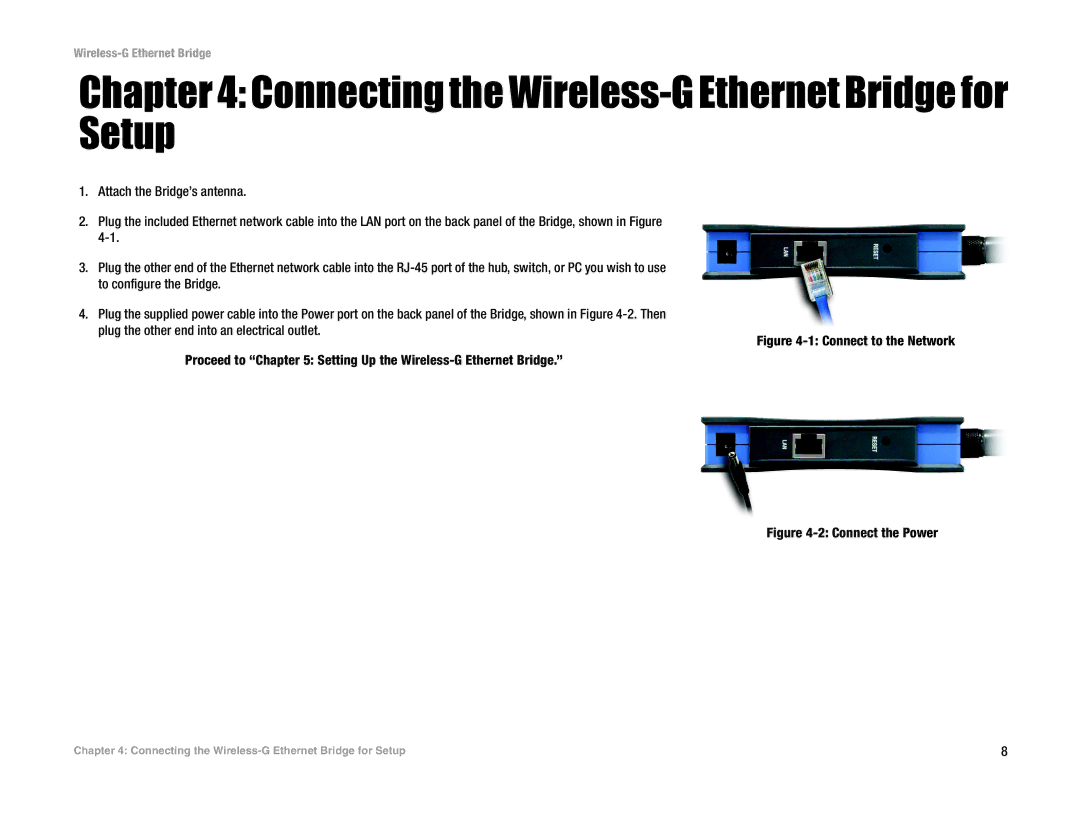
2.Plug the included Ethernet network cable into the LAN port on the back panel of the Bridge, shown in Figure
3.Plug the other end of the Ethernet network cable into the
4.Plug the supplied power cable into the Power port on the back panel of the Bridge, shown in Figure
Figure 4-1: Connect to the Network
Proceed to “Chapter 5: Setting Up the Wireless-G Ethernet Bridge.”
Figure 4-2: Connect the Power
Chapter 4: Connecting the | 8 |