Wireless-G Ethernet Bridge
Stand Option
1.The Bridge has eight rubber inserts, four on each side. Remove the two rubber inserts that are adjacent to the power port.
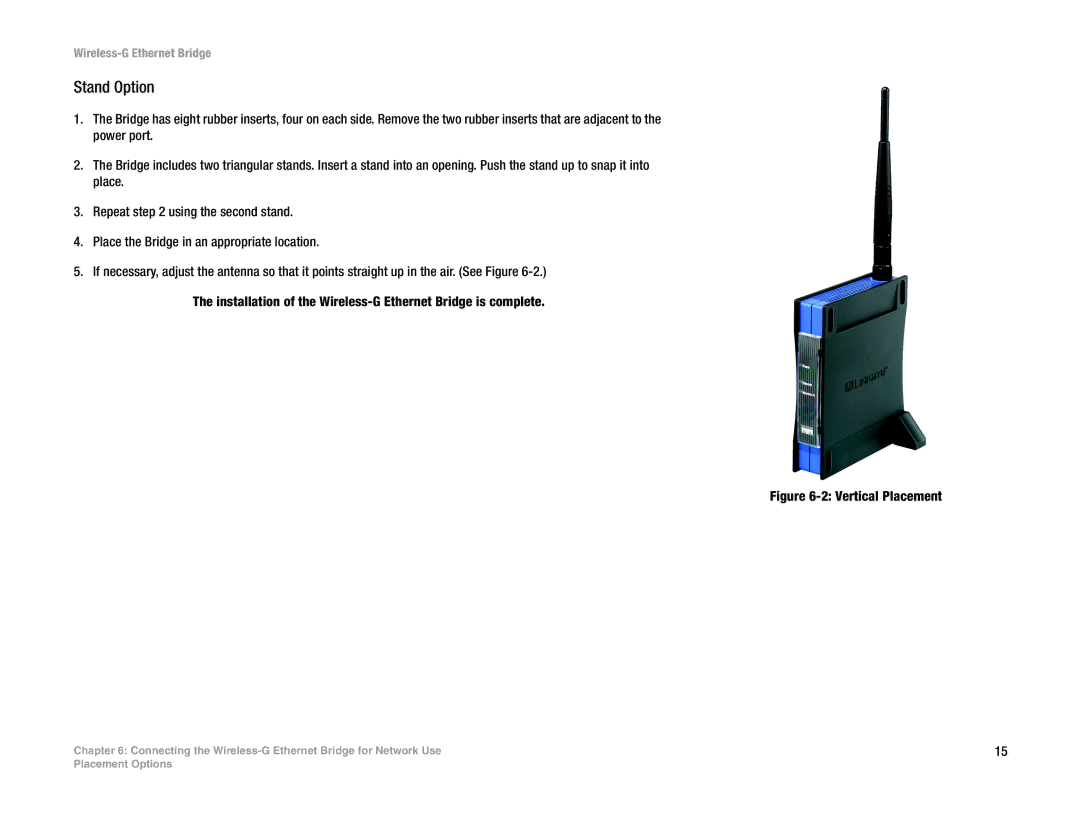
2.The Bridge includes two triangular stands. Insert a stand into an opening. Push the stand up to snap it into place.
3.Repeat step 2 using the second stand.
4.Place the Bridge in an appropriate location.
5.If necessary, adjust the antenna so that it points straight up in the air. (See Figure
The installation of the
Chapter 6: Connecting the
Figure 6-2: Vertical Placement
15
Placement Options
