SECTION 5
Setting up DDNS on the DVR
Setting up DDNS on the DVR
Once the DDNS Account has been configured (and the account details received in Email), then these settings can be added to the DVR unit. See the DDNS Set menu options on Page 35 for further details.
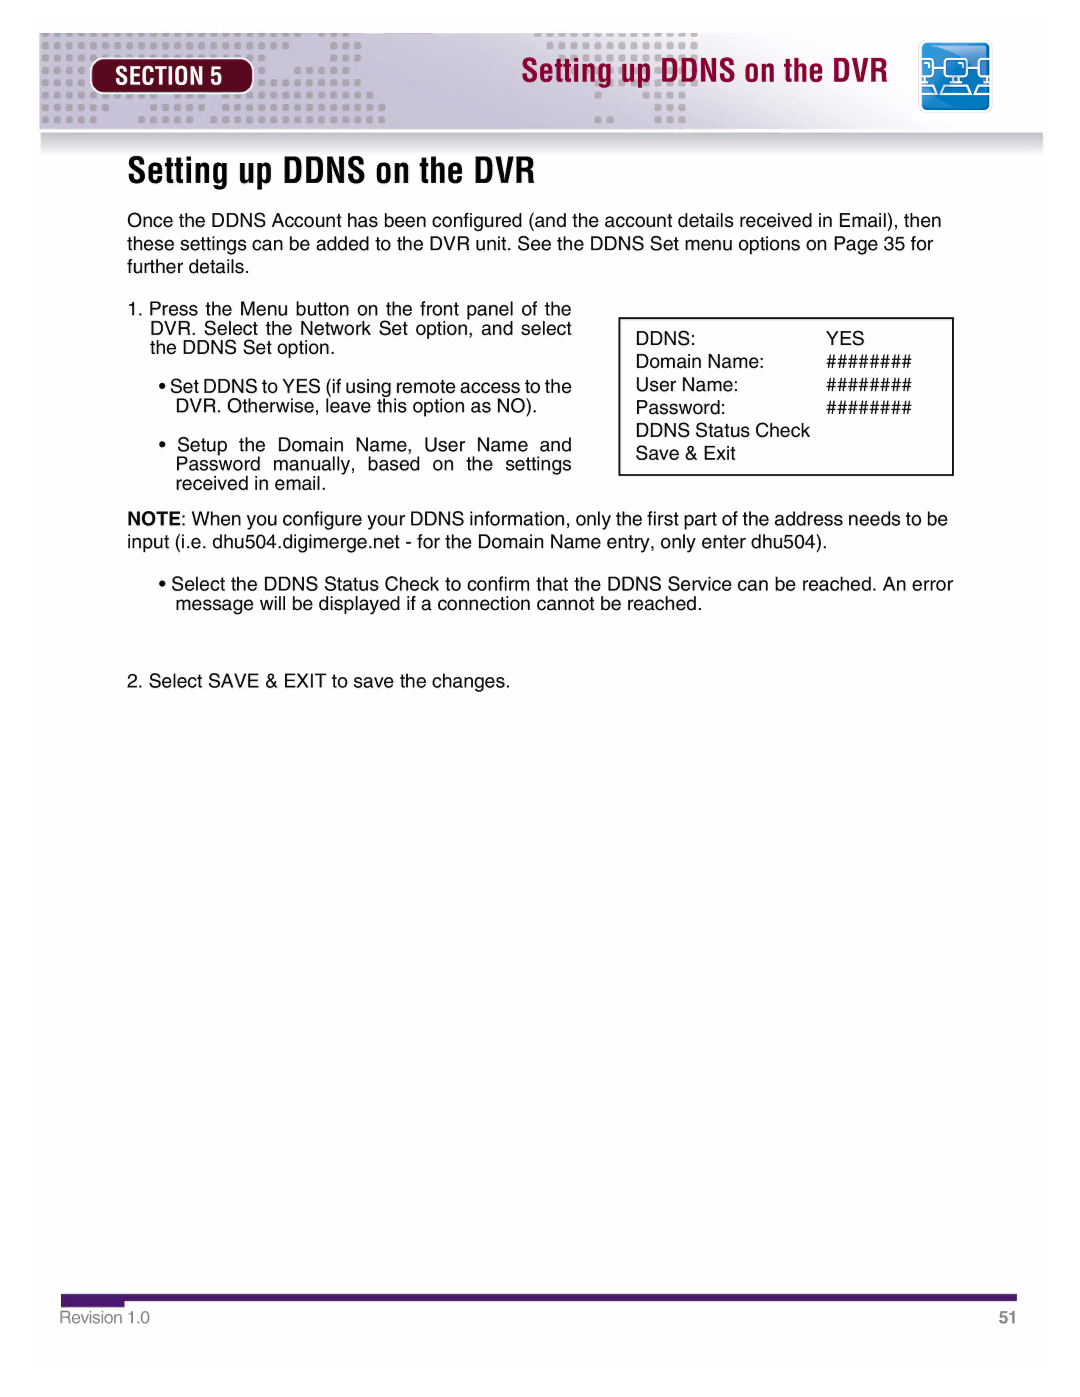
1.Press the Menu button on the front panel of the DVR. Select the Network Set option, and select the DDNS Set option.
•Set DDNS to YES (if using remote access to the DVR. Otherwise, leave this option as NO).
•Setup the Domain Name, User Name and Password manually, based on the settings received in email.
DDNS: | YES |
Domain Name: | ######## |
User Name: | ######## |
Password: | ######## |
DDNS Status Check |
|
Save & Exit |
|
|
|
NOTE: When you configure your DDNS information, only the first part of the address needs to be input (i.e. dhu504.digimerge.net - for the Domain Name entry, only enter dhu504).
•Select the DDNS Status Check to confirm that the DDNS Service can be reached. An error message will be displayed if a connection cannot be reached.
2.Select SAVE & EXIT to save the changes.
Revision 1.0 | 51 |
