Network Set | SECTION 4 |
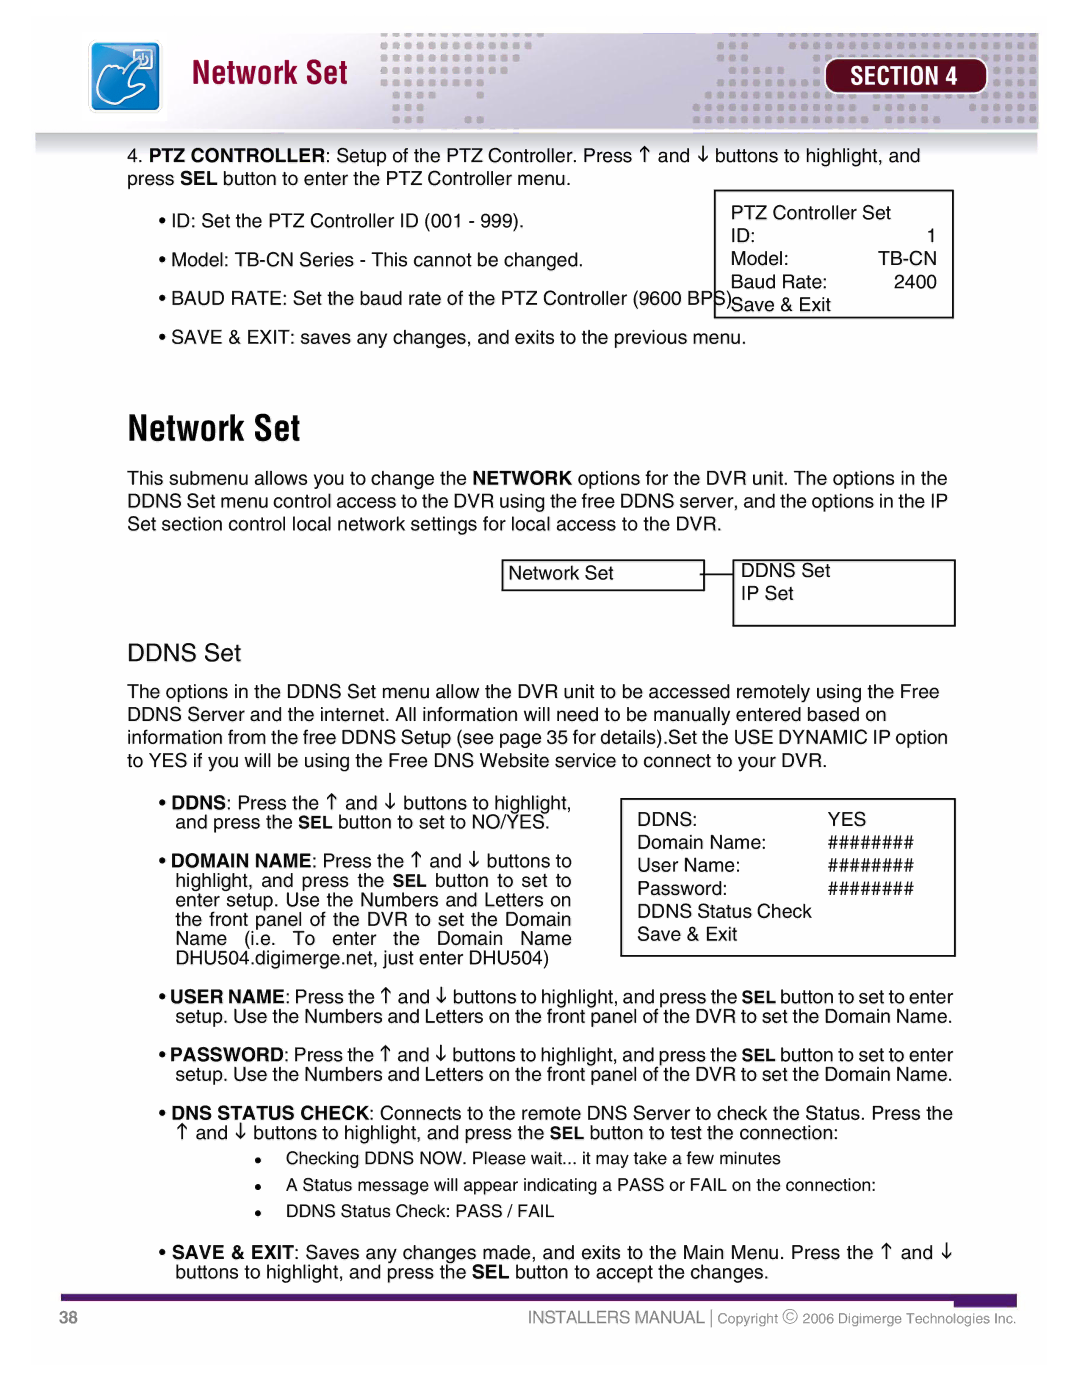
4.PTZ CONTROLLER: Setup of the PTZ Controller. Press K and L buttons to highlight, and press SEL button to enter the PTZ Controller menu.
• ID: Set the PTZ Controller ID (001 - 999). |
| PTZ Controller Set | |
| ID: | 1 | |
|
| ||
• Model: |
| Model: |
|
|
| Baud Rate: | 2400 |
• BAUD RATE: Set the baud rate of the PTZ Controller (9600 BPS). |
| ||
|
| Save & Exit |
|
• SAVE & EXIT: saves any changes, and exits to the previous menu.
Network Set
This submenu allows you to change the NETWORK options for the DVR unit. The options in the DDNS Set menu control access to the DVR using the free DDNS server, and the options in the IP Set section control local network settings for local access to the DVR.
Network Set
DDNS Set IP Set
DDNS Set
The options in the DDNS Set menu allow the DVR unit to be accessed remotely using the Free DDNS Server and the internet. All information will need to be manually entered based on information from the free DDNS Setup (see page 35 for details).Set the USE DYNAMIC IP option to YES if you will be using the Free DNS Website service to connect to your DVR.
•DDNS: Press the K and L buttons to highlight, and press the SEL button to set to NO/YES.
•DOMAIN NAME: Press the K and L buttons to highlight, and press the SEL button to set to enter setup. Use the Numbers and Letters on the front panel of the DVR to set the Domain Name (i.e. To enter the Domain Name DHU504.digimerge.net, just enter DHU504)
DDNS: | YES |
Domain Name: | ######## |
User Name: | ######## |
Password: | ######## |
DDNS Status Check |
|
Save & Exit |
|
|
|
•USER NAME: Press the K and L buttons to highlight, and press the SEL button to set to enter setup. Use the Numbers and Letters on the front panel of the DVR to set the Domain Name.
•PASSWORD: Press the K and L buttons to highlight, and press the SEL button to set to enter setup. Use the Numbers and Letters on the front panel of the DVR to set the Domain Name.
•DNS STATUS CHECK: Connects to the remote DNS Server to check the Status. Press the K and L buttons to highlight, and press the SEL button to test the connection:
z
z
z
Checking DDNS NOW. Please wait... it may take a few minutes
A Status message will appear indicating a PASS or FAIL on the connection: DDNS Status Check: PASS / FAIL
•SAVE & EXIT: Saves any changes made, and exits to the Main Menu. Press the K and L buttons to highlight, and press the SEL button to accept the changes.
38 | INSTALLERS MANUAL Copyright ♥ 2006 Digimerge Technologies Inc. |