2.Setting for CONTRAST, COLOR, TINT,
General
1.Enter the Service mode. (See page
2.Press [PICTURE] button on the service remote control unit. Display changes “BRT,” “CNT,” “COL,” “TNT,”
CONTRAST (CNT)
1.Press [PICTURE] button on the service remote control unit. Then select “CONTRAST (CNT)” display.
2.Press [CH. o / p] buttons on the service remote control unit so that the value of “CONTRAST (CNT)” becomes 84.
COLOR (COL)
1.Press [PICTURE] button on the service remote control unit. Then select “COLOR (COL)” display.
2.Press [CH. o / p] buttons on the service remote control unit so that the value of “COLOR (COL)” becomes 58.
TINT (TNT)
1.Press [PICTURE] button on the service remote control unit. Then select “TINT (TNT)” display.
2.Press [CH. o / p] buttons on the service remote control unit so that the value of “TINT (TNT)” becomes 45.
V-TINT (V-T)
1.Press [PICTURE] button on the service remote control unit. Then select
2.Press [CH. o / p] buttons on the service remote control unit so that the value of
SHARP (SHP)
1.Press [PICTURE] button on the service remote control unit. Then select “SHARP (SHP)” display.
2.Press [CH. o / p] buttons on the service remote control unit so that the value of “SHARP (SHP)” becomes 46.
Note: BRIGHT data value does not need to be adjusted because this setting is performed in other setting.
3. H f0 Adjustment
Purpose: To get correct horizontal position and size of screen image.
Symptom of Misadjustment: Horizontal position and size of screen image may not be properly displayed.
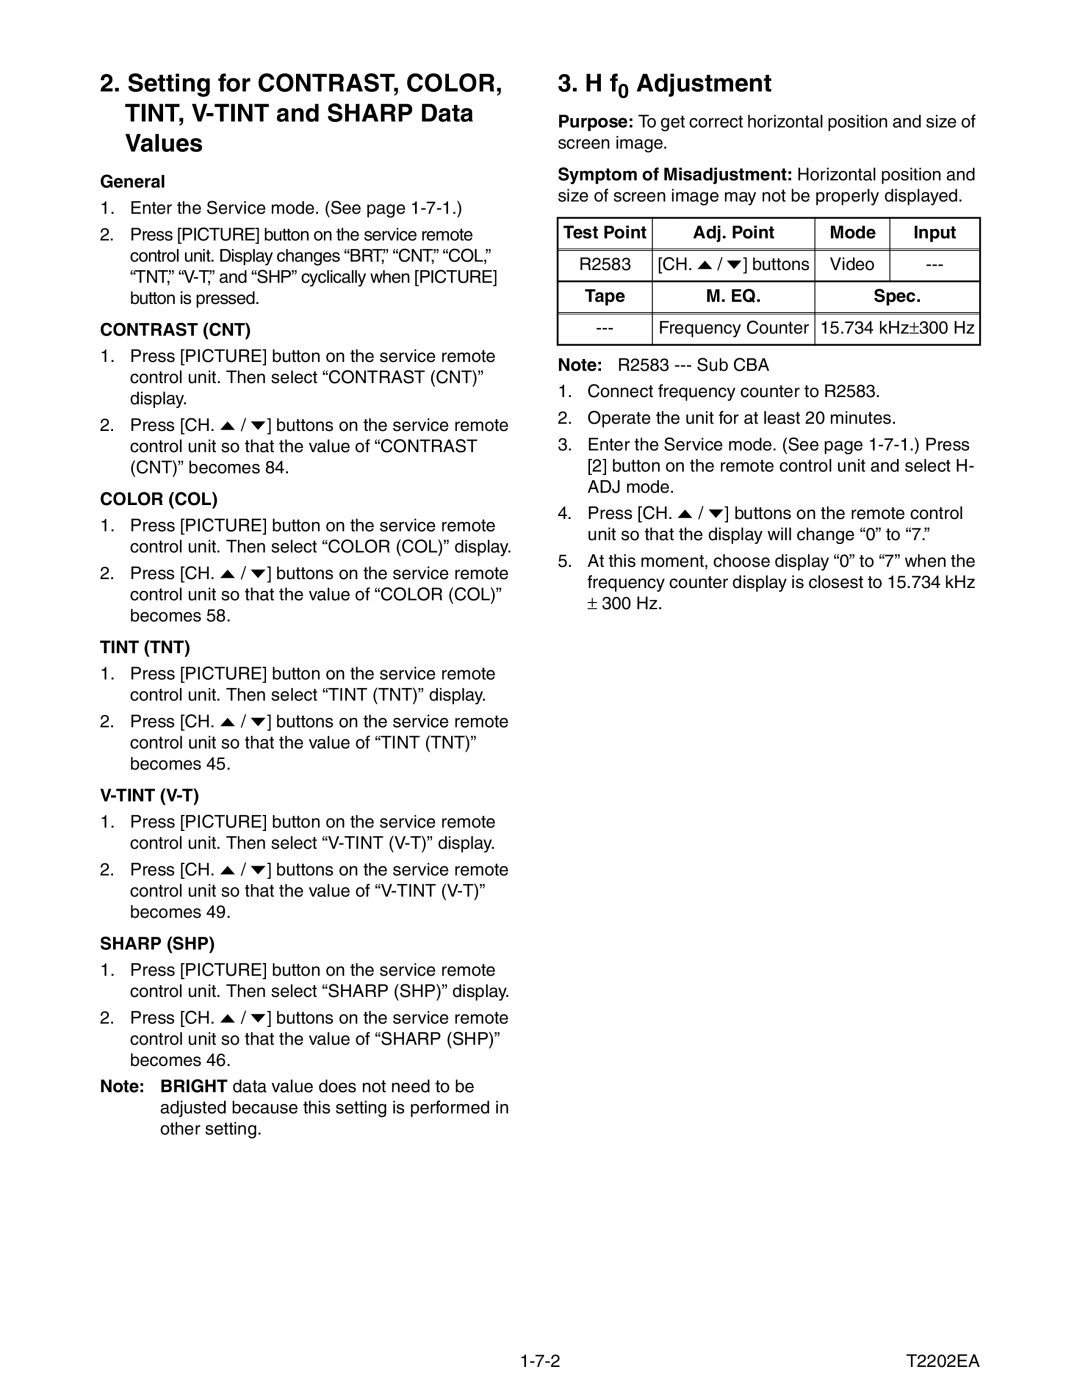
Test Point | Adj. Point | Mode | Input |
|
|
|
|
|
|
|
|
R2583 | [CH. o / p] buttons | Video | |
|
|
|
|
Tape | M. EQ. | Spec. | |
|
|
| |
|
|
| |
Frequency Counter | 15.734 kHz±300 Hz | ||
|
|
|
|
Note: R2583
1.Connect frequency counter to R2583.
2.Operate the unit for at least 20 minutes.
3.Enter the Service mode. (See page
4.Press [CH. o / p] buttons on the remote control unit so that the display will change “0” to “7.”
5.At this moment, choose display “0” to “7” when the
frequency counter display is closest to 15.734 kHz
± 300 Hz.
T2202EA |
