Notes:

If MRAC is started with both speaker settings A and B off, it will enter CANCEL mode without displaying an ERROR on the screen. When this happens, check the SPEAKER setting.

The measured speaker distance may differ from the actual distance from speakers. Nevertheless, the measured value is suitable for the speakers.

To make changes to individual speakers, select 2. SPEAKER SETUP on the SETUP MAIN MENU, then select MANUAL for 2-1 SPEAKER SETUP.

The included microphone is designed specifically for this receiver. Other microphones do not guarantee suitable measurement results. Use the included microphone to conduct measurements.

During measurement, press the ENTER or EXIT button to cancel measurement.

In some rooms, an error may occur during auto speaker setup or it may not be possible to set Speaker distance correctly because of room acoustics. In such case, set the speaker distance by MANUAL setup.

Please set any THX Certified speakers manually to “Small” and the crossover to “80 Hz” after Auto setup operation.

When only HDMI components are connected, OSD will not be displayed.

Error Indications During Measurement

If trouble occurs during measurement, an error message is displayed on the monitor screen and FL display. Those errors and their remedies are described below. The message appearing on the FL display is given in ( ).

MIC SETUP ERROR (MIC SET ERROR)

The microphone (MC-10) is not properly connected.

Check the microphone connection.

AMBI NOISE ERROR (AMBI NOISE ER)

Measurement cannot be done correctly because of excessive ambient noise.

Either temporarily turn off power to noisy devices such as air conditioning or move them out of the room.

Retry measurement when the room is quiet.

SPEAKER SET ERROR (SPK SET ERROR)

The speakers are not properly connected.

Recheck speaker layout and connections.

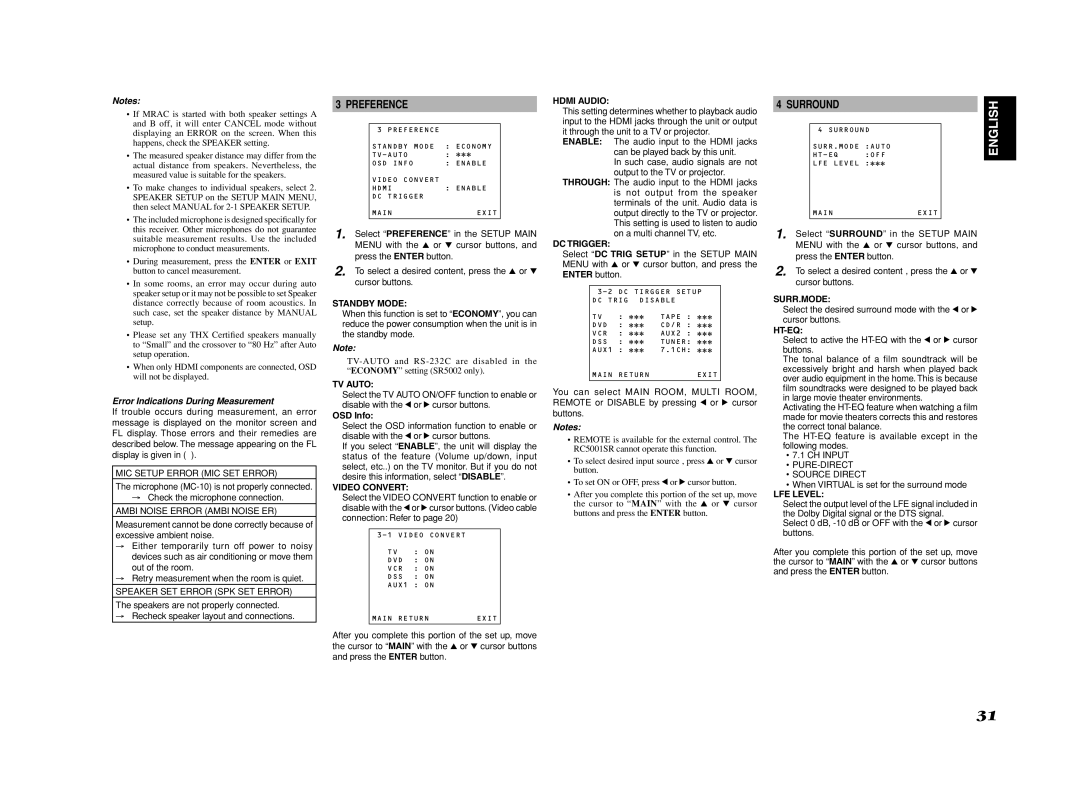
3 PREFERENCE

3 PREFERENCE


STANDBY MODE

: ECONOMY

TV-AUTO

:

OSD INFO

: ENABLE

VIDEO CONVERT


HDMI

: ENABLE

DC TRIGGER


MAIN

EXIT


1. Select “PREFERENCE” in the SETUP MAIN MENU with the 3 or 4 cursor buttons, and press the ENTER button.

2. To select a desired content, press the 3 or 4 cursor buttons.

STANDBY MODE:

When this function is set to “ECONOMY”, you can reduce the power consumption when the unit is in the standby mode.

Note:

TV-AUTO and RS-232C are disabled in the “ECONOMY” setting (SR5002 only).

TV AUTO:

Select the TV AUTO ON/OFF function to enable or disable with the 1 or 2 cursor buttons.

OSD Info:

Select the OSD information function to enable or disable with the 1 or 2 cursor buttons.

If you select “ENABLE”, the unit will display the status of the feature (Volume up/down, input select, etc..) on the TV monitor. But if you do not desire this information, select “DISABLE”.

VIDEO CONVERT:

Select the VIDEO CONVERT function to enable or disable with the 1or 2cursor buttons. (Video cable connection: Refer to page 20)

3-1 VIDEO CONVERT

TV : ON

DVD : ON

VCR : ON

DSS : ON

AUX1 : ON

MAIN RETURN

EXIT

After you complete this portion of the set up, move the cursor to “MAIN” with the 3 or 4 cursor buttons and press the ENTER button.

HDMI AUDIO:

This setting determines whether to playback audio input to the HDMI jacks through the unit or output it through the unit to a TV or projector.

ENABLE: The audio input to the HDMI jacks can be played back by this unit.

In such case, audio signals are not output to the TV or projector.

THROUGH: The audio input to the HDMI jacks is not output from the speaker terminals of the unit. Audio data is output directly to the TV or projector. This setting is used to listen to audio on a multi channel TV, etc.

DC TRIGGER:

Select “DC TRIG SETUP” in the SETUP MAIN MENU with 3 or 4 cursor button, and press the ENTER button.

3-2 DC TIRGGER SETUP DC TRIG DISABLE

TV

:

TAPE :

DVD

:

CD/R :

VCR

:

AUX2 :

DSS

:

TUNER:

AUX1

:

7.1CH:

MAIN

RETURN

EXIT

You can select MAIN ROOM, MULTI ROOM, REMOTE or DISABLE by pressing 1 or 2 cursor buttons.

Notes:

REMOTE is available for the external control. The RC5001SR cannot operate this function.

To select desired input source , press 3 or 4 cursor button.

To set ON or OFF, press 1or 2cursor button.

After you complete this portion of the set up, move the cursor to “MAIN” with the 3 or 4 cursor buttons and press the ENTER button.

4 SURROUND

4 SURROUND

SURR.MODE :AUTO

HT-EQ :OFF

LFE LEVEL :

MAINEXIT

1. Select “SURROUND” in the SETUP MAIN MENU with the 3 or 4 cursor buttons, and press the ENTER button.

2. To select a desired content , press the 3 or 4 cursor buttons.

SURR.MODE:

Select the desired surround mode with the 1 or 2 cursor buttons.

HT-EQ:

Select to active the HT-EQ with the 1 or 2 cursor buttons.

The tonal balance of a film soundtrack will be excessively bright and harsh when played back over audio equipment in the home. This is because film soundtracks were designed to be played back in large movie theater environments.

Activating the HT-EQ feature when watching a film made for movie theaters corrects this and restores the correct tonal balance.

The HT-EQ feature is available except in the following modes.

7.1 CH INPUT

PURE-DIRECT

SOURCE DIRECT

When VIRTUAL is set for the surround mode

LFE LEVEL:

Select the output level of the LFE signal included in

the Dolby Digital signal or the DTS signal.

Select 0 dB, -10 dB or OFF with the 1 or 2 cursor buttons.

After you complete this portion of the set up, move the cursor to “MAIN” with the 3 or 4 cursor buttons and press the ENTER button.

ENGLISH

31

Page 34
Image 34
Marantz SR4002/SR5002 manual Preference, Surround, Error Indications During Measurement

SR4002/SR5002 specifications

The Marantz SR4002 and SR5002 are two remarkable home theater receivers that deliver exceptional audio performance, making them stand out in the crowded market of AV receivers. Both models are designed for audiophiles and home theater enthusiasts who demand superior sound quality, versatility, and advanced features.

The SR4002, known for its robust build and high-quality components, provides 100 watts of power per channel, ensuring dynamic sound reproduction for a variety of media. This model supports a wide range of audio formats, including Dolby Digital, DTS, and PCM, enabling an immersive surround sound experience. It features multiple inputs and outputs, including HDMI, allowing seamless connectivity to a multitude of devices such as Blu-ray players, gaming consoles, and streaming devices. The SR4002 also includes a built-in AM/FM tuner, giving users the flexibility to enjoy their favorite radio stations.

On the other hand, the SR5002 takes it a step further with its enhanced specifications and features. With 110 watts of power per channel, it caters to larger home theaters without sacrificing sound quality. One of the standout features of the SR5002 is its advanced audio processing technology, which ensures precise sound staging and clarity in complex audio environments. The addition of Audyssey MultEQ room calibration technology helps automatically adjust the receiver's settings based on the acoustic characteristics of the room, optimizing audio performance for an unparalleled experience.

Both models boast a sleek design that fits seamlessly into any home entertainment setup. They feature an intuitive on-screen display that simplifies navigation through menus and settings. The user-friendly remote control provides easy access to all functionalities, making it simple to switch between inputs or adjust audio settings.

In terms of connectivity, both the SR4002 and SR5002 are equipped with multiple HDMI inputs, including support for 1080p video, ensuring compatibility with the latest high-definition content. They also feature legacy connections, such as composite and component video inputs, making them suitable for older equipment.

Overall, the Marantz SR4002 and SR5002 are solid choices for anyone looking to elevate their home entertainment experience. With their combination of robust power, advanced processing technologies, and versatile connectivity options, these receivers deliver rich, immersive sound that brings movies, music, and games to life. Whether you choose the SR4002 for its excellent features or the SR5002 for its enhanced capabilities, both models promise to transform your audio experience.