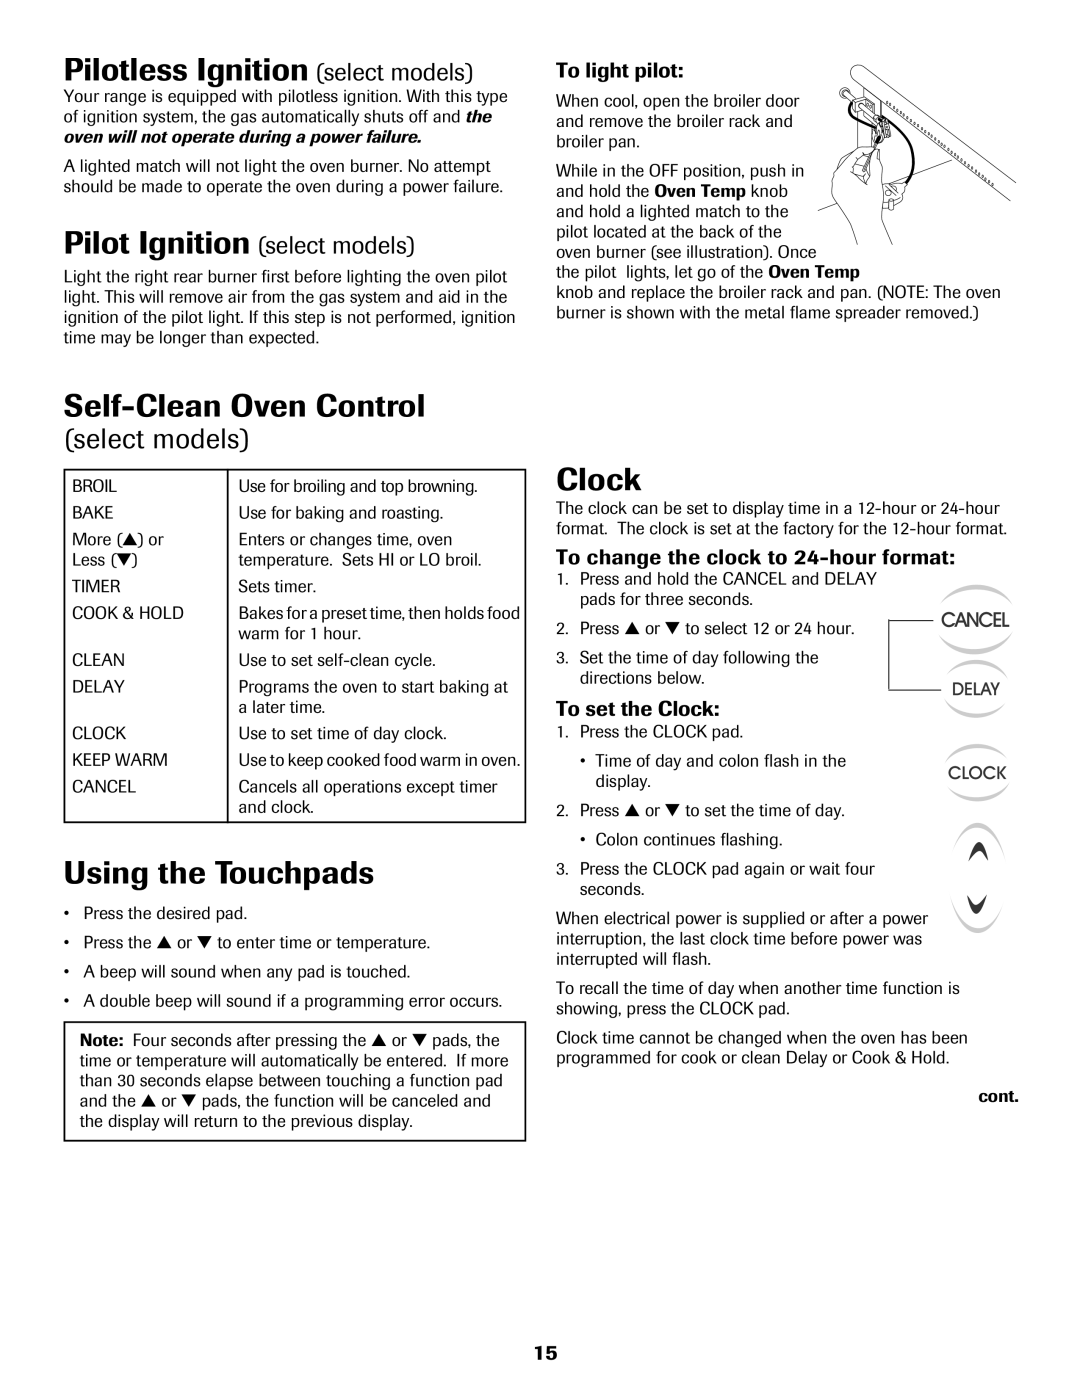
8113P560-60 specifications
The Maytag 8113P560-60 is a top-rated appliance designed to bring efficiency and convenience to your laundry room. This model incorporates a range of features and technologies that enhance performance while minimizing energy consumption.One of the main characteristics of the Maytag 8113P560-60 is its powerful motor, which ensures that clothes are effectively cleaned and the spin cycle efficiently removes excess water. This is crucial for reducing drying time, allowing users to complete their laundry quickly. The direct drive motor further minimizes vibration and noise, contributing to a quieter laundry experience.
This model features a large capacity drum, which can accommodate sizable loads. This is particularly beneficial for families or individuals who often need to wash multiple items in one go. The stainless steel drum is not only durable but also gentle on fabrics, reducing wear and tear over time.
The Maytag 8113P560-60 is equipped with multiple wash cycles and options to cater to various fabric types and soil levels. Users can select from delicate settings for fragile items, heavy-duty cycles for more robust fabrics, and even specialized cycles for items like jeans or towels. This versatility ensures that every load receives the appropriate care it needs.
Energy efficiency is a vital consideration in today’s eco-conscious market. The Maytag 8113P560-60 utilizes advanced technologies to conserve water and electricity without compromising performance. The high-efficiency detergent dispenser ensures optimal usage of soap, while the design minimizes water consumption per cycle.
In addition to its performance features, the Maytag 8113P560-60 boasts an intuitive control panel. It allows users to easily select cycles and options, making laundry days less cumbersome. LED indicators provide clear information about cycle status, ensuring that users are always informed.
Durability is also a key trait of the Maytag brand. The 8113P560-60 is built with quality materials designed to withstand the rigors of everyday use. This reliability means fewer repairs and a longer lifespan, making it a worthwhile investment for any household.
In summary, the Maytag 8113P560-60 stands out for its robust performance, user-friendly features, and energy-efficient design. Whether you're tackling a heavy load or caring for delicate fabrics, this model is engineered to meet the demands of modern laundry while providing a reliable and high-quality cleaning experience.

