10.Understand there are 4 wire connectors plugged into the circuit board that will need to be removed. They are all removed in the same manner. You will want to either mark or draw a picture as to which connector comes from what plug to make
Behind
the
label
©2007 Stephen Beck
Fig. 7
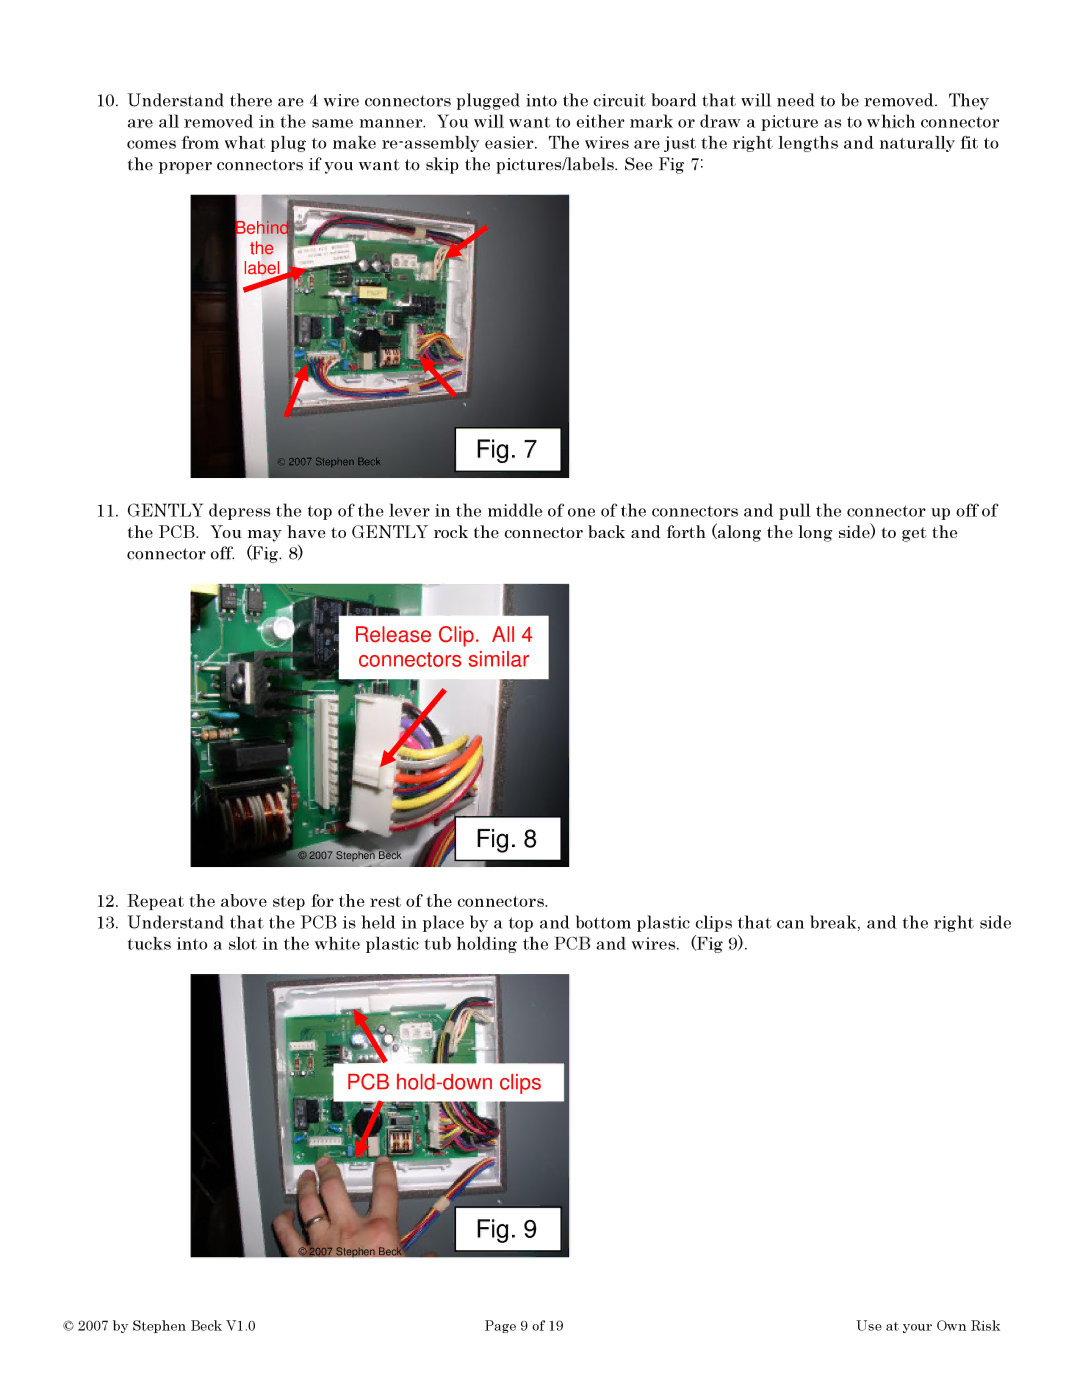
11.GENTLY depress the top of the lever in the middle of one of the connectors and pull the connector up off of the PCB. You may have to GENTLY rock the connector back and forth (along the long side) to get the connector off. (Fig. 8)
Release Clip. All 4 connectors similar
© 2007 Stephen Beck
Fig. 8
12.Repeat the above step for the rest of the connectors.
13.Understand that the PCB is held in place by a top and bottom plastic clips that can break, and the right side tucks into a slot in the white plastic tub holding the PCB and wires. (Fig 9).
PCB hold-down clips
© 2007 Stephen Beck
Fig. 9
© 2007 by Stephen Beck V1.0 | Page 9 of 19 | Use at your Own Risk |