Oven Operation (continued)
Broiling
For best results, use a pan designed for broiling.
For additional broiling tips, refer to the “Cooking Made Simple” booklet.
4.Place food in oven. Close oven door and cook according to the following Broiling Chart.
5.Press CANCEL pad. Remove food and broiler pan from the oven. Time of day will reappear in the display.
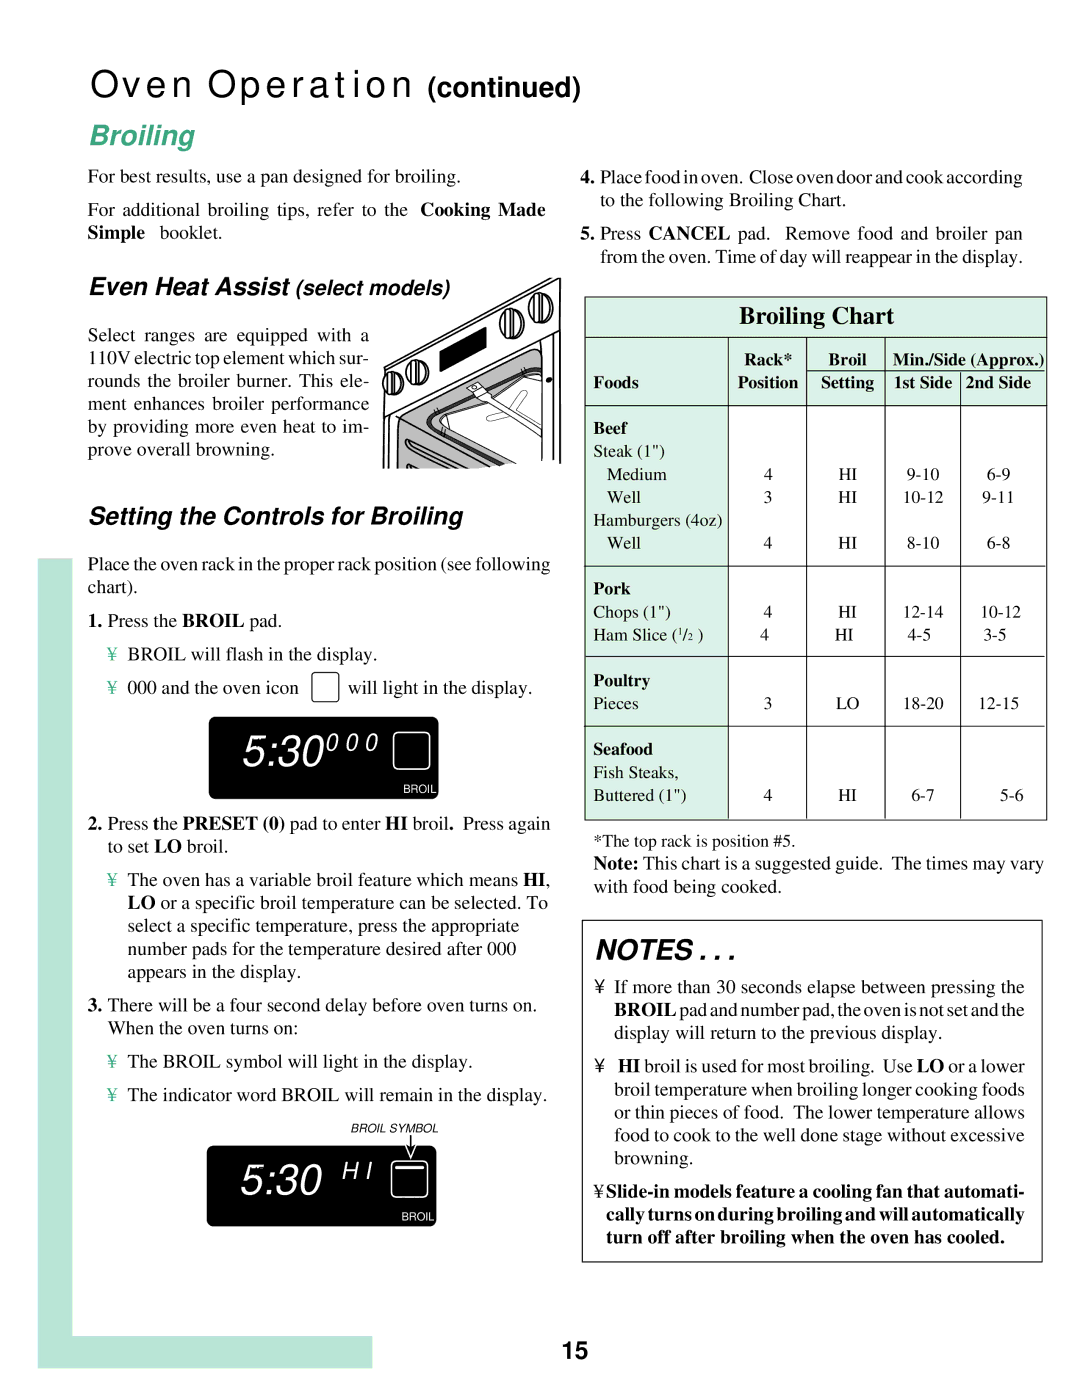
Even Heat Assist (select models)
Select ranges are equipped with a 110V electric top element which sur- rounds the broiler burner. This ele- ment enhances broiler performance by providing more even heat to im- prove overall browning.
Setting the Controls for Broiling
Place the oven rack in the proper rack position (see following chart).
1.Press the BROIL pad.
•BROIL will flash in the display.
•000 and the oven icon ![]() will light in the display.
will light in the display.
05:30HR0 0 0 °
BAKE
DELAY COOK STOP TIMER CLEAN ROAST BROIL
2.Press the PRESET (0) pad to enter HI broil. Press again to set LO broil.
•The oven has a variable broil feature which means HI, LO or a specific broil temperature can be selected. To select a specific temperature, press the appropriate number pads for the temperature desired after 000 appears in the display.
3.There will be a four second delay before oven turns on. When the oven turns on:
•The BROIL symbol will light in the display.
•The indicator word BROIL will remain in the display.
BROIL SYMBOL
05:30HR1 H I °
BAKE
LOCK
DELAY COOK STOP TIMER CLEAN ROAST BROIL
Broiling Chart
|
| Rack* | Broil | Min./Side (Approx.) |
| |
|
| |||||
| Foods | Position | Setting | 1st Side | 2nd Side | |
|
|
|
|
|
|
|
| Beef |
|
|
|
|
|
| Steak (1") |
|
|
|
|
|
| Medium | 4 | HI |
| ||
| Well | 3 | HI |
| ||
| Hamburgers (4oz) |
|
|
|
|
|
| Well | 4 | HI |
| ||
|
|
|
|
|
|
|
| Pork |
|
|
|
|
|
| Chops (1") | 4 | HI |
| ||
| Ham Slice (1/2”) | 4 | HI |
| ||
|
|
|
|
|
|
|
| Poultry |
|
|
|
|
|
| Pieces | 3 | LO |
| ||
|
|
|
|
|
|
|
| Seafood |
|
|
|
|
|
| Fish Steaks, |
|
|
|
|
|
| Buttered (1") | 4 | HI |
| ||
|
|
|
|
|
|
|
*The top rack is position #5.
Note: This chart is a suggested guide. The times may vary with food being cooked.
NOTES . . .
•If more than 30 seconds elapse between pressing the BROIL pad and number pad, the oven is not set and the display will return to the previous display.
•HI broil is used for most broiling. Use LO or a lower broil temperature when broiling longer cooking foods or thin pieces of food. The lower temperature allows food to cook to the well done stage without excessive browning.
•
15