Maintenance (continued)
Leveling Legs
CAUTION:
•Be sure
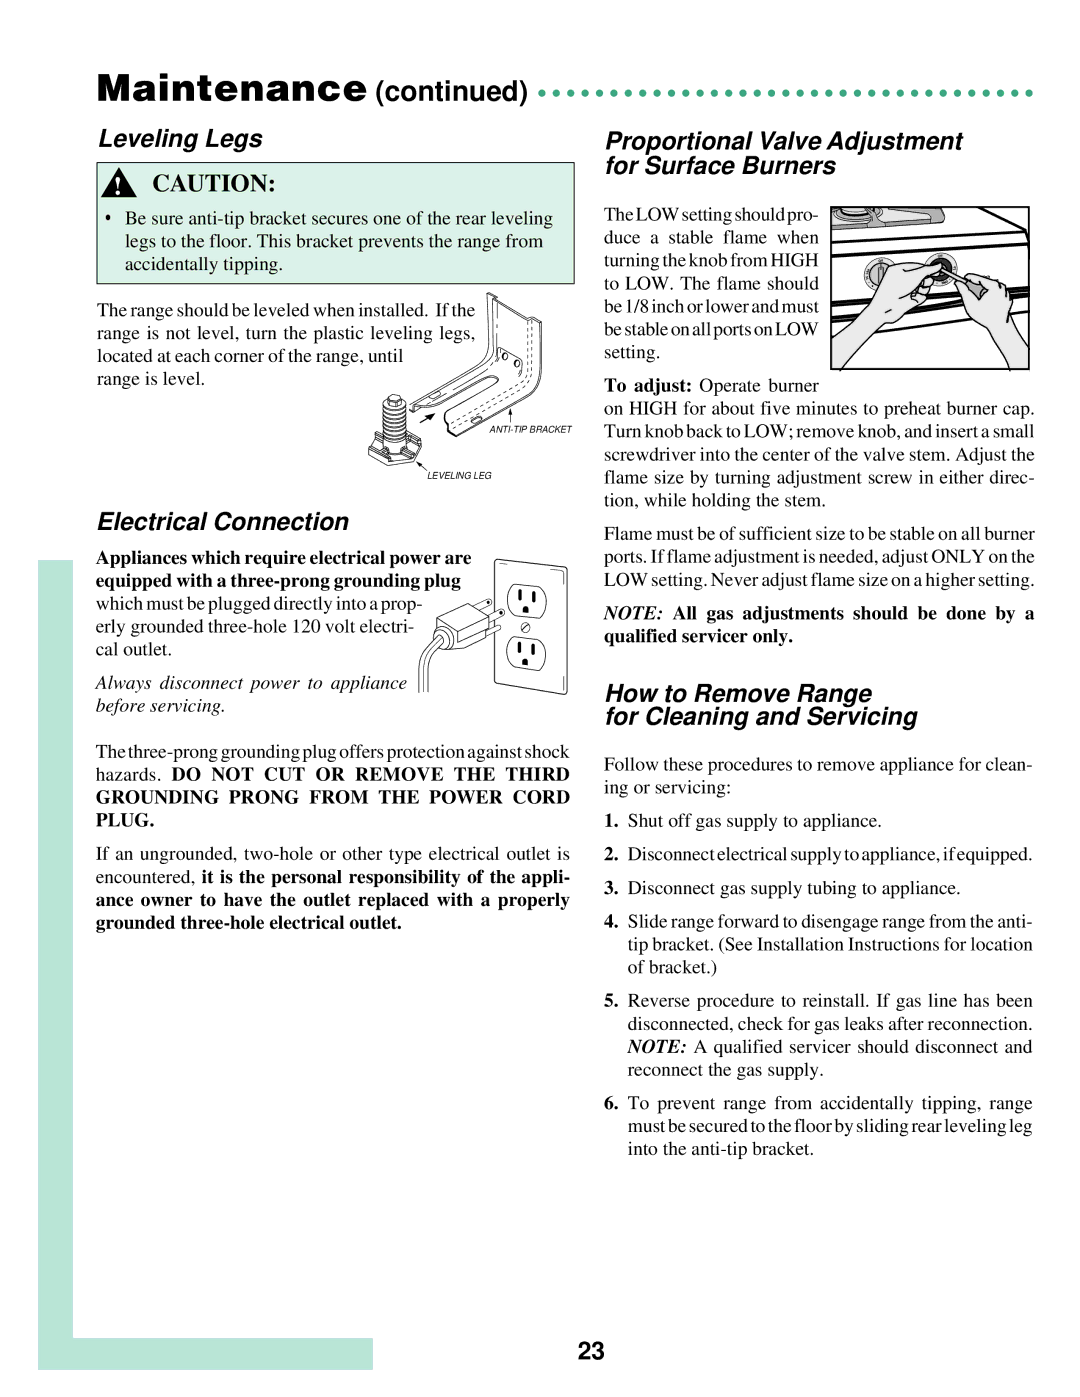
The range should be leveled when installed. If the range is not level, turn the plastic leveling legs, located at each corner of the range, until
range is level.
LEVELING LEG
Electrical Connection
Appliances which require electrical power are equipped with a
which must be plugged directly into a prop- erly grounded
Always disconnect power to appliance before servicing.
The
GROUNDING PRONG FROM THE POWER CORD PLUG.
If an ungrounded,
Proportional Valve Adjustment for Surface Burners
The LOW setting should pro- duce a stable flame when turning the knob from HIGH to LOW. The flame should be 1/8 inch or lower and must be stable on all ports on LOW setting.
To adjust: Operate burner
on HIGH for about five minutes to preheat burner cap. Turn knob back to LOW; remove knob, and insert a small screwdriver into the center of the valve stem. Adjust the flame size by turning adjustment screw in either direc- tion, while holding the stem.
Flame must be of sufficient size to be stable on all burner ports. If flame adjustment is needed, adjust ONLY on the LOW setting. Never adjust flame size on a higher setting.
NOTE: All gas adjustments should be done by a qualified servicer only.
How to Remove Range
for Cleaning and Servicing
Follow these procedures to remove appliance for clean- ing or servicing:
1.Shut off gas supply to appliance.
2.Disconnect electrical supply to appliance, if equipped.
3.Disconnect gas supply tubing to appliance.
4.Slide range forward to disengage range from the anti- tip bracket. (See Installation Instructions for location of bracket.)
5.Reverse procedure to reinstall. If gas line has been disconnected, check for gas leaks after reconnection. NOTE: A qualified servicer should disconnect and reconnect the gas supply.
6.To prevent range from accidentally tipping, range must be secured to the floor by sliding rear leveling leg into the
23